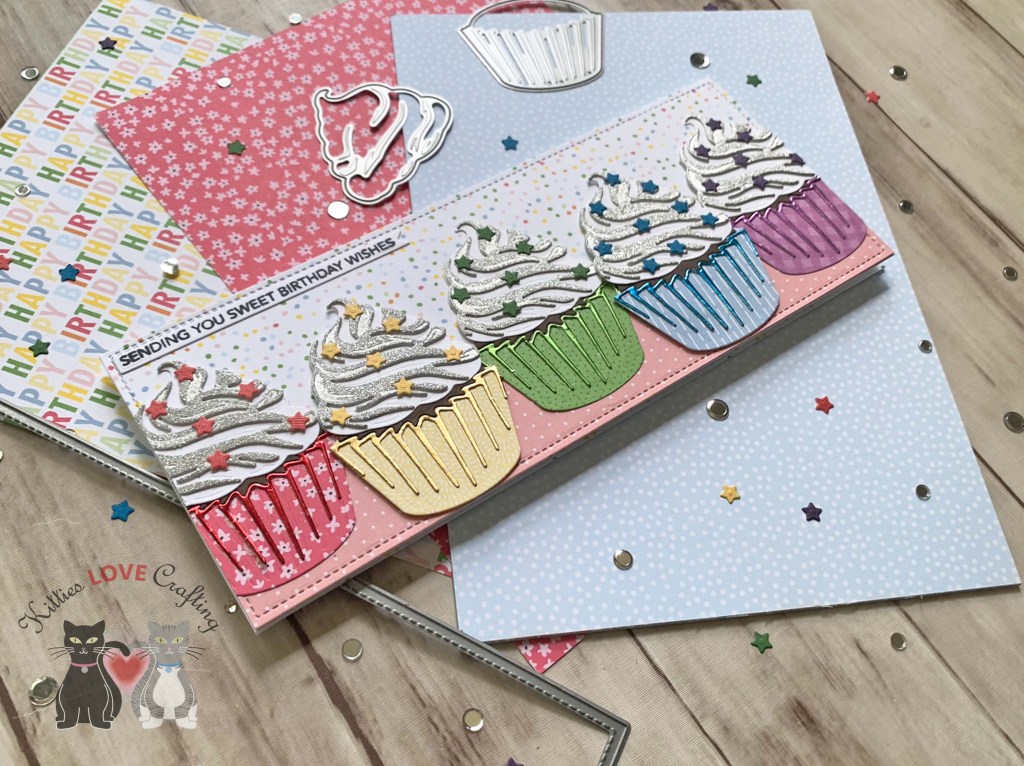
Hello friends. I couldn’t resist making a rainbow card using the Honey Bee Stamps Lovely Layers: Cupcakes & More set. The cupcakes look so cute in rainbow colors! And it was really easy to make as well!!! Let’s see how I made this card.
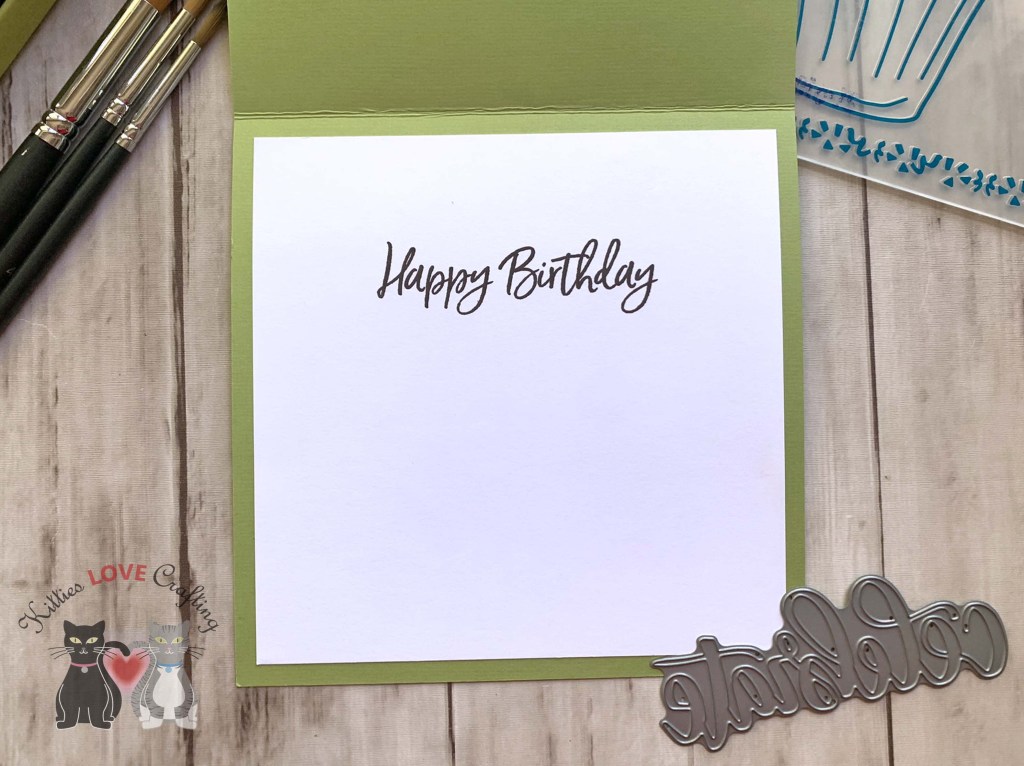
On the inside of the card I cut two strips of the same pattern paper from the front panel to 1 x 8-1/2″ and 7/8 x 8-1/2″. Then added some more of the star sprinkles.
Thanks for reading this post. I hope I’ve inspired you to give this sweet slimline birthday card a try for yourself. Leave comments or questions below or feel free to email.
Hello friends. In an effort to spend less this year, I’m trying to shop my stash and use some less loved items. This embossing folder (Crafter’s Companion – Embossalicious – Birthday Cupcake) has been in my stash for a very long time and I cannot remember when las I used it so it’s time. I used watercolor paper so I can color the image with watercolors. It gives it a fun organic look.
Then I colored the image with watercolors. Once everything was dry I re-embossed the image because when you add water to an embossed image it can lose some of the details.
Thanks for reading this post. I hope I’ve inspired you to try watercoloring an embossed image. Leave comments or questions below or feel free to email.
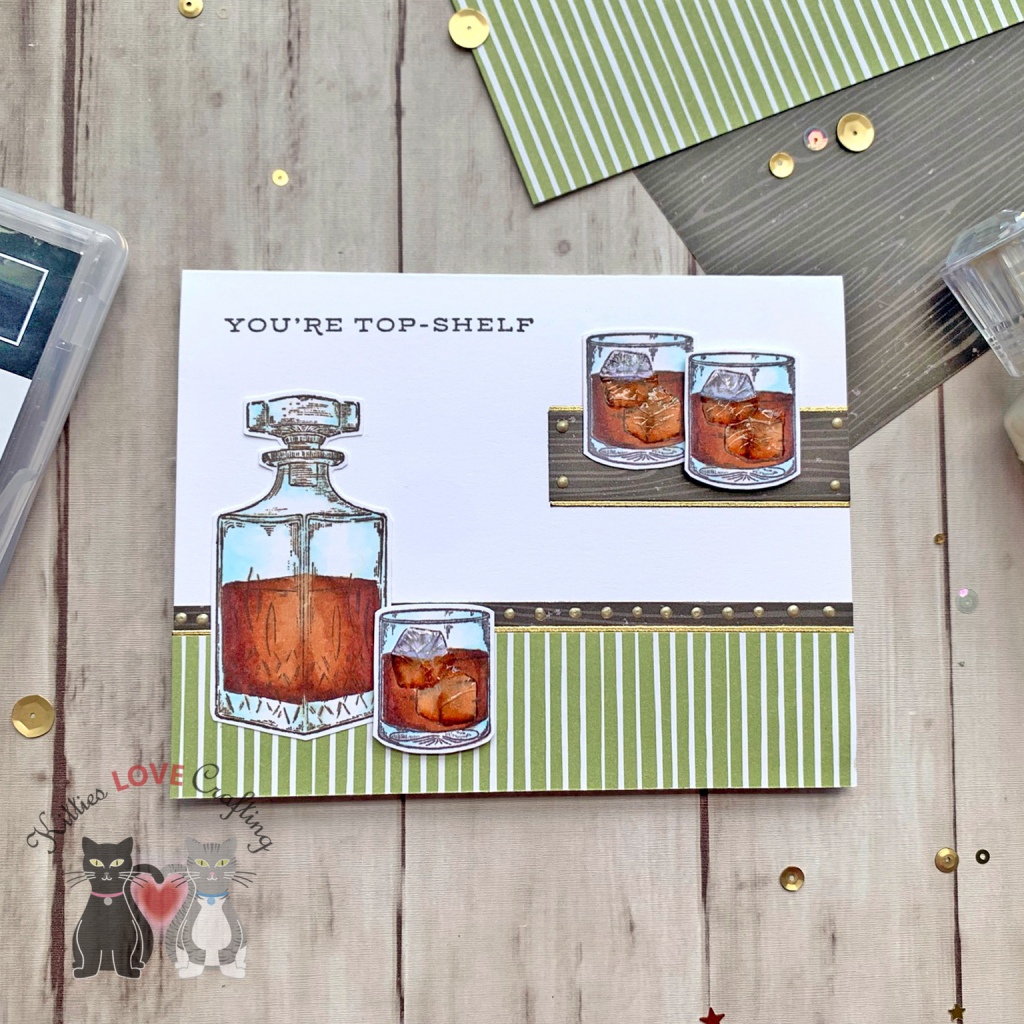
Hi friends! As promised, here I another quick and simple masculine card idea using Stampin’ Up!’s Whiskey Business Stamp Set. These can be easily mass produced and allows you to use up some of your pattern papers.
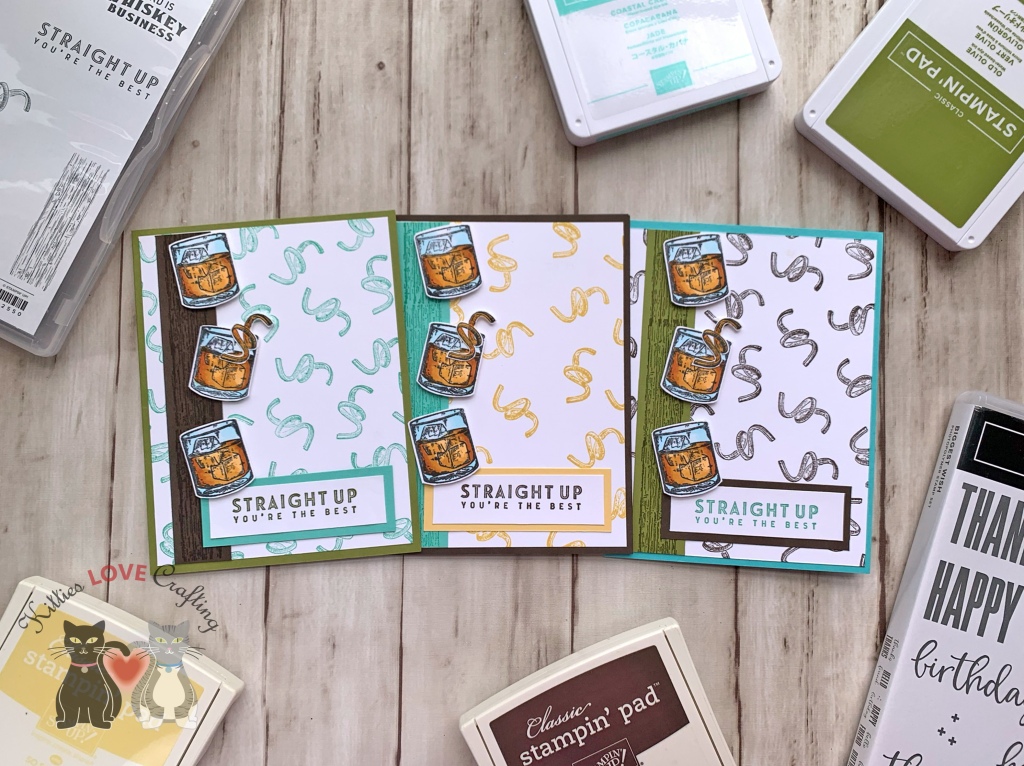
For this card, I used Neenah 110lb Classic Crest Cardstock 8.5 X 11″ cut to 5-1/2 x 8-1/2″ and scored at 4-1/4″ to make the card base. I cut a piece of striped Pear Pizazz pattern paper from the Stampin’ Up! Coffee Break 12 x 12 Designer Series Paper (retired), measuring 1-1/4 x 5-1/2″ and two pieces of the woodgrain pattern paper from the same paper pack measuring 1-1/2 x 5-1/2″ and 3/4 x 2-1/2″.
Thanks for reading this post. I hope you enjoyed and I’ve inspired you to try this easy masculine card using this stampset and paper for yourself! Leave comments or questions below or feel free to email me. If you want to share you creations with me tag me on instagram @kittieslovecrafting.
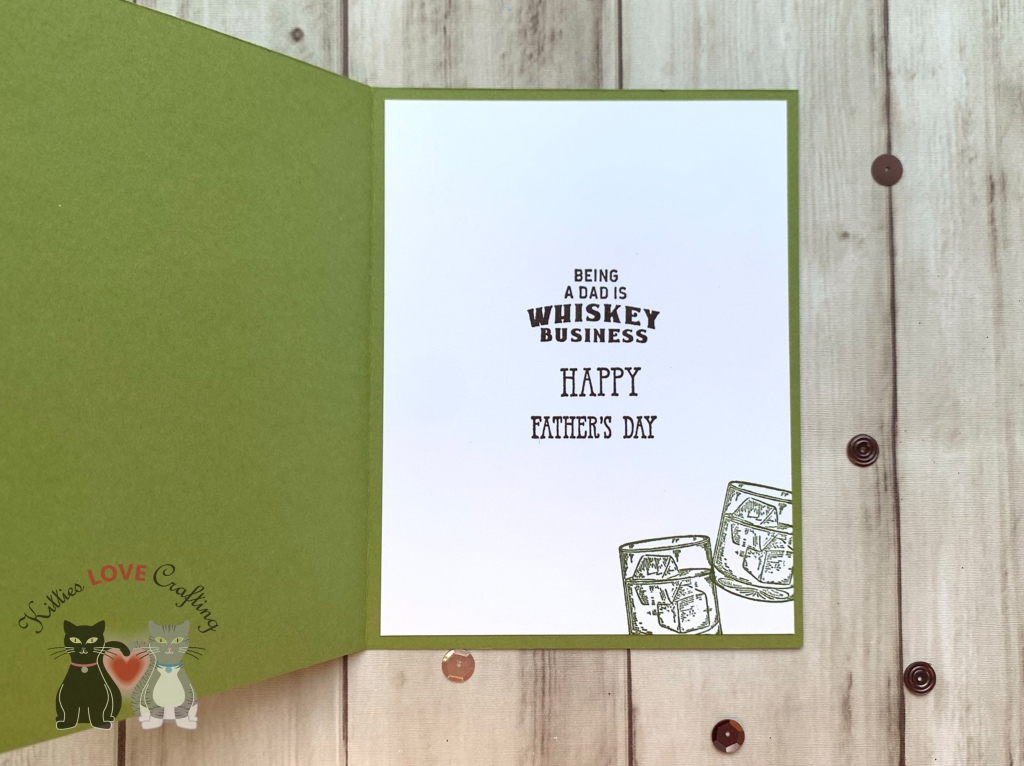
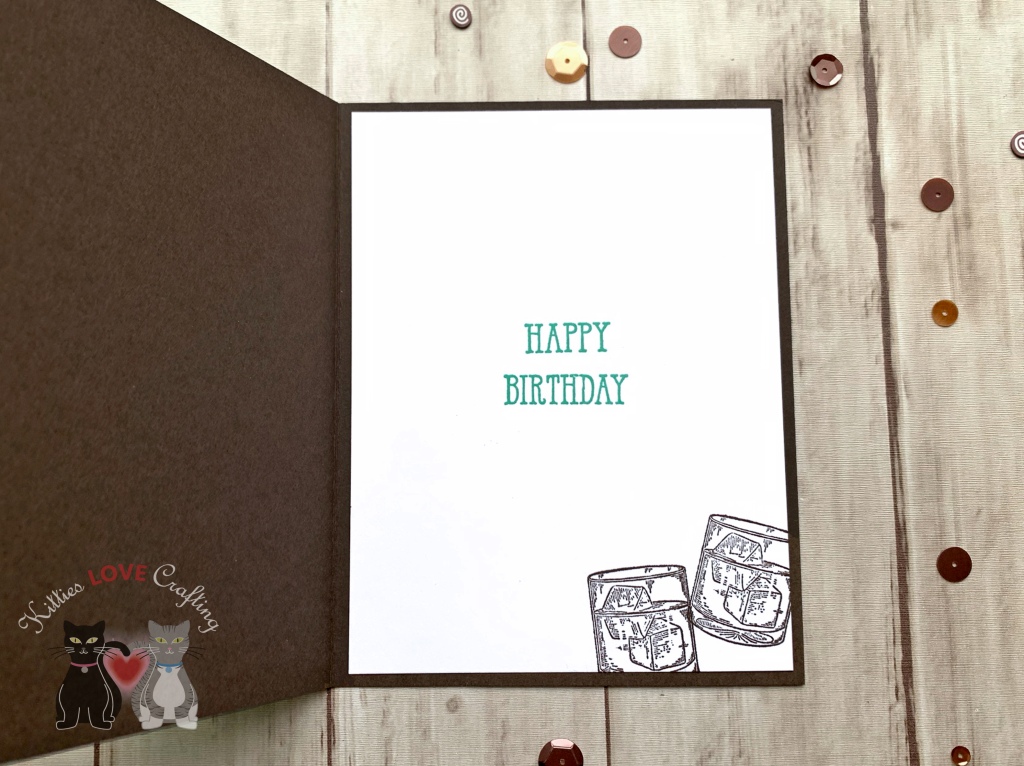
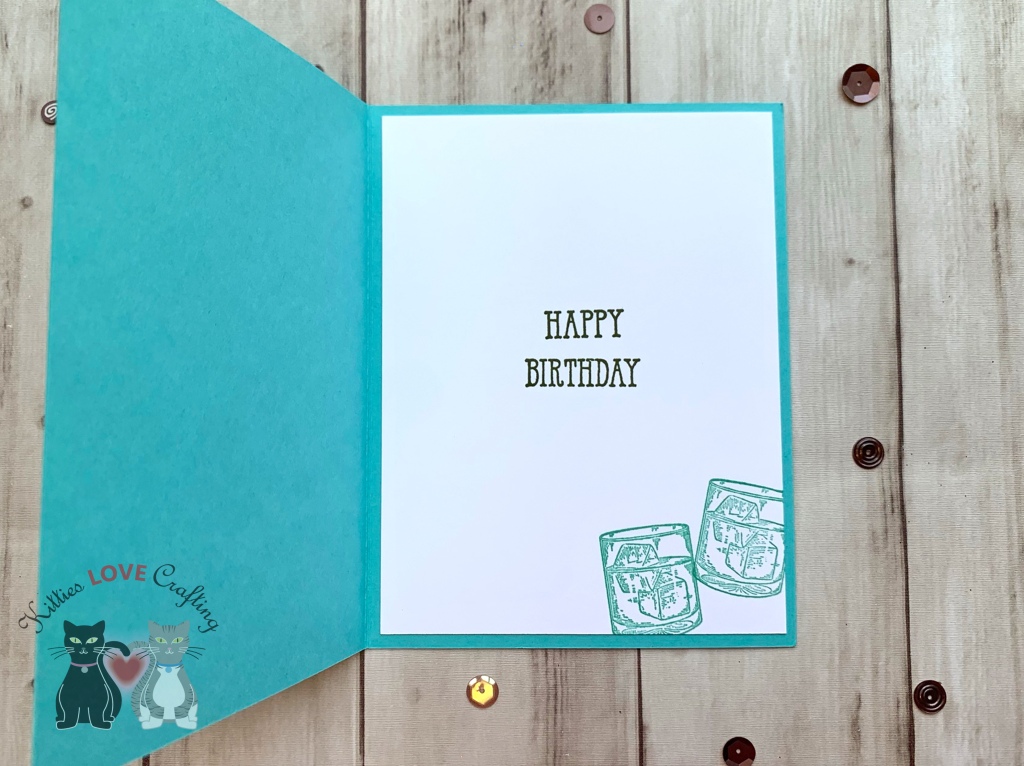
Hi friends! As promised, here a few more masculine card ideas using Stampin’ Up!’s Whiskey Business Stamp Set. These can be easily mass produced and are great for birthdays, Father’s Day or any celebration.
Thanks for reading this post. I hope you enjoyed and I’ve inspired you to try these easy maSCULINE cards using this stampset and paper for yourself! Leave comments or questions below or feel free to email me. If you want to share you creations with me tag me on instagram @kittieslovecrafting.
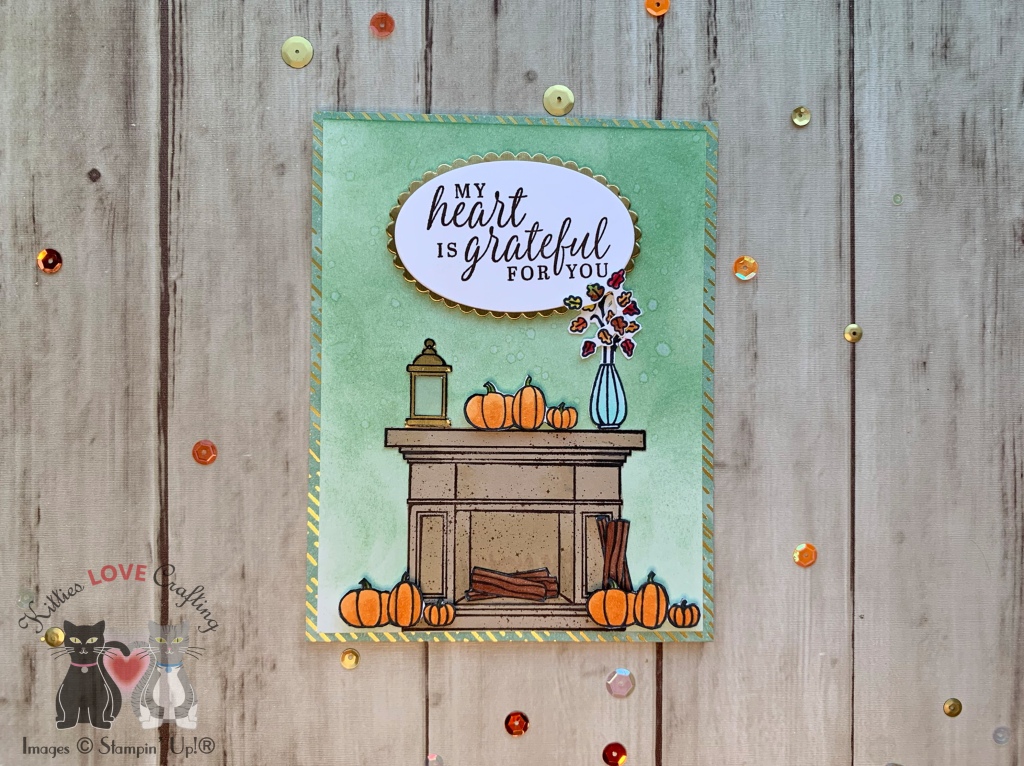
Hi friends. I have one last Fall card and of course another Christmas card. Now I know Fall is over for most of us even though the calendar says it doesn’t end until December 21st but I wanted to show the possibilities with this stamp set. Stampin’ Up!’s Fireside Trimming stampset is good for Fall, Halloween, Christmas and many other occasions. This stampset can be found on page 20 of the new Aug-Dec Mini Catalog. It also coordinates with the Fireside Dies.
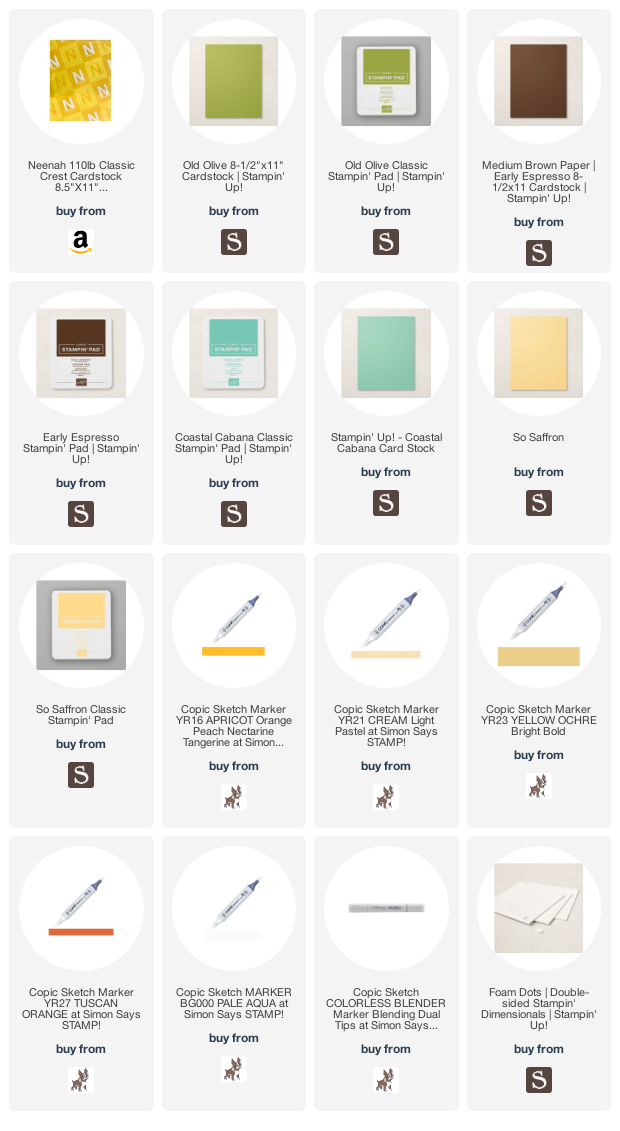
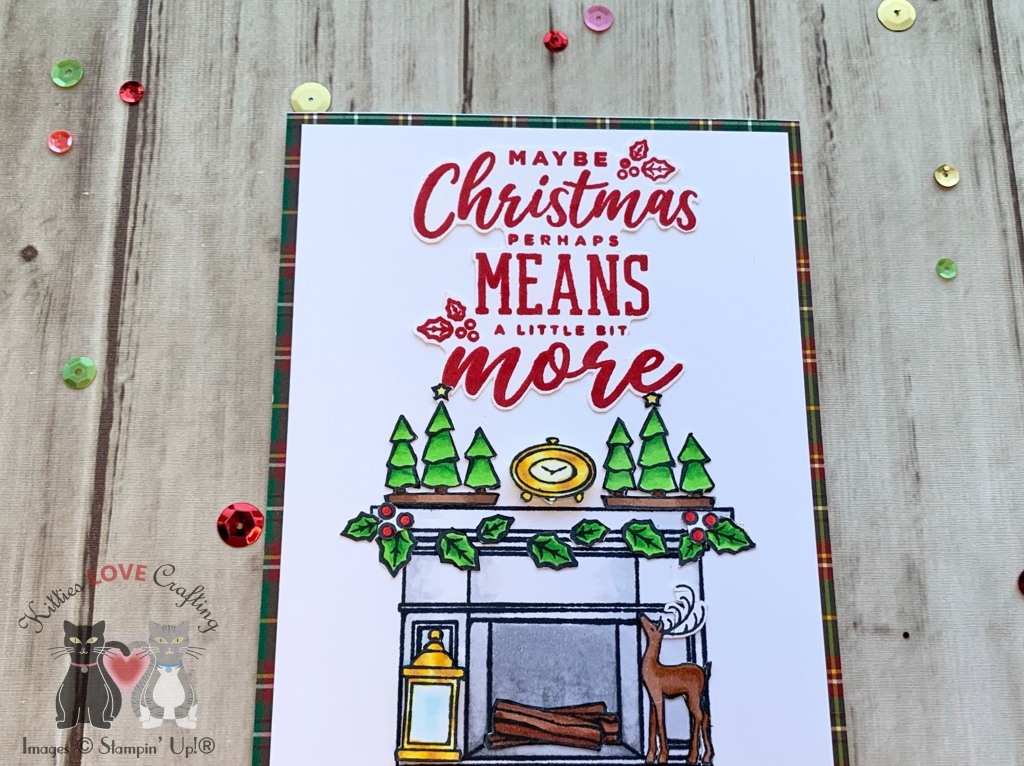
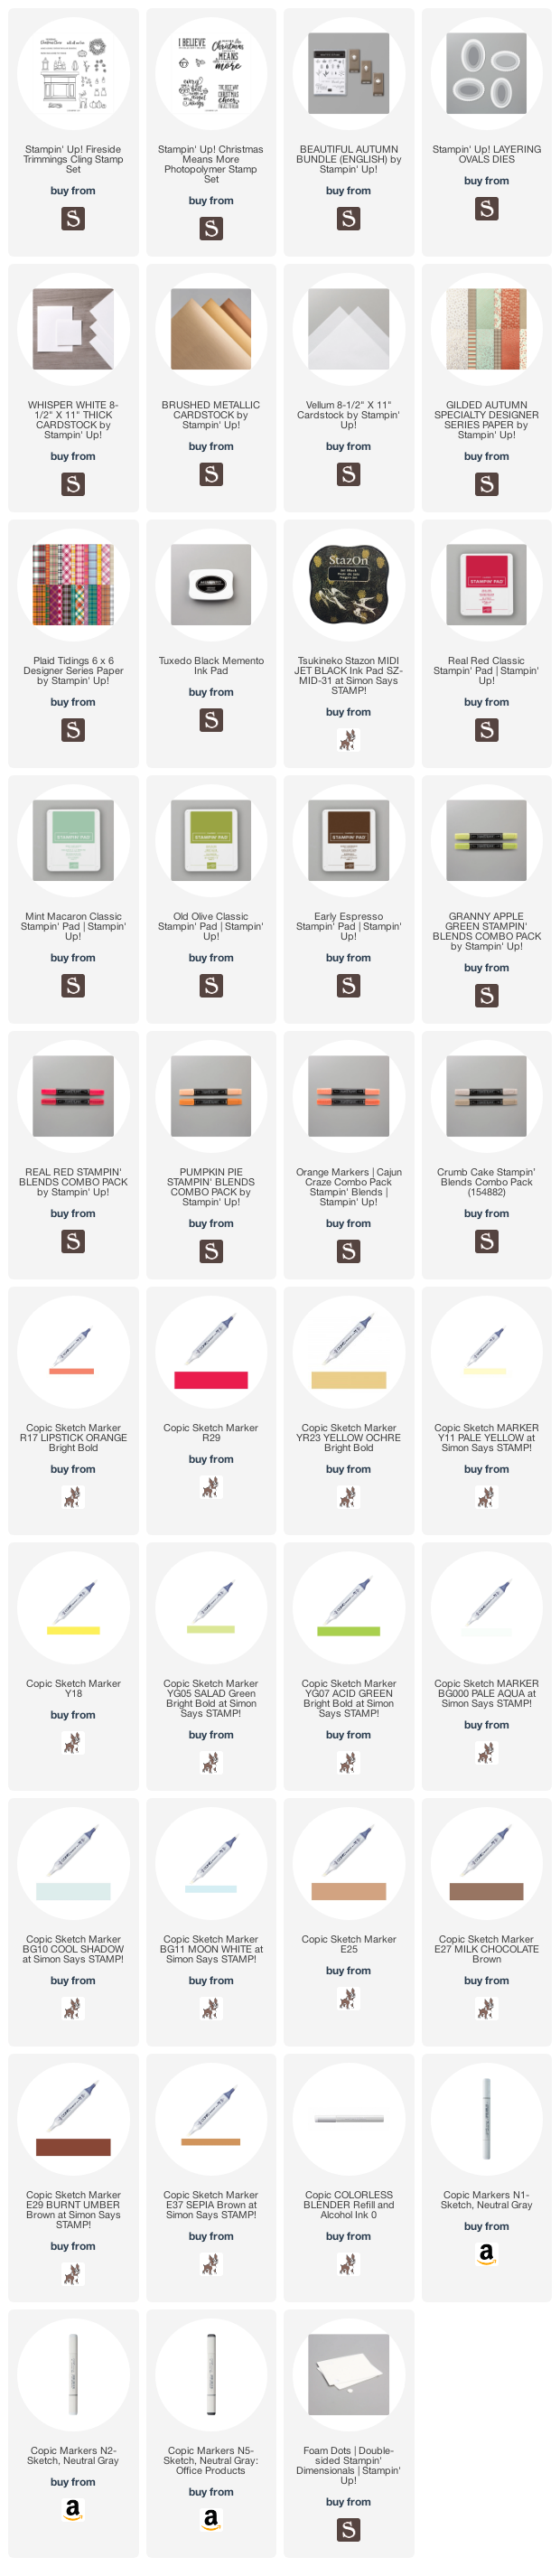
I stamped the fireplace from Stampin’ Up!’s Fireside Trimming stampset with Memento Tuxedo Black Ink onto the panel, and all the images onto another piece of Whisper White 8-1/2″ X 11″ Thick Cardstock. I also stamped several holly from the Christmas Means More Stampset. On this card I colored everything with Copic Markers. I used YG05 & G07 for the trees and holly leaves, R17 & R29 for the holly berries, E25 & E27 for the tree bases and reindeer, E29 for the tree trunks, E25, E27 & E29 for the wood logs, Y11, Y18 & Y23 for the lantern and clock) and N1, N2, N5 & ) for the fireplace. I fussycut the images and adhered them to the card panel. I popped up the lantern and clock with Stampin’ Dimensionals. And adhered the panel to the card.
Thanks for reading this post. I hope you enjoyed and I’ve inspired you to try these fall cards using this beautiful suite for yourself! Leave comments or questions below or feel free to email me. If you want to share you creations with me tag me on instagram @kittieslovecrafting. If you would like a Stampin’ Up! catalog, please email me as well. All current catalogs can be found on the right side of this post and the Stampin’ Up! page. All news and fun stuff happening at Stampin’ Up! are listed there!


 https://linkdeli.com/widget.js?id=f5e8378456858c916708