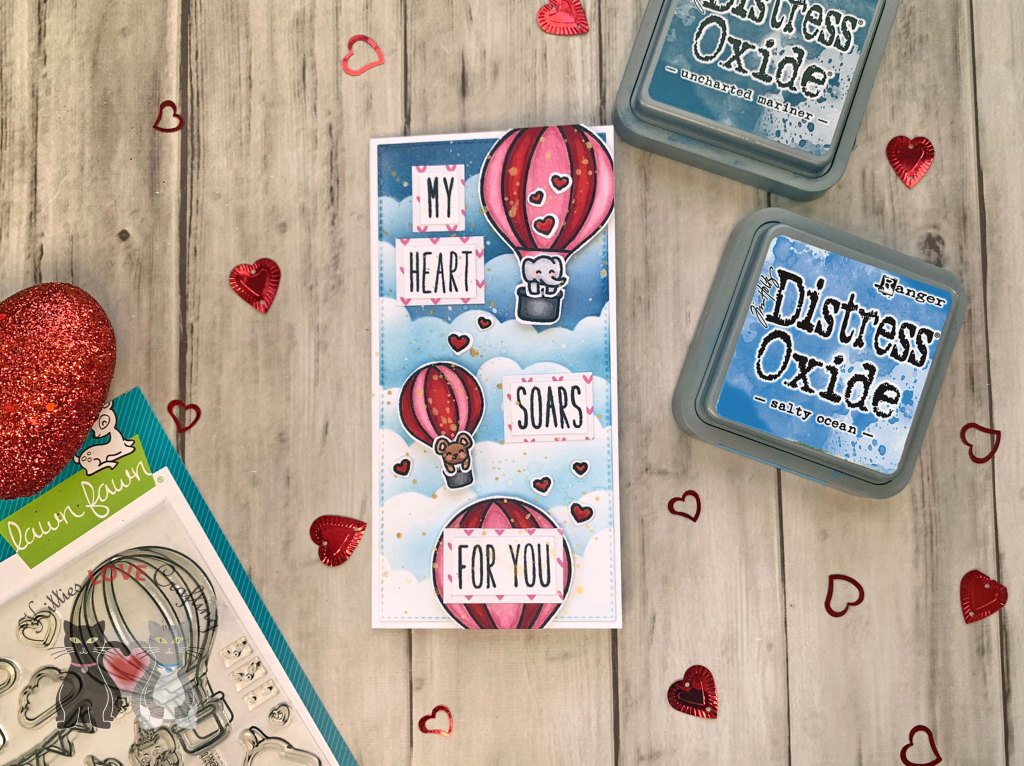
Hello friends. This card features the Lawn Fawn Fly High stampset. This is an example on how to create an interactive slimline card with this stampset. The hot air balloons can be used in a variety of ways. Check out the mini slimline Valentine’s Day card I made with it to see more ideas in my previous post.

For this card, I cut a piece of Neenah 110lb Classic Crest Cardstock to 7″ x 8-1/2″ and scored at 3-1/2″ to create the card base. I diecut a piece of Neenah 110lb Classic Crest Cardstock with the largest stitched slimline frame from the Lawn Fawn Large Slimline with Sliders, which measures 3-1/2 x 8-1/2″.
I used the Simon Says Stamp Stencil BUILD A RAINBOW with Tim Holtz Squeezed Lemonade, Scattered Straw, and Picked Raspberry Distress Oxide Inks to color the background. I splashed some water onto it and dried it off.


I stamped the images from the Lawn Fawn Fly High stampset onto Neenah 100lb Classic Crest Cardstock 8.5 X 11″ with Memento Tuxedo Black Ink. I paper pieced the hot air balloins using the Lawn Fawn Stripes ‘n Sprinkles 6×6 Petite Pack and Doodlebug Dot Stripe Rainbow Petite Prints 6×6 Inch Paper. Then colored the rest of theb images including the balloon’s bucket with Copic Markers. I used E13, E25, & E27 for the balloon bucket; RV52 & RV55, Y13 & Y17, YG03 & YG45, B24 & 28, and BV11 & BV17 for the banners; BG000 & 0 for the clouds; C0, C1 & C3, R20, Y13 & Y17, BV11 & BV17, RV52 & RV55, and B24 for the elephants; C1, C3 & C5, YG03 & YG45, and Y13 & Y17.

Before adhereing my images. I die cut the slider mechanism using the Lawn Fawn Large Slimline with Sliders. Then, I stamped a sentiment using Lawn Fawn Fly High stampset onto Neenah 100lb Classic Crest Cardstock 8.5 X 11″ with Memento Tuxedo Black Ink and then cut them down.
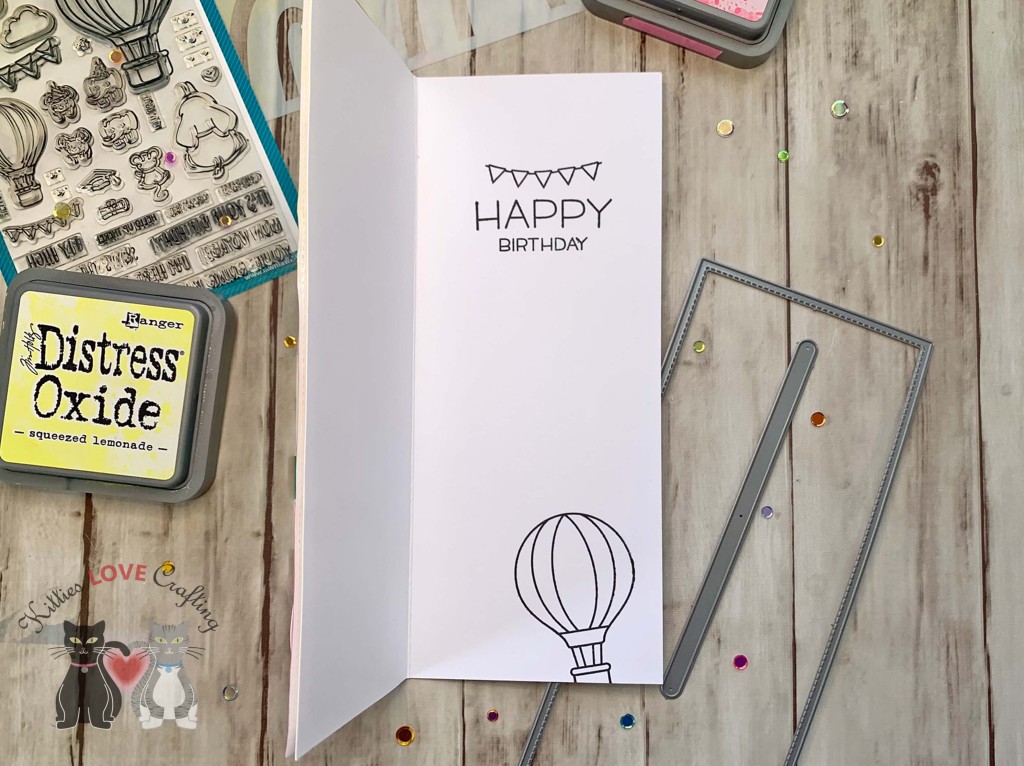
On the inside of the card, I stamped a sentiment from the Lawn Fawn Happy Happy Happy-on with Memento Tuxedo Black Ink.
Dimensions
- Card Base = 7″ x 8-1/2″ and scored at 3-1/2″ Neenah 110lb Classic Crest Cardstock
- Top Panel = 3-1/2 x 8-1/2″ Neenah 100lb Classic Crest Cardstock 8.5 X 11″
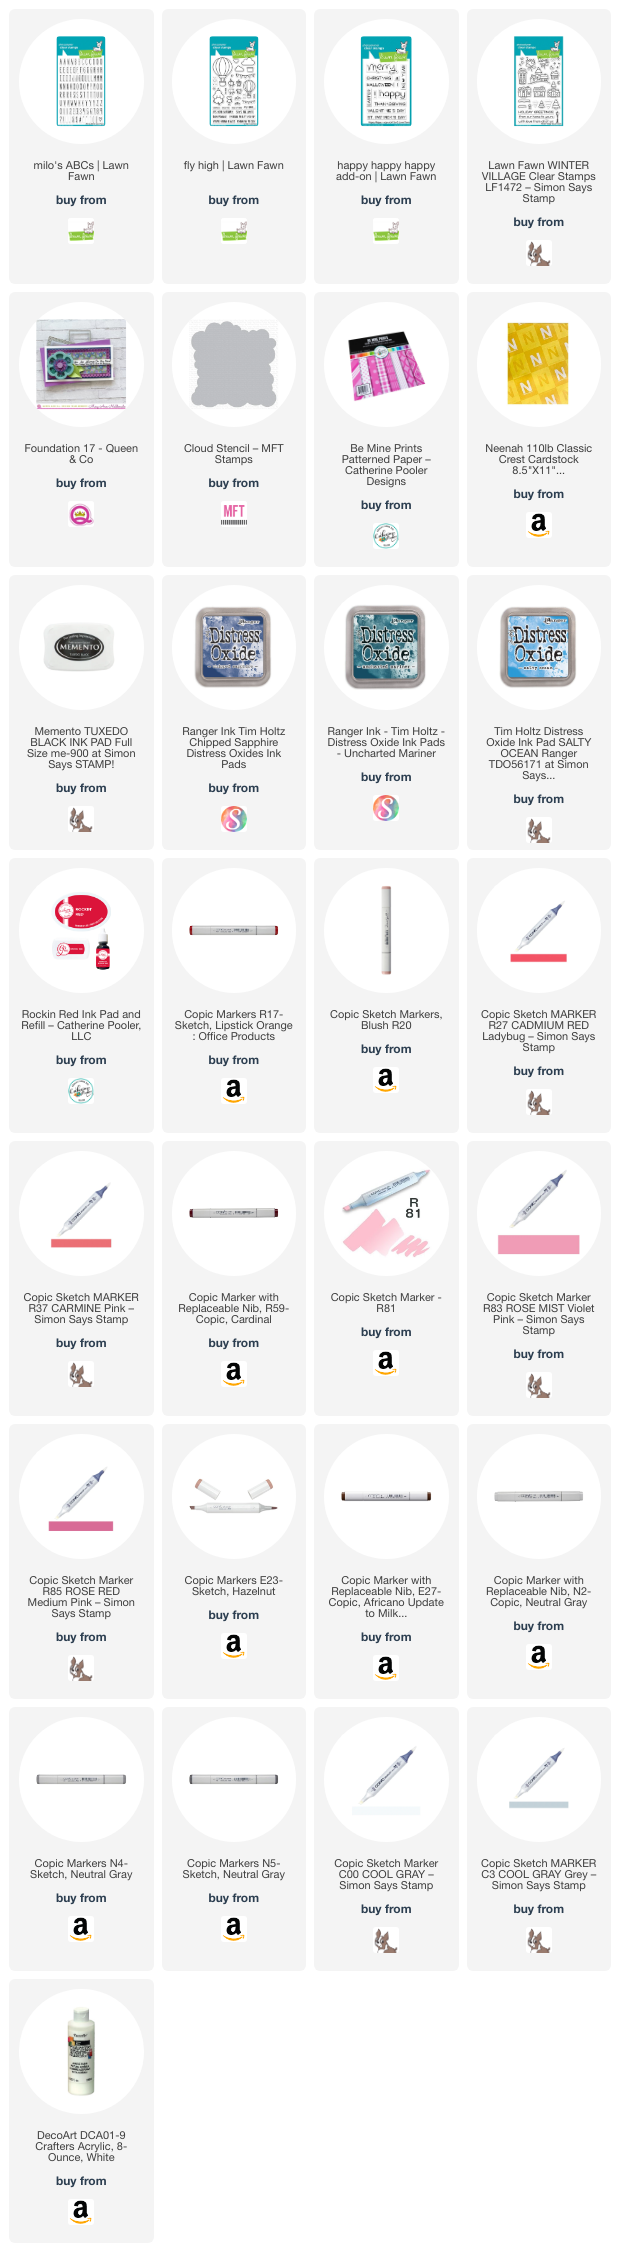
Supplies
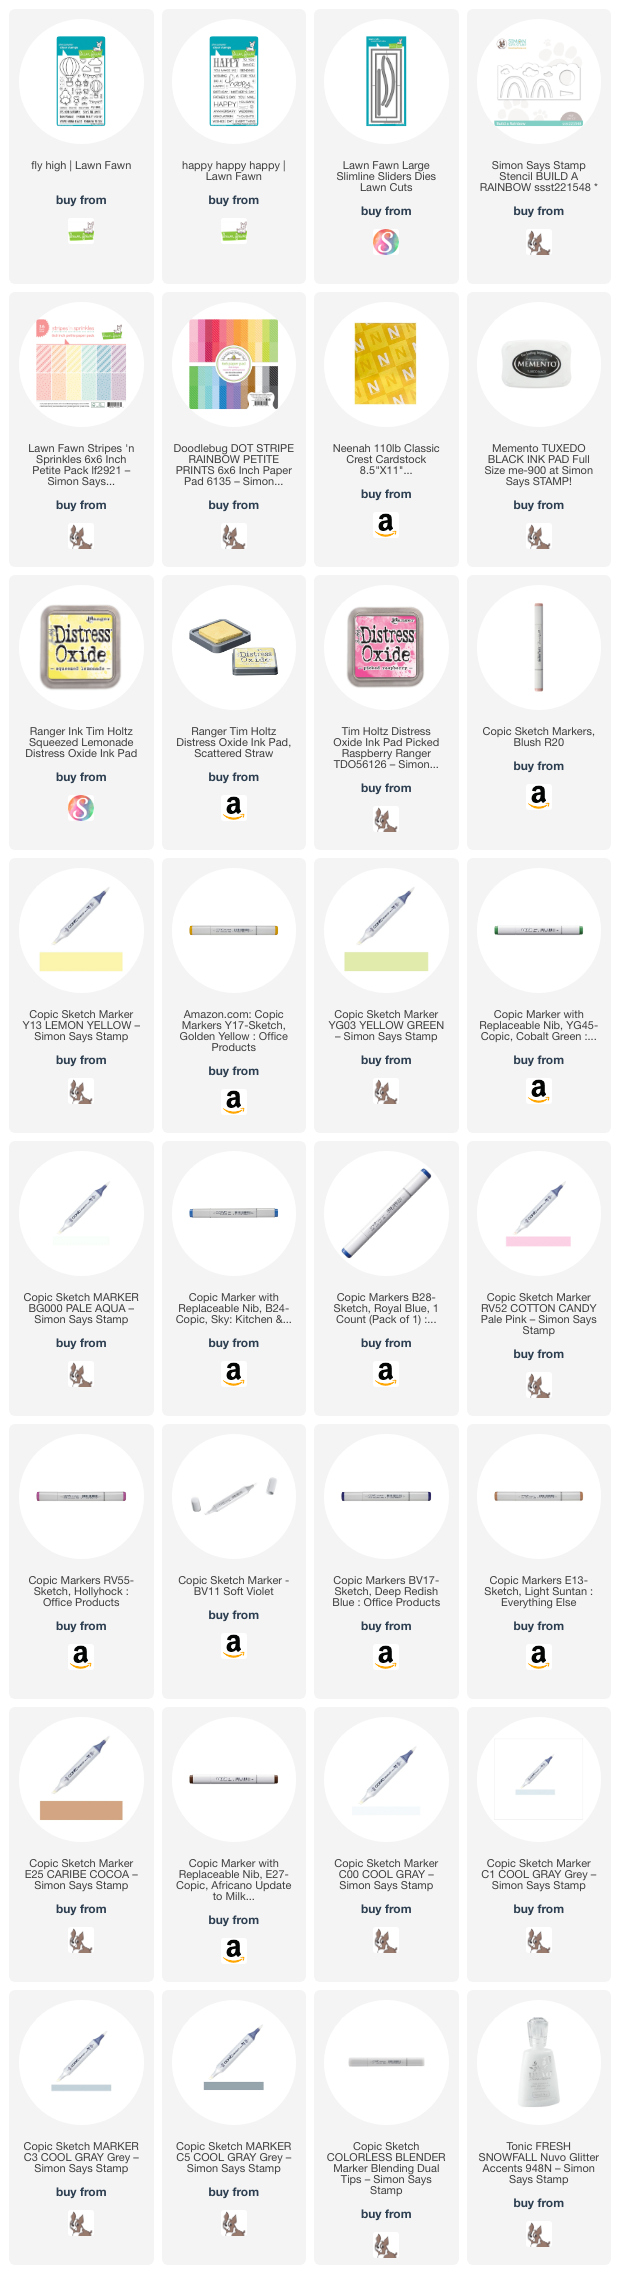 https://linkdeli.com/widget.js?id=f5e8378456858c916708
Thanks for reading this post. I hope I’ve inspired you to give this cute slimline birthday card a try for yourself. Leave comments or questions below or feel free to email.