Hello friends. Here’s a fun way to create your own pattern paper using stamps. This card features the Catherine Pooler Designs Fright Night Stampset which came in the Boo Box released last month.
For this card, I cut a piece of Neenah 100lb Classic Crest Cardstock 8.5 X 11″ to 5-1/2 x 8-1/2″ and scored at 4-1/4″ to create an A2 card base, and another piece to 3-3/4 x 5″, and a piece of vellum to 3-1/2 x 4-3/4″.
I stamped the sentiment from Catherine Pooler Designs Fright Night Stampset (included in the Boo Box) with CP Midnight Ink. And lastly die cut the two words from Simon Says Stamp 100lb Black Cardstock using the Catherine Pooler Designs Made You Eek die set (included in the Boo Box).
I left the inside of the card blank and just added an orange pumpkin from the Catherine Pooler Designs Fright Night Stampset (included in the Boo Box).
Hello friends. Here’s a cute slimline Halloween card featuring the Catherine Pooler Designs Halloween Mug Shots Stampset which came in the Boo Box released last month. This stampset is so stinking cute! I’m in love.
For this card, I cut a piece of Neenah 100lb Classic Crest Cardstock 8.5 X 11″ to 7 x 8-1/2″ and scored at 3-1/2″ to create a slimline card base, a piece of pattern paper from Catherine Pooler Designs Eerie-sistible 6 x 6 Paper (included in the Boo Box) cut to 3-1/2 x 8-1/2″, and another piece of Neenah 100lb Classic Crest Cardstock 8.5 X 11″ to 3 x 8″. I also cut another piece of pattern paper to 1 x 8″ for the front panel.
I stamped the images from the Catherine Pooler Designs Fright Night and Halloween Mug Shots Stampsets (included in the Boo Box) onto Neenah 100lb Classic Crest Cardstock 8.5 X 11″ with Memento Tuxedo Black Ink. I used Copic Markers to color the images. I used C0, 0, Y06, Y17, YR04, & YR09 for the candy corn; C5, C7, YG25, Y06, V04 & V09 for the witch mug; YG17, YG25, YR04, YR09, E33, E25; C0, 0R20, YG17 & YG01 for the ghosts and ghost mug; V04, V06, V09, R20, YG25, YG17, Y17 & YR04 for the bat mug; V04, V06, V09, YG17, YG01 & YG25 for the bubbles; C0, 0, YG25, V22, V25, E25, E33 for the foam with broom; and C0, 0 & YG25 for the foam with straw.
I added some stars die cut from white card stock using the CP Haunted Tags & Charms Die Set (included in the Boo Box) which I colored with Melon Ice Ink.
I stamped the sentiment from Catherine Pooler Designs Halloween Mug Shots Stampset (included in the Boo Box) with CP Midnight Ink and fussycut it. I popped up some of the images and the sentiment using some 3M Foam Tape.
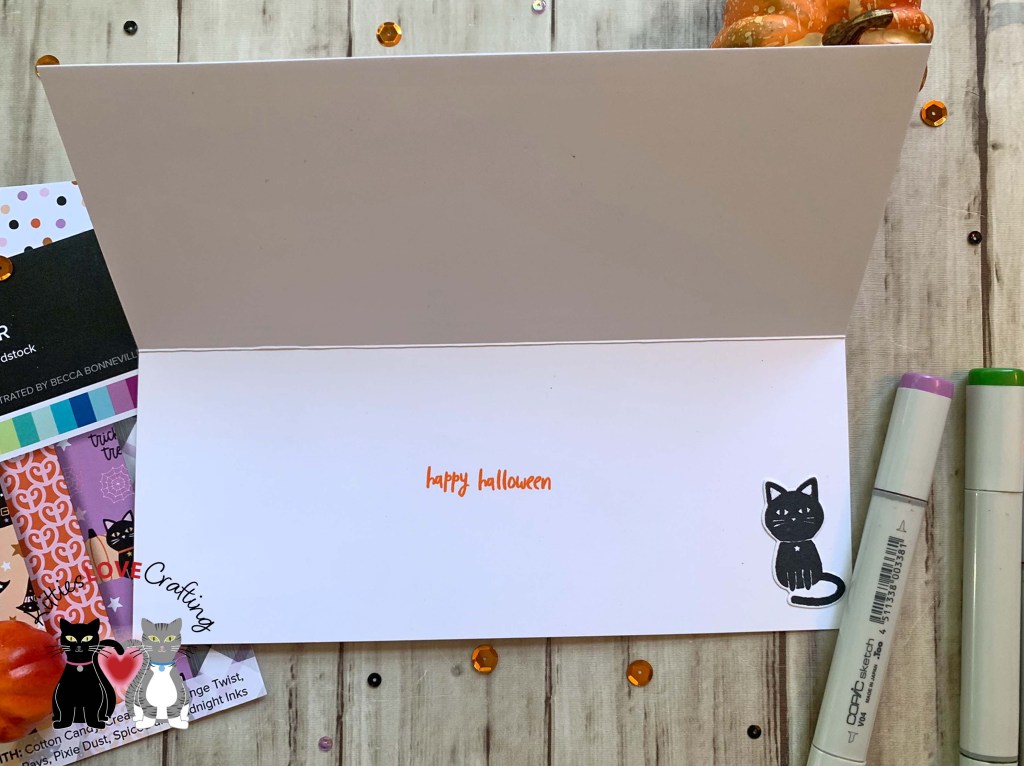
On the inside of the card, I stamped from the CP Boo Day Stampset (included in the Boo Box) with Orange Twist Ink and added a black cat from the Fright Night Stampset.
Background Panel = 3-1/2 x 8-1/2″ Catherine Pooler Designs Eerie-sistible 6 x 6 Paper (included in the Boo Box); 3 x 8″ Neenah 100lb Classic Crest Cardstock 8.5 X 11″; 1 x 8″ Catherine Pooler Designs Eerie-sistible 6 x 6 Paper
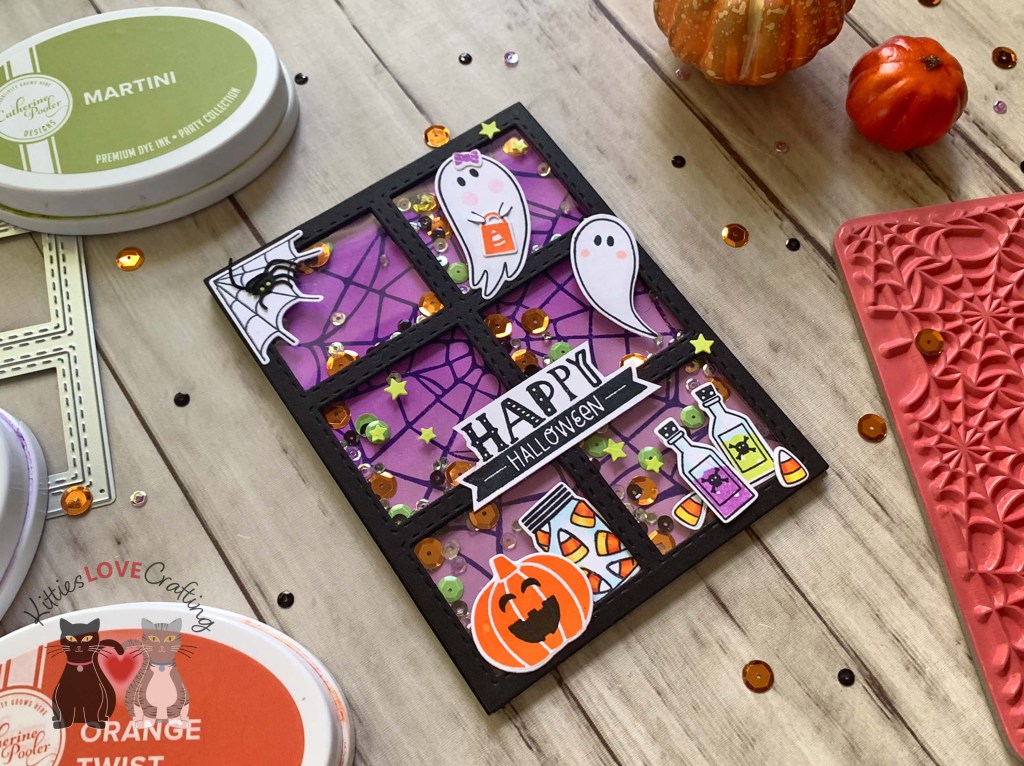
Hello friends. Here’s a cute Halloween shaker card using the Count to Six Coverplate included in the Catherine Pooler Boo Box. If you purchased this box then you know how absolutely adorable it is! If not, you can still make this style of card using stamps and dies you own.
For this card, I cut a piece of Simon Says Stamp 100lb Black Cardstock to 4-1/4 x 11″ and scored at 5-1/2″ to create a top folding A2 card base. I die cut 3 window frames from the same black cardstock using the Catherine Pooler Designs Count to Six Cover Plate (included in the Boo Box). I cut a piece of acetate to 4-1/4 x 5-1/2 and placed it behind the frames. Then added foam tape strips to the back.
I stamped the images from Catherine Pooler Designs Fright Night Stampset (included in the Boo Box) using CP Midnight, Cotton Candy, Orange Twist, Melon Ice, and Pixie Dust Inks. I used Copic Markers to give the ghosts some dimension as well as the jar, candy corn and poison bottles. I used C0, R20 & 0 for the ghosts; BG000 & 0 for the bottles and jar; and C0 & 0, Y06 & Y17, and YR04 & YR09 for the candy corn.
The little spider came was die cut from black cardstock using the CP Haunted Tags & Charms die set (included in the Boo Box).
On the inside of the card, I cut a piece of Neenah 100lb Classic Crest Cardstock 8.5 X 11″ to 4 x 5-1/4″. I stamped the sentiment from the Catherine Pooler Designs Fright Night Stampset (included in the Boo Box) with CP Martini Ink and added a black witch hat.
Thanks for reading this post. I hope I’ve inspired you to give this fun interactive Halloween card a try for yourself. Leave comments or questions below or feel free to email.
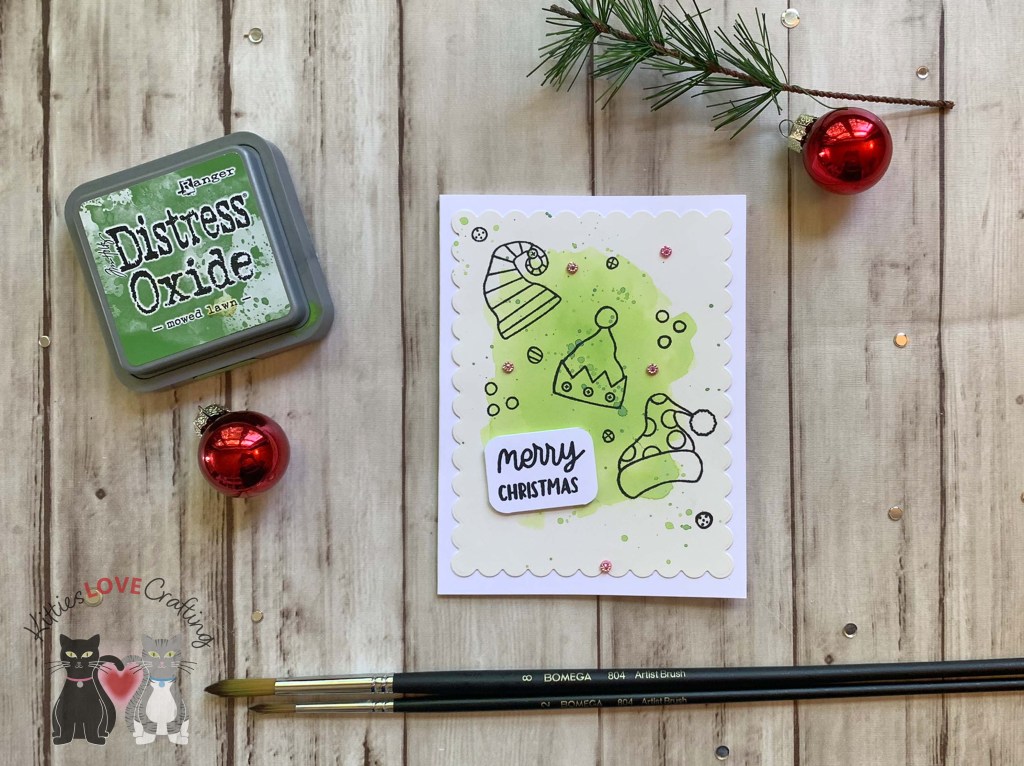
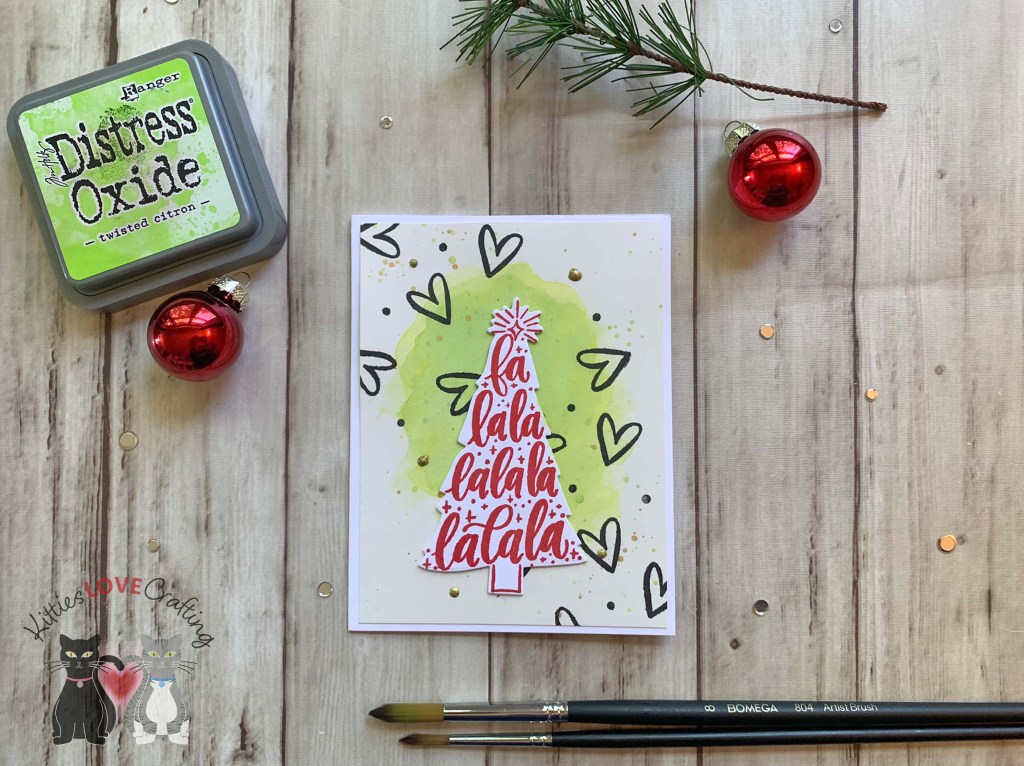
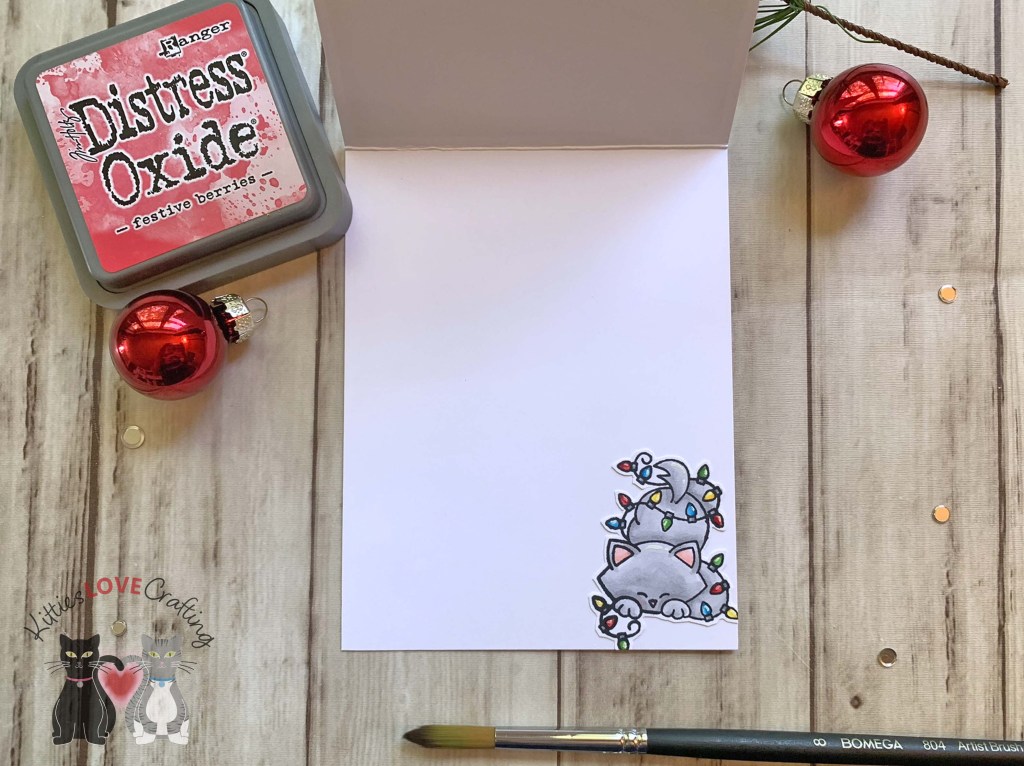
Hello friends. It’s time to create some Christmas cards! It’s never too early to start. I decided to try making some very easy watercolored cards using older products I already have. These cards can easily be mass-produced which was my objective. I used all watercolor backgrounds but stepped up a few with embossing folders. It takes very little effort but produces great results!!!
I stamped the sentiment from the same stamp set with the silver embossing powder as well. I finished the card by adding some flat silver sequins from my stash.
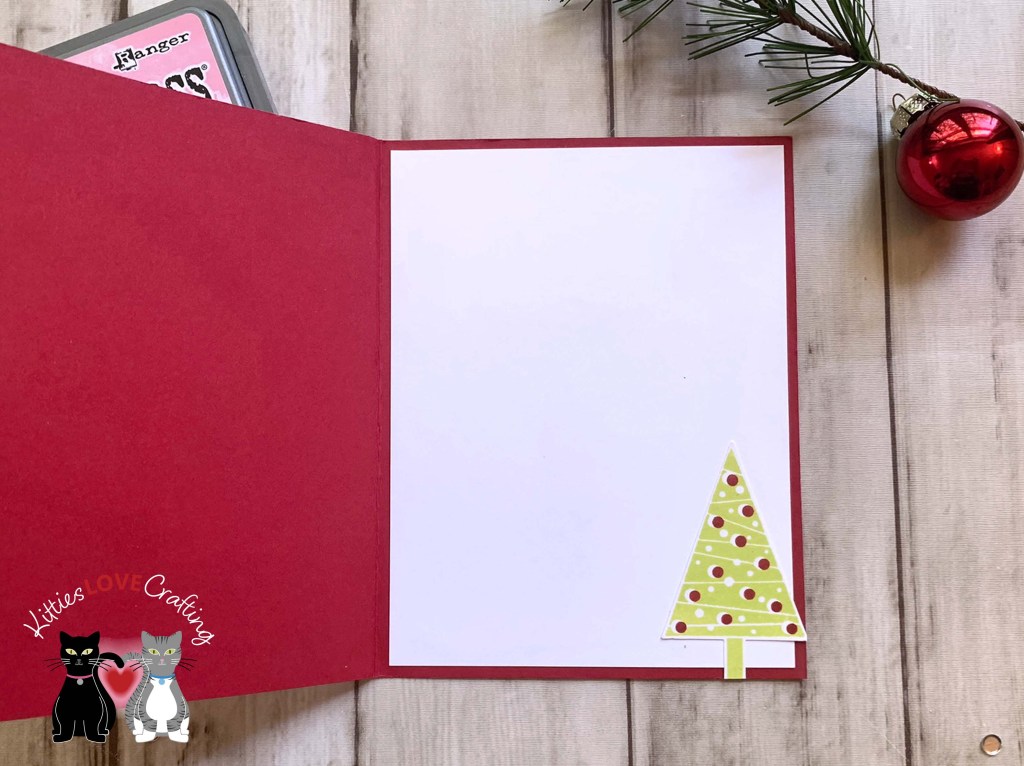
For the fourth card, I cut a piece of Stampin’ Up! Real Red 8-1/2″ X 11″ Cardstock to 5-1/2 x 8-1/2″ and scored at 4-1/4″ to create a card base. I ran the watercolored panel through my die cut machine using the Darice Wired Fence Embossing Folder (unavailable).
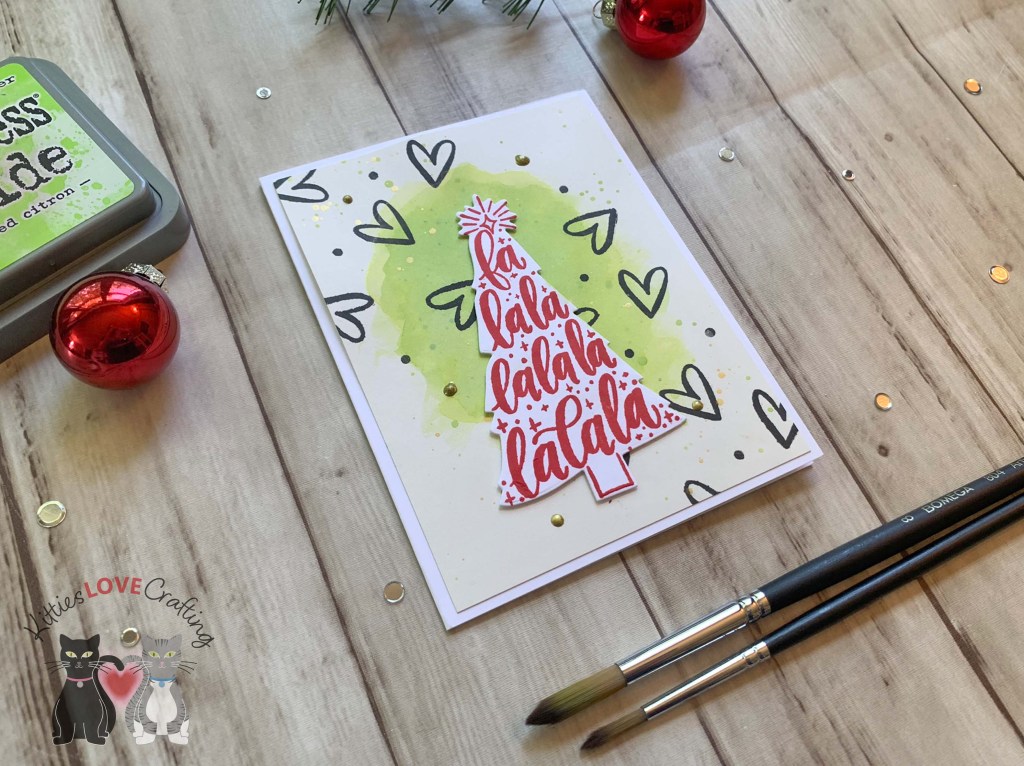
For the last card, I cut a piece of Neenah 100lb Classic Crest Cardstock 8.5 X 11″ to 4-1/2 x 11″ and scored at 5-1/2″ to create a card base. I ran the watercolored panel through my die cut machine using the Embossalicious Christmas Merriment Embossing Folder (unavailable).
I stamped the kitty from Newton’s Nook Curoius Christmas (retired) onto Neenah 100lb Classic Crest Cardstock 8.5 X 11″ with Memento Tuxedo Black Ink. I used Copic Markers to color the images. I used R20, N0, N2, YG06 & YG17 for the cat; C1 & 0, R14, R27 and R29 for the hat; C1, B0000 and 0 for the milk and cup; E34 and E37 for the cookie; and C3, C5, YG06, YG17, R14, R29, B16, B12, Y02 and Y18. I fussycut the image and popped it up with some Stampin’ Dimensionals.
Thanks for reading this post. I hope I’ve inspired you to give this easy watercolor holiday cards a try for yourself. Leave comments or questions below or feel free to email.
Hi friends. I have added more printables to my Etsy Shop! I am now selling Halloween printables. I have coloring books for the kiddos, countdown stickers and trackers. Hope you enjoy using these as much as I have enjoyed making them.
Look for more holiday printables in the future in my shop.
If you have comments or questions about the downloads page leave them below or feel free to email me.
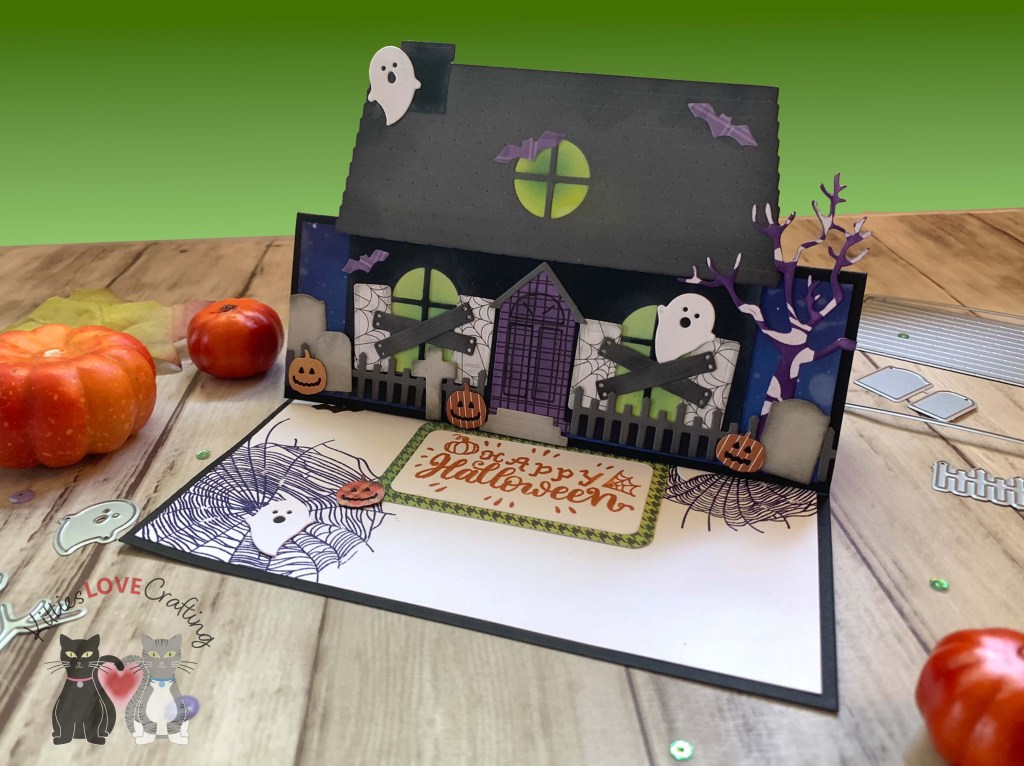
Hi friends. It’s time to start making Halloween cards. Never too early in my opinion! Today I’ve made an easel card using the House Builder Card Base Dies from Honey Bee Stamps!!! These dies are one of my most used ideas. I’ve made lots of cards with these dies and I continue to be inspired to make more… Unfortunately these dies are discontinued but if you have them I encourage you to take them out and use them!
Thanks for reading this post. I hope you enjoyed and I’ve inspired you to try making this cute Halloween easel card! Leave comments or questions below or feel free to email me.
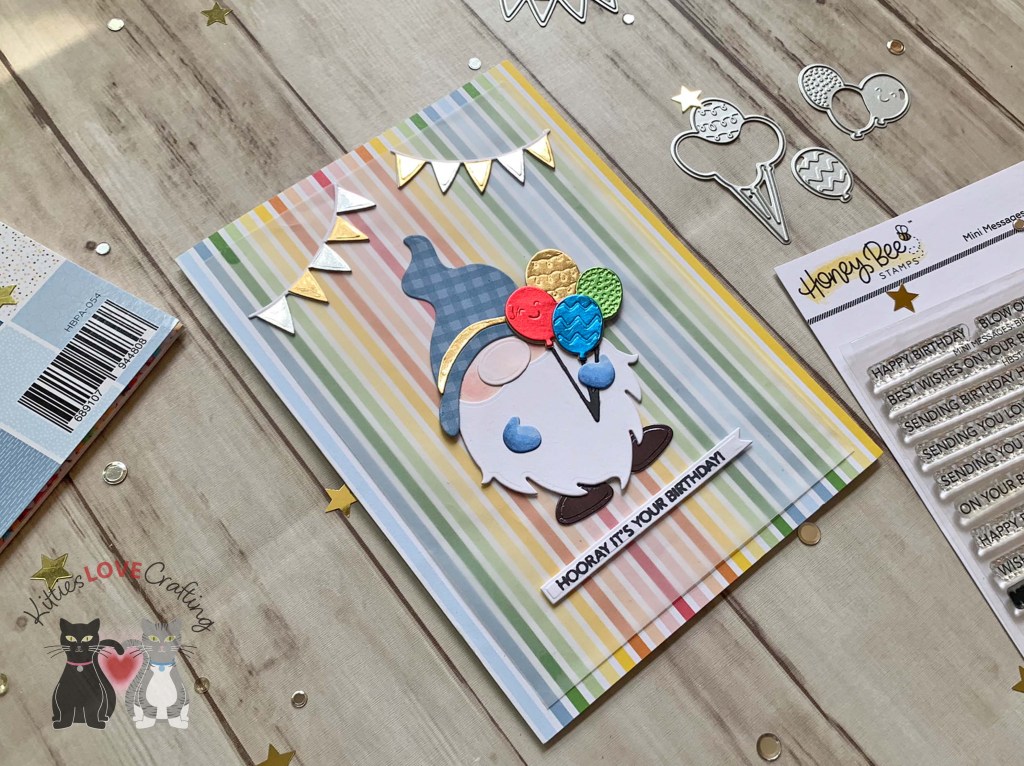
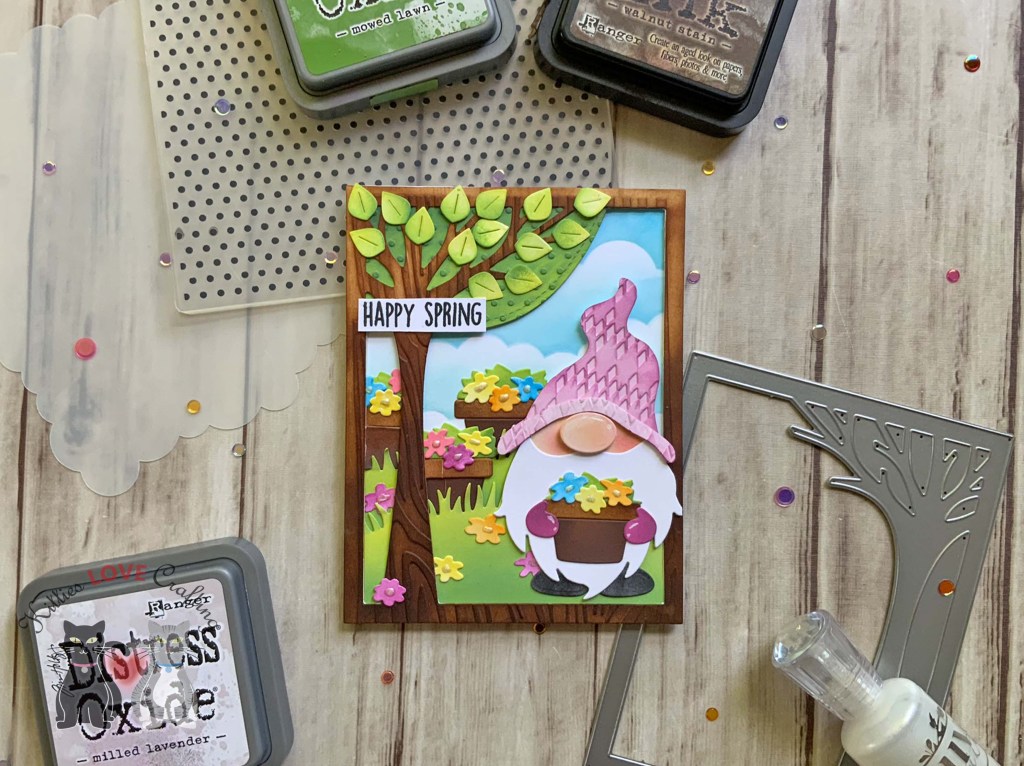
Hello friends. To round off my birthday card series, I decided to make another card with the Springtime Gnome die set from Trinity Stamps! I combined it with the Honey Bee Stamps Birthday Tag Die set.
Thanks for reading this post. I hope I’ve inspired you to give this cute gnome birthday card a try for yourself. Leave comments or questions below or feel free to email.
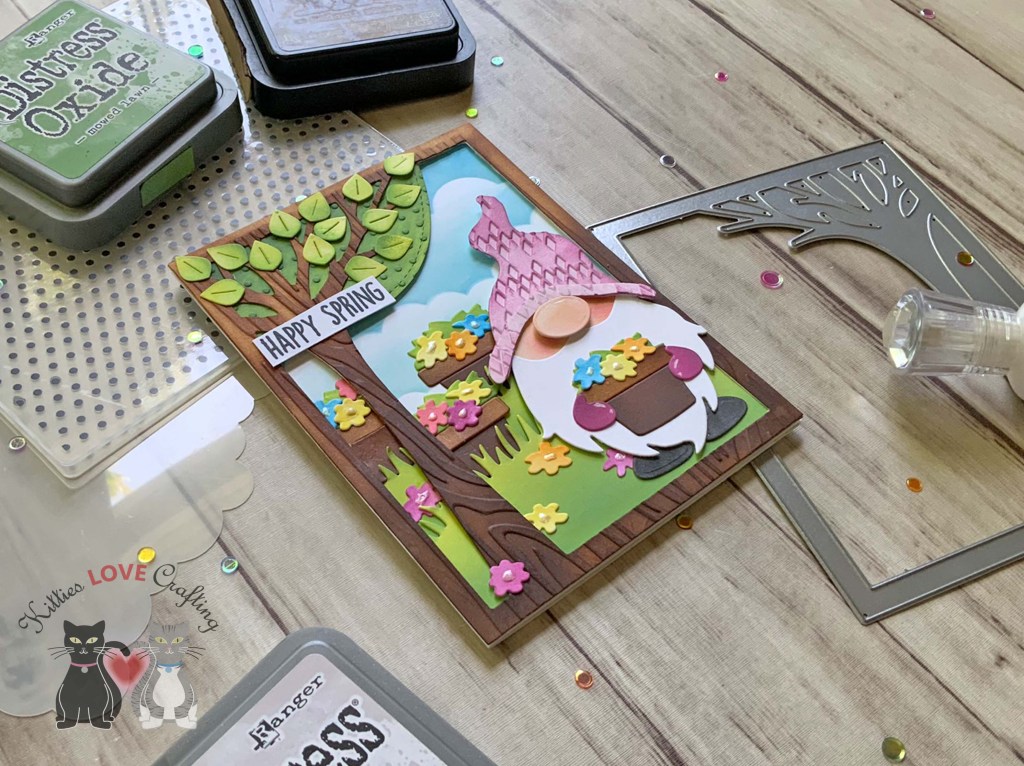
Hello friends. I couldn’t pass up the opportunity to make another card with this gnome die set from Trinity Stamps, Springtime Gnome! I’m thinking Christmas gnomes or maybe turn him into a witchy gnome!!! Stay tuned and find out.
Thanks for reading this post. I hope I’ve inspired you to give this cute Springtime gnome card a try for yourself. Leave comments or questions below or feel free to email.
Hi friends. I am now selling digital printables in my Etsy Shop! I currently have for sale planner inserts I have created for myself and think you will love too. I hope they allow you to customize your planner to suit your specific needs and keep your schedule and tasks in order.
More planner inserts and other printables will be added in the future so keep an eye out for those.
If you have comments or questions about the downloads page leave them below or feel free to email me.
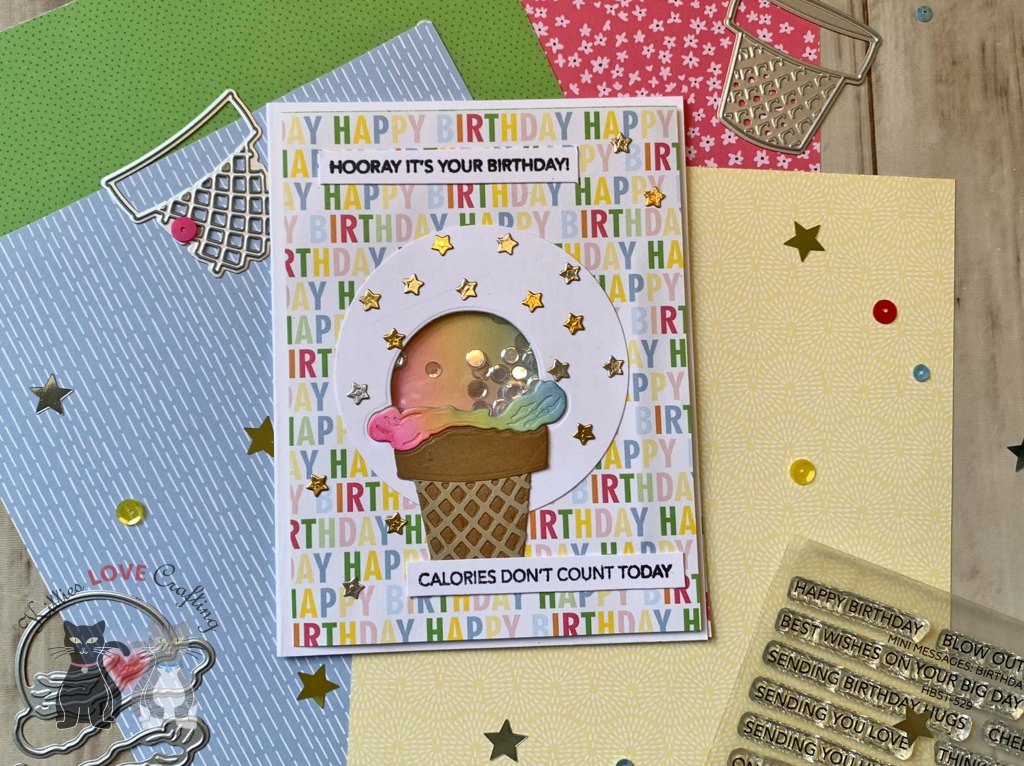
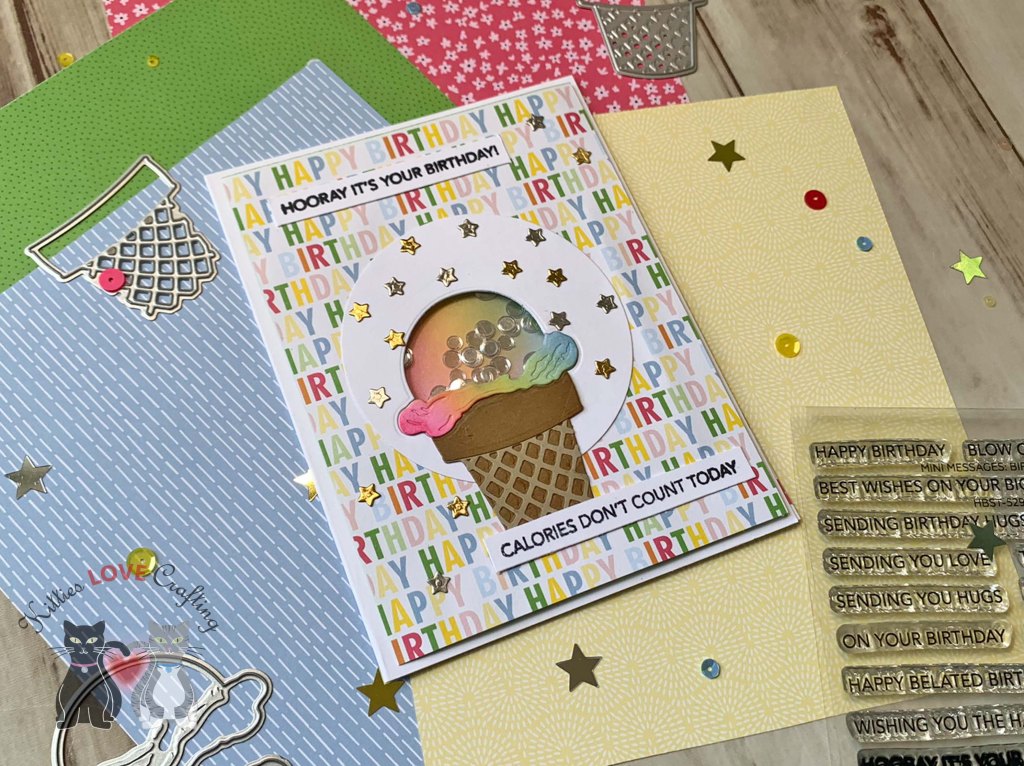
Hello friends. Here’s another quick and easy birthday card using the Lovely Layers: Cupcakes & More die set from Honeybee Stamps. For this one I created a shaker card using the ice cream dies.
Thanks for reading this post. I hope I’ve inspired you to give this cute shaker birthday card a try and use some of your older supplies. Leave comments or questions below or feel free to email.


 https://linkdeli.com/widget.js?id=f5e8378456858c916708