Hi friends. The Lawn Fawn Scent With Love Clear Stamps and Dies is great for scene cards so I decided to make a slimline card. But had so much fun making them I made four instead. 🙂

For these cards, I cut two pieces of Neenah 110lb Classic Crest Cardstock 8.5 X 11″, one piece of Simon Says Stamp Cardstock 100# COTTON CANDY and one of Stampin’ Up! Blushing Bride 8-1/2 x 11″ Cardstock to 7 x 8-1/2″ and scored at 3-1/2″ to create four card bases. I die cut the scallop slimline panel from two different pattern papers from my stash and two from Neenah 110lb Classic Crest Cardstock 8.5 X 11″, using the Catherine Pooler Essentials Slimline Die.


On the white panels, I stenciled hearts using the Simon Says Stamp Stencil Tumbling Hearts Stencil with Tim Holtz Distress Kitsch Flamingo Distress Oxide Ink and on the other panel, clouds using My Favorite Things Cloud Stencil and Mini Cloud Edges Mix-ables Stencil with Tim Holtz Broken China Distress Oxide Ink. I die cut out the windows using the Catherine Pooler Essentials Slimline Die. These dies make it so easy to make a 3 window slimline card.


I added a piece of Neenah 110lb Classic Crest Cardstock 8.5 X 11″ to the back of the pattern paper backgrounds and a piece of vellum behind the stenciled panels, cut to 3-1/2 x 8-1/8″. Before adhering stenciled backgrounds to the card, I added the negative pieces of the window to the card. I stenciled some tiny hearts onto the background of the white windows with Hero Arts Heart Confetti Fancy Die (I die cut acetate to create the stencil) and Catherine Pooler Be Mine Ink.
I stamped a bunch of images from the Lawn Fawn SCENT WITH LOVE Clear Stamps and Dies and the Lawn Fawn SCENT WITH LOVE ADD-ON Clear Stamps and Dies onto some Neenah 110lb Classic Crest Cardstock 8.5 X 11″ with Memento Tuxedo Black Ink.


The images were colored with Copic colors. I used R14, 27 & 46 for all the red items; R81, 83, & 85 for all the pink items; YG25 & 17 for all the greenery; C1, 5, & 7 and 0 for the skunks; and E74 & 79 for all the chocolate items. I die cut all the images with the coordinating dies.


I finished them all by adding some Tonic Fresh Snowfall Nuvo Glitter Accents.
On the inside of the pink cards, I cut a piece of Neenah 110lb Classic Crest Cardstock to 3 x 8″ and stamped a sentiment and the three hearts from the Lawn Fawn SCENT WITH LOVE ADD-ON Clear Stamps and Dies with Memento Tuxedo Black Ink. For the white cards, I just stamped the image directly inside the cards.


Dimensions
- Card Bases = 7 x 8-1/2″ and scored at 3-1/2″ Neenah 110lb Classic Crest Cardstock 8.5 X 11″, Simon Says Stamp Cardstock 100# COTTON CANDY and Stampin’ Up! Blushing Bride 8-1/2 x 11″ Cardstock
- Inside Panel = 3 x 8″ Neenah 110lb Classic Crest Cardstock 8.5 X 11″
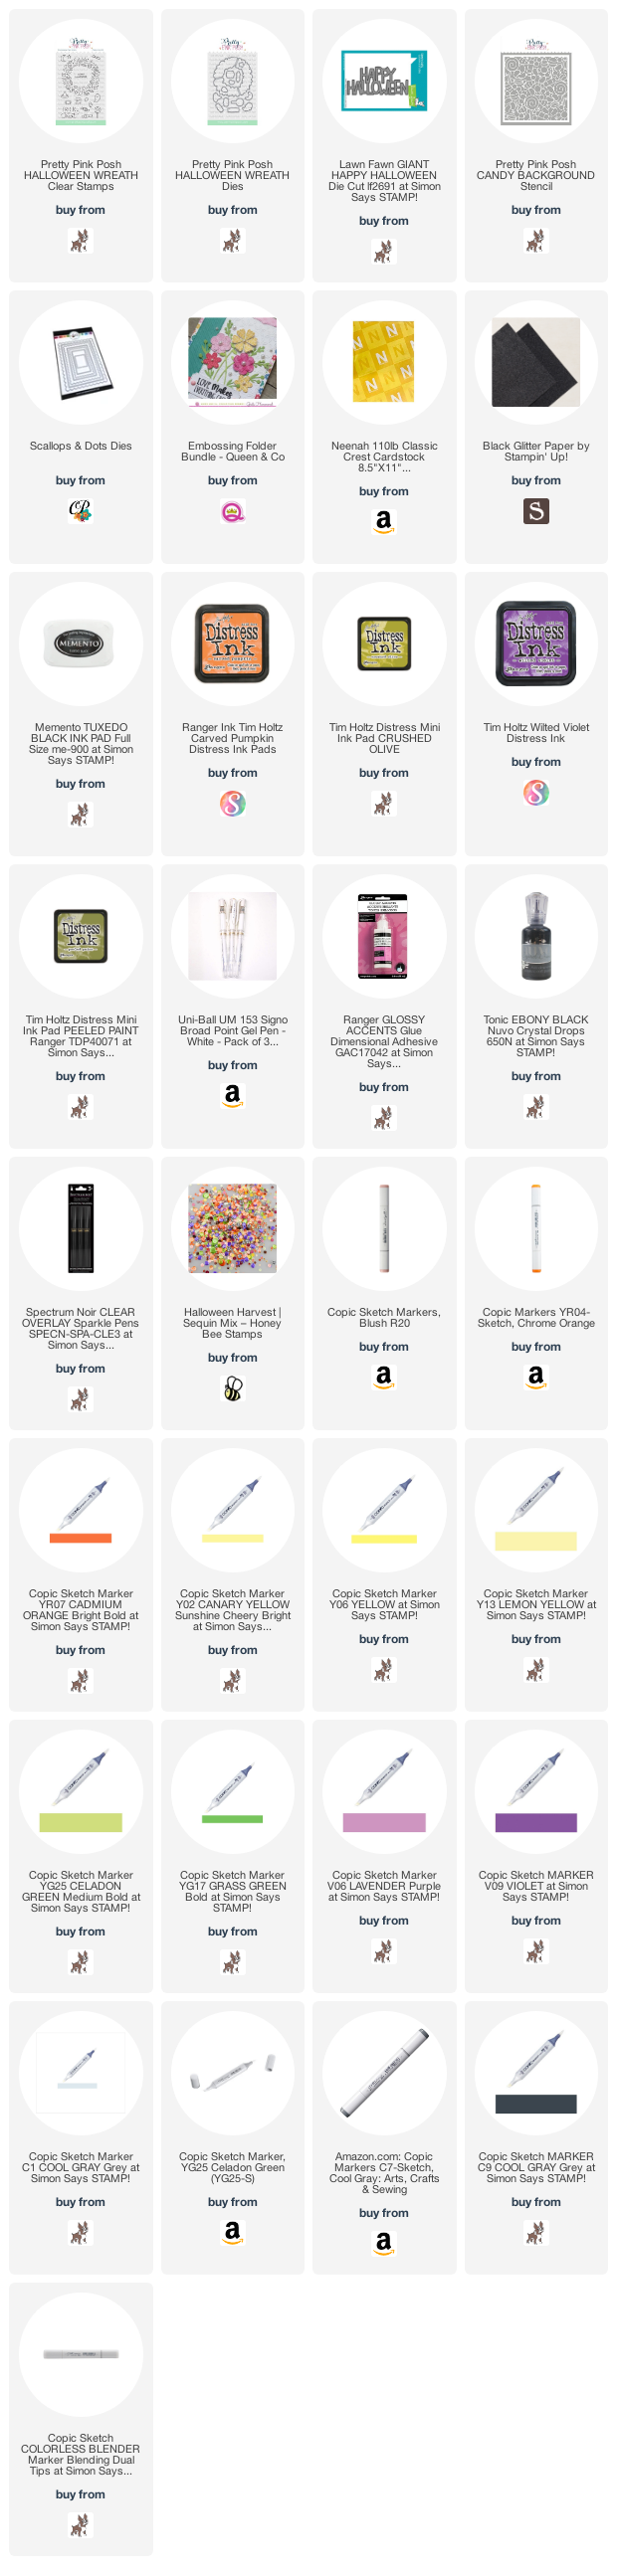
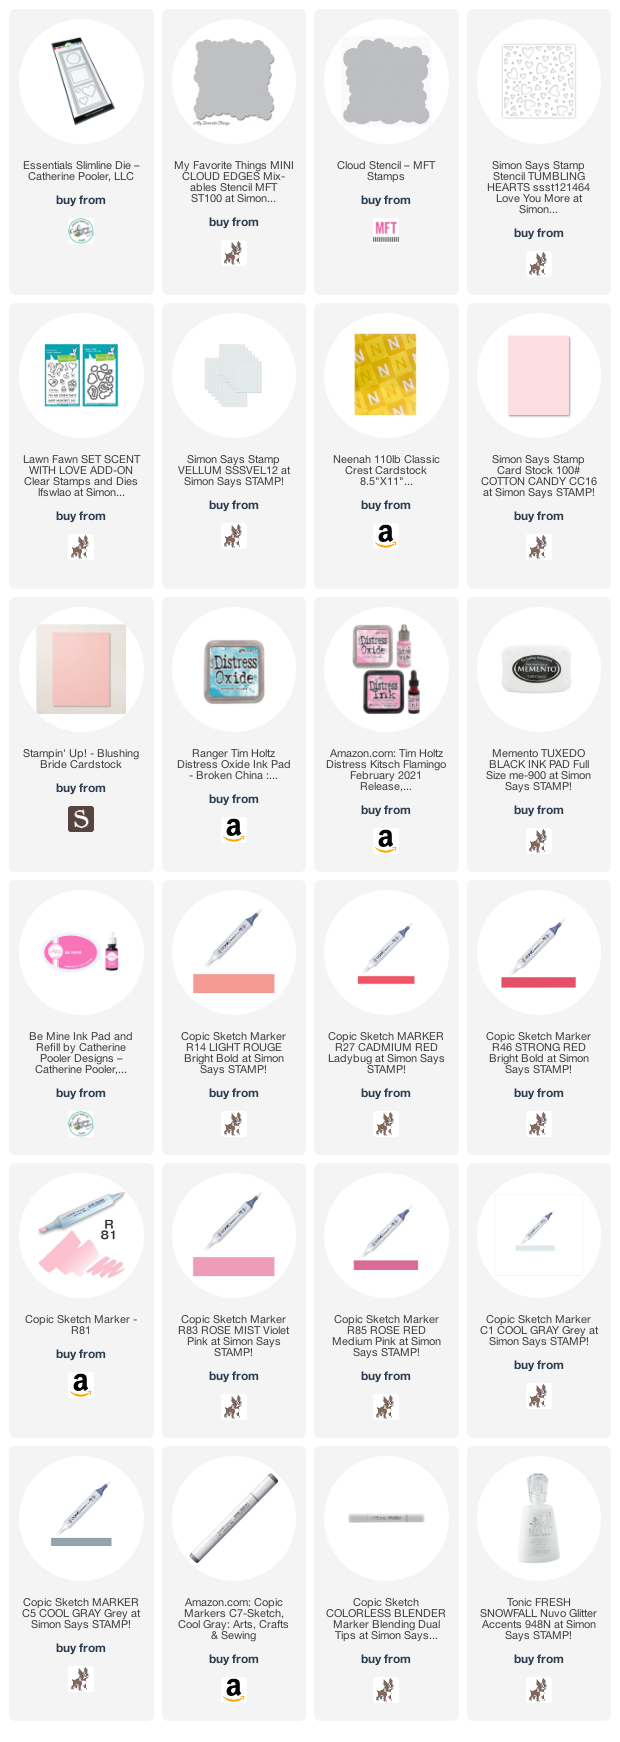
Supplies
 https://linkdeli.com/widget.js?id=f5e8378456858c916708
Thanks for reading this post. I hope you enjoyed and I’ve inspired you to give these cards a try for yourself. Leave comments or questions below or feel free to email.