Autumn, Embossed Background, Fall, Inlay diecutting technique, Thank Yous

Fall Card Series #8: Inlay Diecut Thank You Card feat. Catherine Pooler and Honey Bee Stamps

Hello friends. Here is one last card to close out my Fall series! This one is an easy inlay technique — and oldy but goody! lol

For the first card, I cut a piece of Neenah 100lb Classic Crest Cardstock 8.5 X 11″ to 5-1/2 x 8-1/2″ and scored at 4-1/4″ to create a card base and a piece of Catherine Pooler Designs Sunflower Fields Forever Patterned Paper to 4-1/4 x 5-1/2″. I also die cut a piece of Neenah 100lb with the Catherine Pooler Woven Cover Plate Die.

I cut another piece Neenah 100lb Classic Crest Cardstock 8.5 X 11″ to 3-1/2 x 4-3/4″ which I colored with Catherine Pooler Designs Spiced Ink using the direct-to-paper technique. Then die cut another piece using the second largest die (3-1/2 x 4-1/2″) from the Lawn Fawn Large Stitched Rectangle Stackables Lawn Cuts Dies.

I die cut a window from the white top panel using the shadow from the Honey Bee Stamps Large Thanks Dies (retired) as well as one from Catherine Pooler Designs Sunflower Fields Forever Patterned Paper which I then inlay into the window area. I stamped the rest of the sentiment from Lawn Fawn Thanks Thanks Thanks Stampset using Catherine Pooler Green Tea Ink.

I die cut 2 pumpkins from some Neenah 100lb Classic Crest Cardstock 8.5 X 11″ using the Catherine Pooler Fall Frames. I colored them using ink. I used Catherine Pooler Sauna and Orange Peel and Green Tea Inks and popped one up with Stampin’ Up! Stampinโ€™ Dimensionals.

I finished off the card by adding some Nuvo Drops in Metallic Bright Gold and Bottle Green.

I stamped a sentiment from the Lawn Fawn Thanks Thanks Thanks Stampset with Catherine Pooler Green Tea Ink on the inside of the card and added a piece of Catherine Pooler Designs Sunflower Fields Forever Patterned Paper measuring 1 x 5-1/2″ and 1-1/8 x 5-1/2″.

Dimensions


Supplies

https://linkdeli.com/widget.js?id=f5e8378456858c916708

Thanks for reading this post. I hope Iโ€™ve inspired you to give this easy Thank You card a try for yourself. Leave comments or questions below or feel free to email.

Distress Ink Techniques, Stenciled Background, Thank Yous, Tips and Tricks, Watercolor techniques

Easy Distress Backgrounds (Part 2): Letโ€™s Make Cards

Hello friends. In part 1 of this post I showed how I created six backgrounds using distress inks, markers, and crayons. Itโ€™s time to make some cards with these. I kept them pretty simple to show that you donโ€™t need to always make complicated cards (even though I tend to).

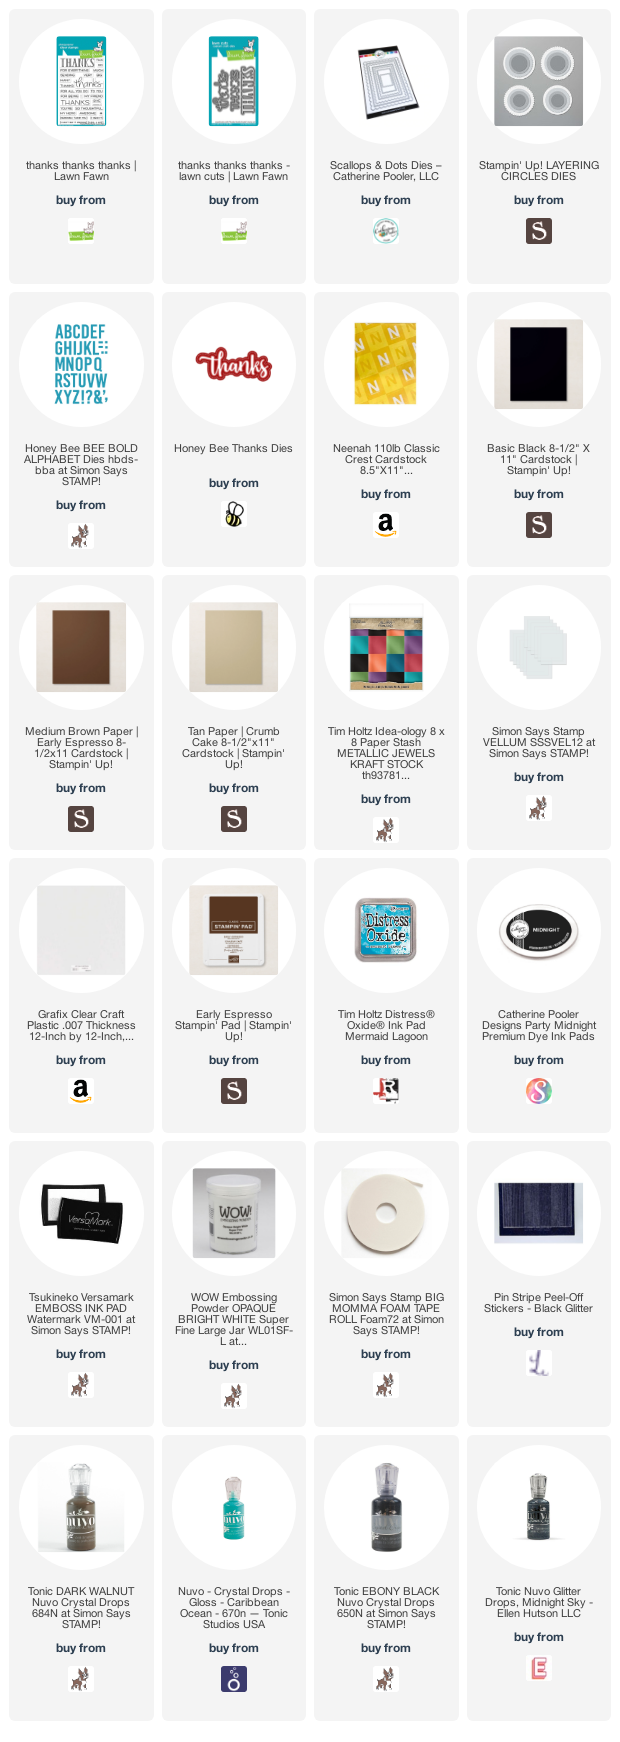
For the first set of backgrounds, I started the cutting a piece of Stampinโ€™ Up! Crumb Cake 8-1/2″ X 11″ Cardstock and a piece of Simon Says Stamp 100# Black Cardstock to 5-1/2 x 8-1/2″ and scored at 4-1/4″ to create the two card bases. I cut the watercolor paper panel down to 4 x 5-1/4″ and left the Strathmore Bristol Smooth Paper one 4-1/4 x 5-1/2″.

Watercolor Paper Panel

For this card I decided to make a shaker card. I diecut a stitched rectangle from the center with the Catherine Pooler Scallops & Dots Dies. Then added a piece of acetate and 3M Foam Tape behind it, added some pink, black and white sequins from my stash (I tried to pick flat ones) and adhered the panel to the card. I diecut the sentiment from Neenah 110lb Classic Crest Cardstock 8.5 X 11″ and the shadow from Simon Says Stamp 100# Black Cardstock using the Honey Bee Stamps Thanks Die (this is an older die and I don’t think it’s been retired). I finished it off by adding some additional black sequins.

On the inside, I cut a piece of Neenah 110lb Classic Crest Cardstock 8.5 X 11″ to 4 x 5-1/4″ and stamped another sentiment from the Lawn Fawn Thanks Thanks Thanks stampset with Catherine Pooler Designs Midnight Ink.

Strathmore Bristol Smooth Paper

I diecut the sentiment from the panel using the same die and a second two more from Simon Says Stamp 100# Black Cardstock and stacked them. (If you do this diecut technique make sure to save the pieces from the insides of the letters to add back. I just used put some post it tape over the whole sentiment before popping it out from the panel.) I stamped the rest of the sentiment onto some Simon Says Stamp 100# Black Cardstock with Versamark Ink using the Lawn Fawn Thanks Thanks Thanks stampset, embossed it with WOW Embossing Powder Opaque Bright White Super Fine, and cut it down to 7/16 x 2-5/8″. I finished it off by adding some Tonic Ebony Black Nuvo Crystal Drops.

On the inside, I stamped another sentiment from the Lawn Fawn Thanks Thanks Thanks stampset with Catherine Pooler Designs Midnight Ink.

Dimensions


For the second set of backgrounds, I started the cutting a piece of Neenah 110lb Classic Crest Cardstock 8.5 X 11″ and a piece of Simon Says Stamp 100# Black Cardstock to 5-1/2 x 8-1/2″ and scored at 4-1/4″ to create the two card bases. I cut both panels down to 4 x 5-1/4″.

Watercolor Paper Panel

I diecut one set of letters from the Honey Bee Bold Alphabet Dies from Tim Holtz Idea-ology 8 x 8 Paper Stash Metallic Jewels Kraft Stock (the dark gray or black) and two sets from Simon Says Stamp 100# Black Cardstock and stacked them. I stamped the rest of the sentiment onto some Simon Says Stamp 100# Black Cardstock with Versamark Ink using the Lawn Fawn Thanks Thanks Thanks stampset, embossed it with WOW Embossing Powder Opaque Bright White Super Fine, and cut it down to 1/4 x 3-3/4″. I finished it off by adding some Tonic Ebony Black Nuvo Crystal Drops.

On the inside, I cut a piece of Neenah 110lb Classic Crest Cardstock 8.5 X 11″ to 4 x 5-1/4″ and stamped another sentiment from the Lawn Fawn Thanks Thanks Thanks stampset with Catherine Pooler Designs Midnight Ink.

Strathmore Bristol Smooth Paper

I started by diecutting the sentiment from the panel using Honey Bee Stamps Thanks Die which turned out to be an epiq fail because I ran it through two times becuase it wasn’t cutting and it shifted so then I had to cover it so I cut a piece of purple metallic cardstock from Tim Holtz Idea-ology 8 x 8 Paper Stash Metallic Jewels Kraft Stock to 2-1/8 x 4″ and added some Love From Lizi Black GlitterPeel-offs. Then diecut the 2x from Simon Says Stamp 100# Black Cardstock with the Honey Bee Stamps Thanks Die and the shadow from Vellum. Then stamped the rest of the sentiment onto some Simon Says Stamp 100# Black Cardstock with Versamark Ink using the Lawn Fawn Thanks Thanks Thanks stampset, embossed it with WOW Embossing Powder Opaque Bright White Super Fine, and cut it down to 1/4 x 2-3/8″.

On the inside, I stamped another sentiment from the Lawn Fawn Thanks Thanks Thanks stampset with Catherine Pooler Designs Midnight Ink.

Dimensions


For the third set of backgrounds, I started the cutting two pieces of Stampin’ Up! Early Espresso 8-1/2″ X 11″ Cardstocktock 5-1/2 x 8-1/2″ and scored at 4-1/4″ to create the two card bases. I cut both panels down to 4 x 5-1/4″.

Watercolor Paper Panel

I diecut a scalloped circle (measuring 2-1/2″) from the center with the Stampin’ Up! Layering Circles Dies. (Just a note about these layering circles as well as the other layering dies from SU!. I never thought I would get so much use out of them but I actually have so they kinda paid for themselves by now, And that’s crafty win in my book!).

Then added a piece of acetate and 3M Foam Tape behind it, added the Catherine Pooler {Portland Sequin Mix as well as some larger green sequins from my stash (I tried to pick flat ones) and adhered the panel to the card.

I stamped the sentiment from Lawn Fawn Thanks Thanks Thanks stampset with Tim Holtz Mermaid Lagoon Distress Oxide Ink onto Neenah 110lb Classic Crest Cardstock 8.5 X 11″ and then die cut it using the coordinating word dies. I also stamped the rest of the sentiment from the same stampset onto some Stampin’ Up! Early Espresso 8-1/2″ X 11″ Cardstock with Versamark Ink, embossed it with WOW Embossing Powder Opaque Bright White Super Fine, and cut it down to 9/16 x 3-3/16″. I finished it off by adding some Tonic Dark Walnut Nuvo Crystal Drops.

On the inside, I cut a piece of Neenah 110lb Classic Crest Cardstock 8.5 X 11″ to 4 x 5-1/4″ and stamped another sentiment from the Lawn Fawn Thanks Thanks Thanks stampset with Tim Holtz Mermaid Lagoon Distress Oxide Ink. I also added two pieces of the leftover scalloped cirlce from the front.

Strathmore Bristol Smooth Paper

I started by stamping the sentiment from Lawn Fawn Thanks Thanks Thanks stampset onto some Stampin’ Up! Early Espresso 8-1/2″ X 11″ Cardstock with Versamark Ink, embossed it with WOW Embossing Powder Opaque Bright White Super Fine, and then die cut it using the coordinating word dies. I stamped the rest of the sentiment onto the card panel with Versamark Ink and embossed it with WOW Embossing Powder Opaque Bright White Super Fine. I finished it off by adding some Tonic Caribbean Ocean Nuvo Crystal Drops.

On the inside, I cut a piece of Neenah 110lb Classic Crest Cardstock 8.5 X 11″ to 4 x 5-1/4″ and stamped another sentiment from the Lawn Fawn Thanks Thanks Thanks stampset with Stampin’ Up! Early Espresso Ink.

Dimensions


Supplies

https://linkdeli.com/widget.js?id=f5e8378456858c916708

Thanks for reading this post. I hope you enjoyed and Iโ€™ve inspired you to give these easy cards a try for yourself. Leave comments or questions below or feel free to email.