
The Life Is Beautiful stampset by Stampin’ Up! at first glance looks like a very simple stampset but once you stamp the images you will notice the details in the images which give them dimension. It reminds me of another Stampin’ Up! (retired) stampset, Sheltering Tree, which I have loved for many years. Anyone else remember that stampset? I love this one sooo much more though–and I think it’s because of all the details. This lovely stampset can be found in the new Aug-Dec Mini Catalog which has a ton of awesome goodies for the holidays. I will definitely be making more cards with this stampset!
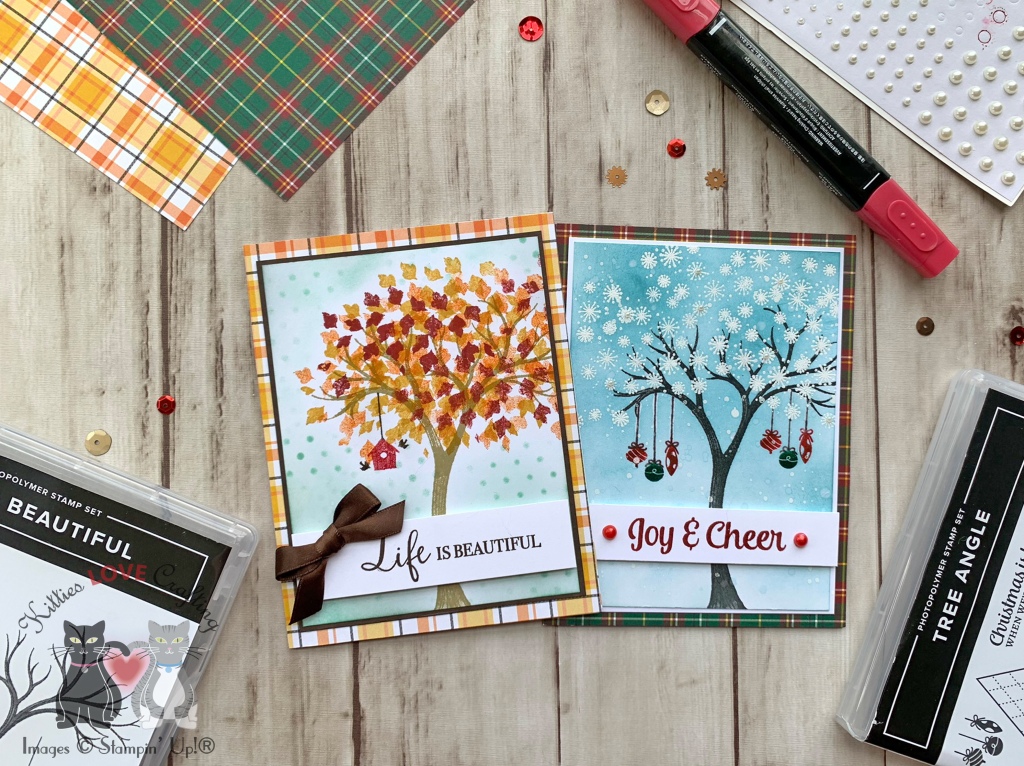
I started the first card by cutting a piece of Whisper White 8-1/2″ X 11″ Thick Cardstock to 5-1/2 x 8-1/2″ and scored at 4-1/4″ to make a card base. Then cut a piece of Plaid Tidings 6 x 6 Designer Series Paper to 4-1/4 x 5-1/2″ for the top panel, a piece of Early Espresso 8-1/2 x 11″ Cardstock to 3-7/8 x 5 1/16″, and a piece of Whisper White 8-1/2″ X 11″ Cardstock to 3-3/4 x 4-7/8″. I adhered the plaid paper to the card base and the Early Espresso 8-1/2 x 11″ Cardstock panel to the plaid paper.
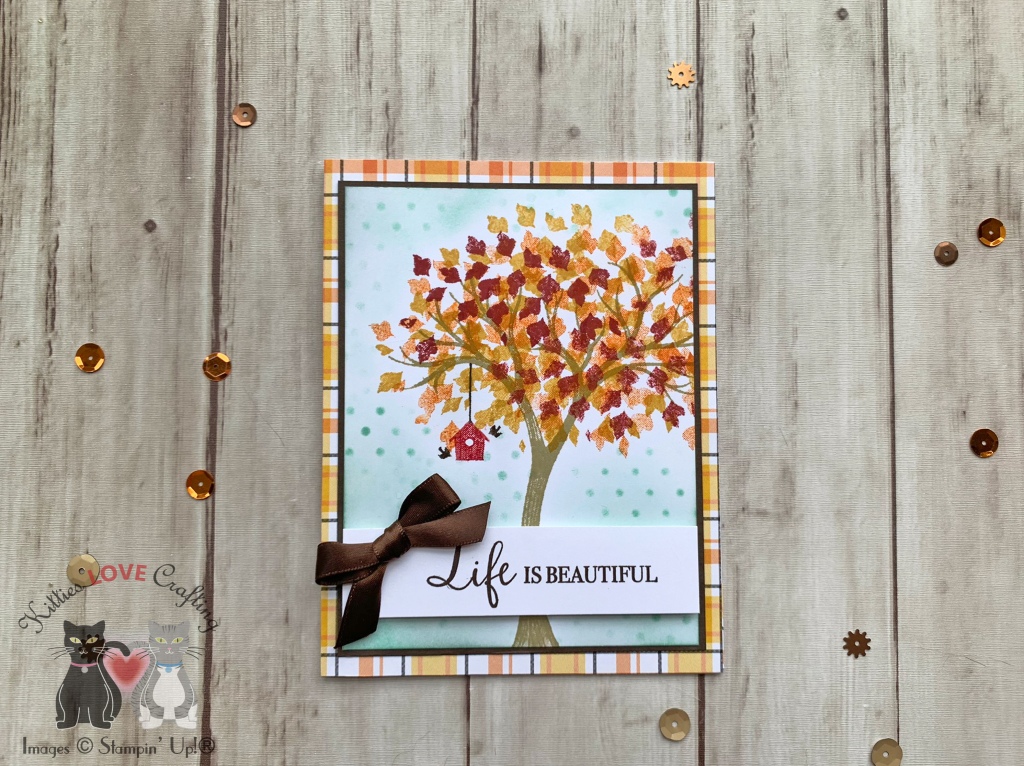
I stamped the tree trunk from the Life Is Beautiful stampset to the white panel with Crumb Cake Ink, I layered the leaves by stamping them several times with Bumblebee, Pumpkin Pie and Cherry Cobbler inks, and used Early Espresso and Real Red Stampin’ Write Markers to stamp the little bird house.
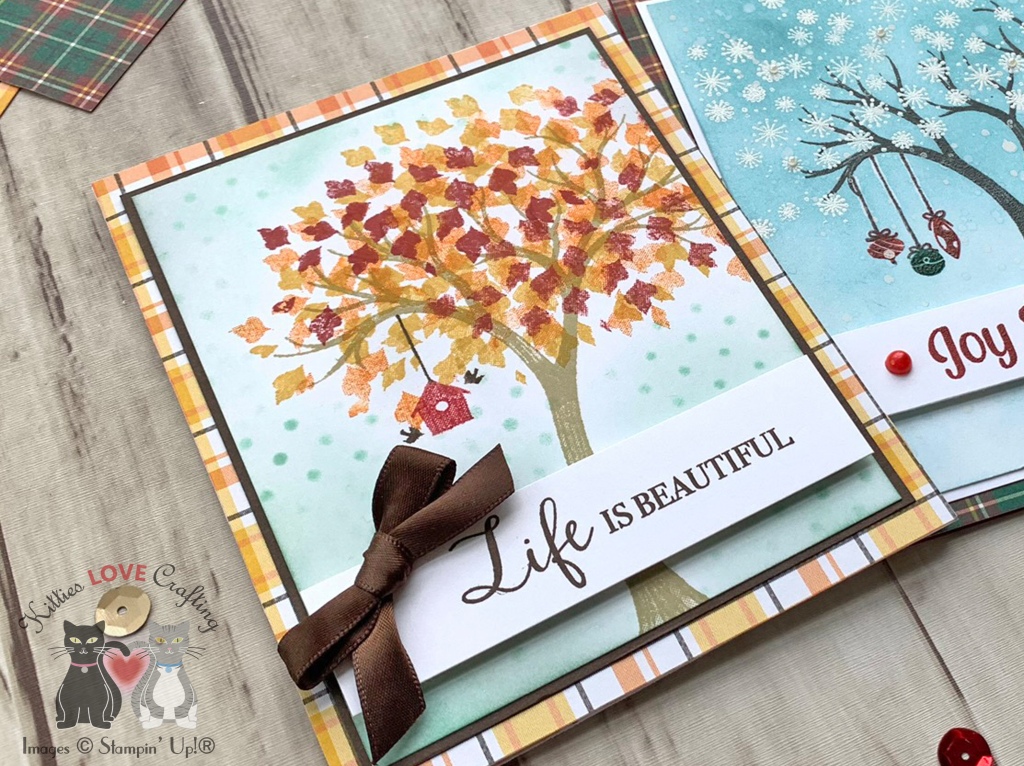
For the background I used a American Crafts Heidi Swapp Stencil 6 X6 Polka Dot with Pool Party Ink then inked around the background to give it some more color. I adhered that to the Early Espresso 8-1/2 x 11″ Cardstock and then stamped a sentiment from the same stampset onto Whisper White 8-1/2″ X 11″ Cardstock with Early Espresso Ink. I cut it down to 1 x 3-3/4″, added Stampin’ Dimensionals behind it and added it to the card. I finished it off by adding a piece of 3/8″ chocolate brown satin ribbon.
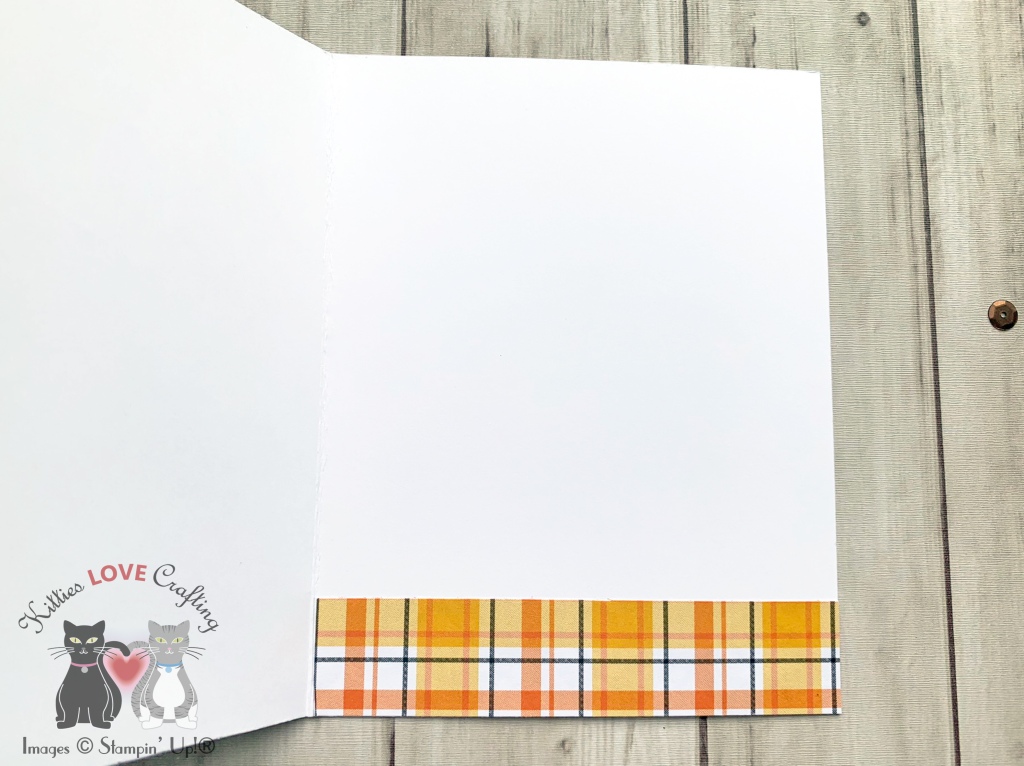
I left the inside of the card blank and just added cut a piece of Plaid Tidings 6 x 6 Designer Series Paper, measuring 1 x 4-1/4″.
Dimensions
- Card Base = 5-1/2 x 8-1/2″ and scored at 4-1/4″ Whisper White 8-1/2″ X 11″ Thick Cardstock
- Second Panel = 4-1/4 x 5-1/2″ Plaid Tidings 6 x 6 Designer Series Paper
- Third Panel = 3-7/8 x 5-1/16″ Early Espresso 8-1/2 x 11″ Cardstock
- Top Panel = 3-3/4 x 4-7/8″ Whisper White 8-1/2″ X 11″ Cardstock
- Inside Strip = 1 x 4-1/4″ Plaid Tidings 6 x 6 Designer Series Paper
I went with a winter/Christmas theme for the second card; I just really wanted to heat emboss the snowflakes from the Life Is Beautiful stampset. This card features the Tree Angle stampset as well.
I started the second card by cutting a piece of Cherry Cobbler 8-1/2″ X 11″ Cardstock to 5-1/2 x 8-1/2″ and scored at 4-1/4″ to make a card base. Then cut a piece of Plaid Tidings 6 x 6 Designer Series Paper to 4-1/4 x 5-1/2″ for the top panel, a piece of Whisper White 8-1/2″ X 11″ Cardstock to 3-7/8 x 5 1/16″, and another piece of Whisper White 8-1/2″ X 11″ Cardstock to 3-3/4 x 4-7/8″. I adhered the plaid paper to the card base and the Whisper White 8-1/2″ X 11″ Cardstock panel to the plaid paper.

I stamped the tree trunk from the Life Is Beautiful stampset to the white panel with Basic Gray Ink, then stamped the whole image with Versamark Ink and heat embossed with Clear Stampin’ Emboss Powder. I stamped the ornaments from the Tree Angle stampset with Cherry Cobbler and Shaded Spruce inks, and Smoky Slate Stampin’ Write Markers to stamp the string on the ornaments. I used an Sponge Dauber to apply the ink to each of the ornaments since there were two coors involved. I then stamped the whole image with Versamark Ink and heat embossed with Clear Stampin’ Emboss Powder. Tip: Use a stamping platform such as the Stamparatus to do this so it’s in the same spot.

I used the snowflakes stamp from the Life Is Beautiful stampset with Versamark Ink and stamped it several times over the tree, then added White Stampin’ Emboss Powder. I did some ink blending in the background with Balmy Blue Ink, and adhered the panel to the card.
I stamped a sentiment from the Tree Angle stampset onto Whisper White 8-1/2″ X 11″ Cardstock with Cherry Cobbler Ink and cut it down to 3/4 x 4” and adhered with Stampin’ Dimensionals. To finish it off I added tiny Stampin’ Up! Pearls (retired) to the snowflakes and colored two large ones with Real Red Stampin’ Blends.

On the inside of the card, I added a piece of Plaid Tidings 6 x 6 Designer Series Paper, measuring 1 x 4-1/4″ and stamped the sentiment and ornaments from the Tree Angle stampset with Shaded Spruce Ink.
Dimensions
- Card Base = 5-1/2 x 8-1/2″ and scored at 4-1/4″ Cherry Cobbler 8-1/2″ X 11″ Cardstock
- Second Panel = 4-1/4 x 5-1/2″ Plaid Tidings 6 x 6 Designer Series Paper
- Third Panel = 3-7/8 x 5 1/16″ Whisper White 8-1/2″ X 11″ Cardstock
- Top Panel = 3-3/4 x 4-7/8″ Whisper White 8-1/2″ X 11″ Cardstock
- Inside Panel = 4 x 5 1/4″ Whisper White 8-1/2″ X 11″ Cardstock; 1 x 4-1/4″ Plaid Tidings 6 x 6 Designer Series Paper
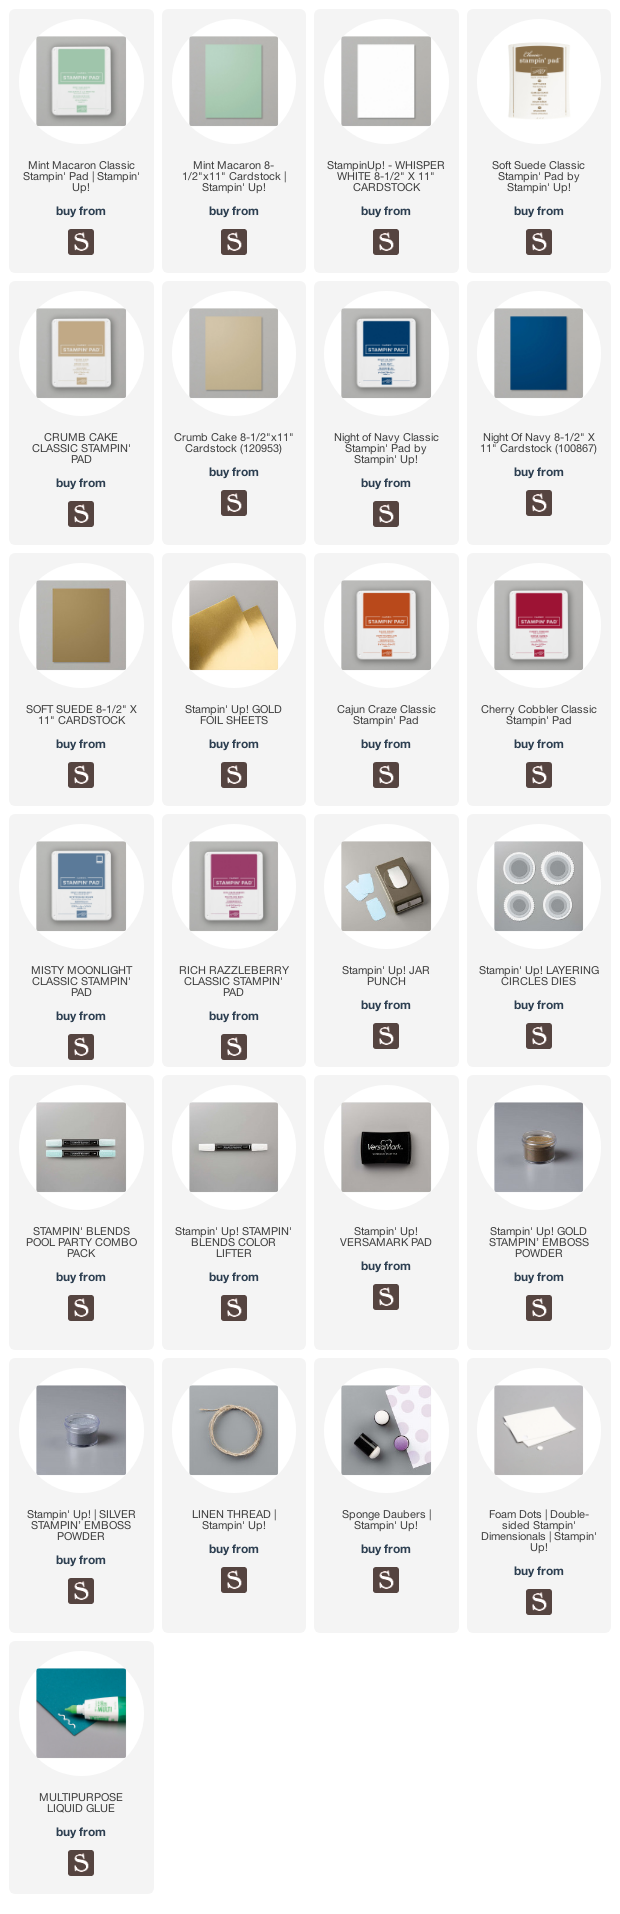
Supplies
 https://linkdeli.com/widget.js?id=f5e8378456858c916708
Thanks for reading this post. I hope you enjoyed and I’ve inspired you to try these cards using this beautiful stampset for yourself! Leave comments or questions below or feel free to email me. If you want to share you creations with me tag me on instagram @kittieslovecrafting. If you would like a Stampin’ Up! catalog, please email me as well. All current catalogs can be found on the right side of this post and the Stampin’ Up! page. All news and fun stuff happening at Stampin’ Up! are listed there!
