Hello friends and Happy New Year! My first post of 2020 is this cute distressed jewelry box. I made something similar from paper years ago but it was time for a new sturdier box since the original is falling apart from so much use. This jewelry box will just hold some watches and rings and I wear daily but like to remove before bed. This way they can be safely tucked away out of reach of the kitties. Sometimes the kitties are naughty an play with things they should not so it’s my responsibility to make sure they don’t have access to those things.
Anyway let me show you how easy it was to make this box. I kept my box simple by just using some paper, paint, ribbon but you can add all kinds of embellishments. You can add fabric, flowers, jewels, brads, etc.

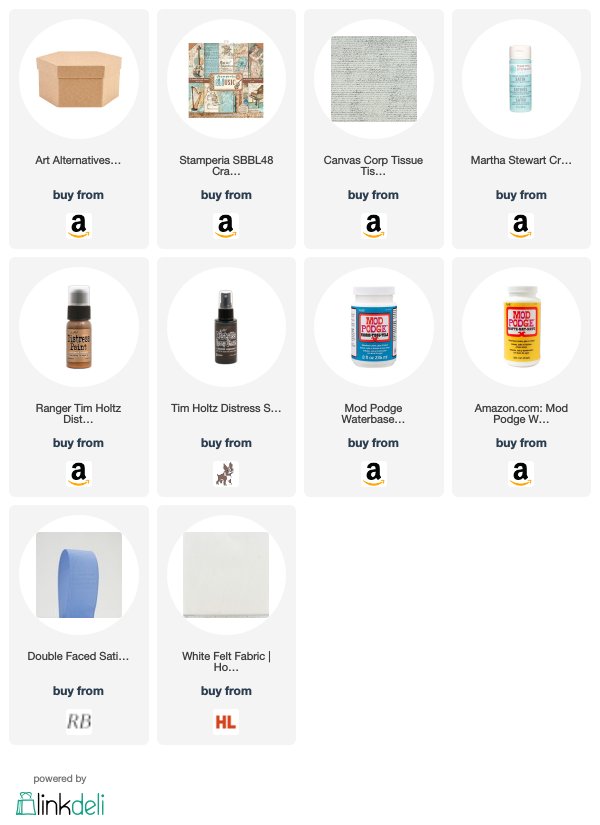
I began by choosing a paper mache box. I bought a pack of 5 hexagon-shaped boxes from Amazon (Art Alternatives MVPM06224 Paper-Mache Hexagon Box Set 5/Pkg). I chose the largest box in the set.

Next, I used Martha Stewart Crafts Multi Surface Satin Acrylic Paint in Sea Lavender (I think this color is discontinued) to paint the box inside and out. I applied 2-3 thin coats. I cannot stress this enough…when painting paper mache products, even smooth surfaces, it is best to apply thin layers, letting each layer dry between applications. I let each layer dry about 10-15 minutes.
While the last layer was drying, I chose some pattern papers from the Stamperia Double-Sided 12 X 12″ Paper Pad – Music and some Canvas Tissuestock Printed French Script, 12-Inch by 12-Inch, Ivory, 10-Pack. Since these papers are 12 x 12, I adhered the paper as one piece, making slits along the sides as I glued each side down. I started by gluing the bottom of the box first, using Mod Podge Waterbase Sealer, Glue (16-Ounce) CS11302 Matte Finish, 16 oz. I did the same for the lid and the box.

Canvas Tissuestock Printed French Script, 12-Inch by 12-Inch, Ivory, 10-Pack
Tip: When using Modge Podge to glue down paper work in small areas so you can smooth out the surface and hold it down for a few seconds so it holds properly. otherwise you can get bubbles or areas that just are not glued down.
I added ripped strips of the tissue paper to both parts of the box, adhering each time with the Modge Podge. With thin papers like tissue paper you need to add glue to both the underside and over top.

Once everything was dry, I decided it was too plain and added some acrylic paint and distress stains to age it a bit. First, I applied Martha Stewart Crafts Multi Surface Satin Acrylic Paint in Sea Lavender and Surf, mostly around the edges of the box. I let that and added some Ranger Tim Holtz Distress Paint, 1-Ounce, Antique Bronze and Ranger Tim Holtz Distress Spray Stains, 1.9oz Bottles-Walnut Stain.
Once I was happy with the aged look, I let it dry completely and then added a coat of Modge Podge to seal in all the paint and papers. Let that all dry a good while and then I added the 5/8″ Brown Double Satin Ribbon around the lid edge and some white felt inside the box. I used Mod Podge Waterbase Sealer, Glue and Finish for Fabric (8-Ounce) to adhere both.
Thanks for reading this post and I hope I’ve inspired you to give this project a try. Leave comments or questions below or feel free to email.


1 thought on “Paper Mache Jewelry Box”