Hello friends. The Catherine Pooler Designs Halloween Mug Shot Stampset (included in the Boo Box) is adorable for Halloween but also can be used to create Fall cards. For this card I took a simple watercolor background and elevated it by adding stamped images.

For this card, I cut a piece of Neenah 100lb Classic Crest Cardstock 8.5 X 11″ to 5-1/2 x 8-1/2″ and scored at 4-1/4″ to create an A2 card base, a piece of watercolor paper to 4-1/4 x 5-1/2 (this panel will be die cut later).
I used Color Burst Powder Brights 6 Pack to color the background and add splatters. Once dried I stamped images from the Catherine Pooler Designs Autumn Blessings Stampset (discontinued) with CP Sauna Ink. Then cut some strips of pattern paper from the CP Sunflower Fields Forever 6 x 6 Patterned Paper. I die cut the panel using the CP Dots & Scallops Dies.
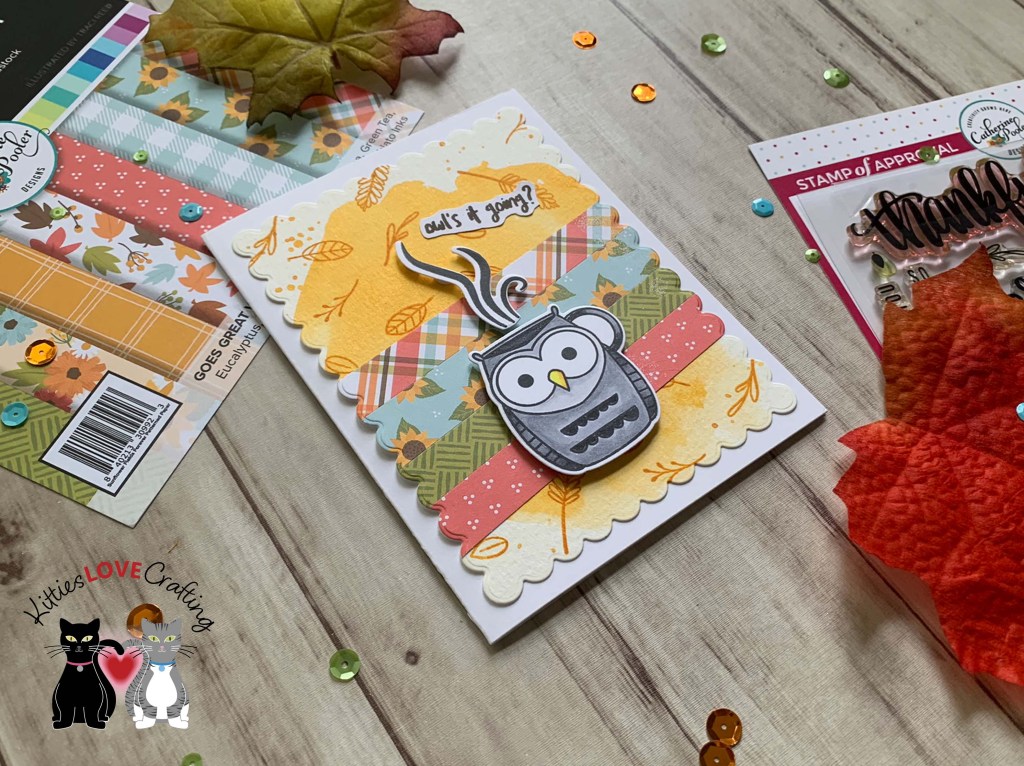
I stamped the owl mug from the Catherine Pooler Designs Halloween Mug Shots Stampset (included in the Boo Box) onto some Neenah 100lb Classic Crest Cardstock 8.5 X 11″ with Memento Tuxedo Ink. I used Copic markers to color some of the image. I used C1, C3, C5, & C7 and Y17 & Y06.
Lastly, I stamped the sentiment from Catherine Pooler Designs Boo Day Stampset (included in the Boo Box) onto Neenah 100lb Classic Crest Cardstock 8.5 X 11″ with CP S’mores Ink, fussycut it and adhered it to the card panel.
On the inside of the card, I cut two pieces of CP Sunflower Fields Forever 6 x 6 Patterned Paper to 1 x 4-1/4″ and 1-1/4 x 4-1/4″ and stamped a sentiment from the Catherine Pooler Designs Autumn Blessings Stampset (discontinued) with CP Sauna and CP S’mores Inks.

Dimensions
- Card Base = 5-1/2 x 8-1/2″ and scored at 4-1/4″ Neenah 100lb Classic Crest Cardstock 8.5 X 11″; 4-1/4 x 5-1/2″ Catherine Pooler Designs Eerie-sistible 6 x 6 Paper (included in the Boo Box)
- Background Panel = 4-1/4 x 5-1/2 Watercolor Paper
- Inside Panel = 1 x 4-1/4″ and 1-1/4 x 4-1/4″ CP Sunflower Fields Forever 6 x 6 Patterned Paper
Supplies

Thanks for reading this post. I hope I’ve inspired you to give this card a try and make your own elevated watercolored background! Leave comments or questions below or feel free to email.