The flower die in the Halloween Magic Dies included in Stampin’ Up!’s Magic in This Night Suite reminds me of images you would see for the Dia de Los Muertos celebrations or a black rose found in a spooky haunted mansion. I decided to have some fun with it and create an “embossed” background. This suite can be found in the new Aug-Dec Mini Catalog on page 52.
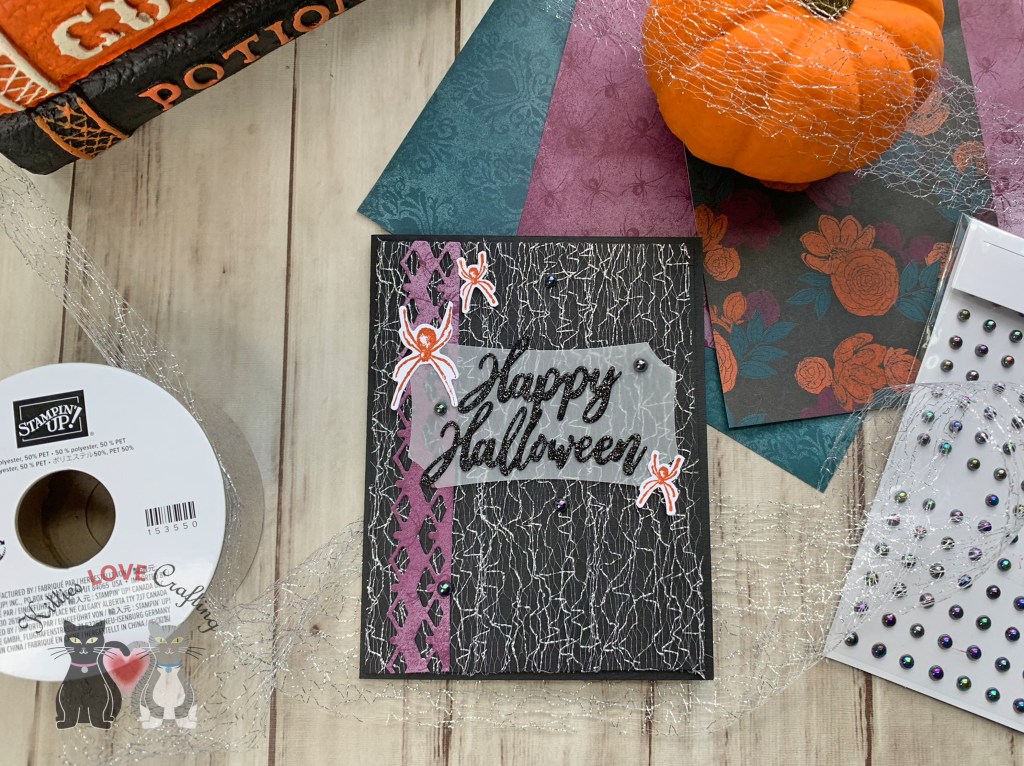
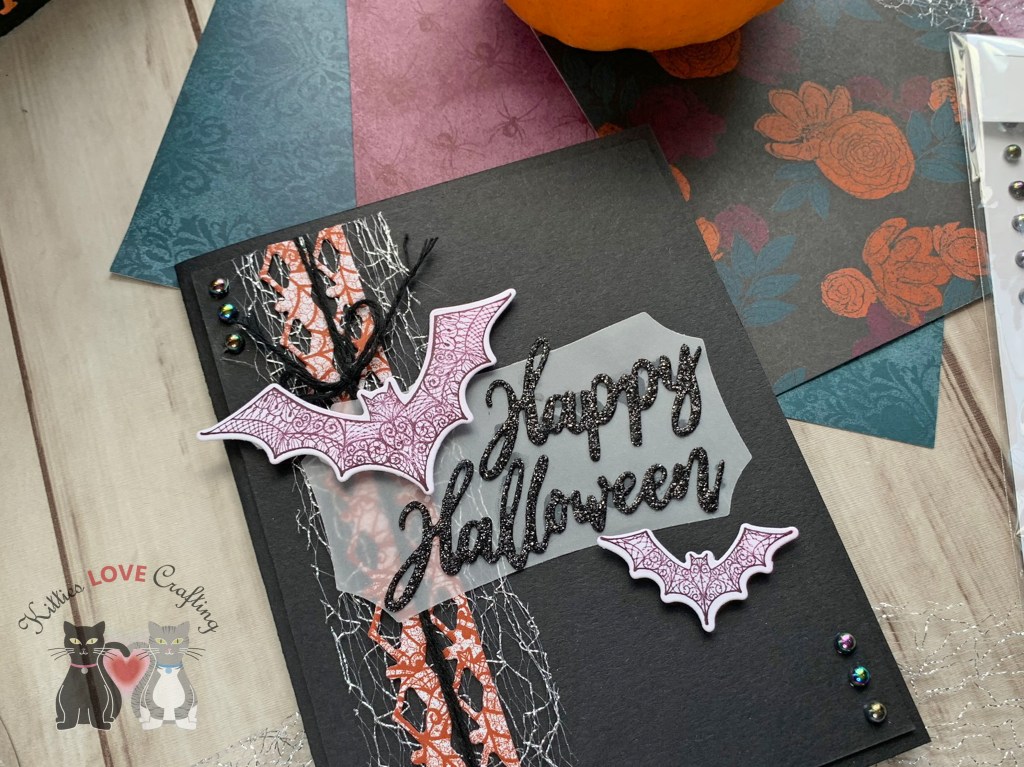
I started by cutting a piece of Basic Black 8-1/2″ X 11″ Cardstock to 5-1/2 x 8-1/2″ and scored at 4-1/4″ to create a card base and two pieces of Magic in the Night 12 x 12 Designer Series to 4 x 5-1/4″ and 3-3/4 x 5 and adhered them to the card base. I chose an orange pattern and a black and gray harlequin pattern. I diecut many flowers and leaves from Basic Black 8-1/2″ X 11″ Cardstock and adhered them to the top panel.

I stamped the label border from the Hallows Night Magic Stampset with Cajun Craze Ink and a sentiment with Tuxedo Black Memento Ink onto Whisper White 8-1/2″ X 11″ Cardstock and die cut them with the coordinating dies from the Halloween Magic Dies. I diecut two flowers from Magic in the Night 12 x 12 Designer Series and inlaid them into an outline of the flower and adhered it to the label. I added some Stampin’ Dimensionals to the back of the label and added it to the card.

On the inside of this card, I cut a piece of Whisper White 8-1/2″ X 11″ Cardstock to 4 x 5-1/4” and added two pieces of Magic in the Night 12 x 12 Designer Series Paper, measuring 1 x 5-1/2” and 1-1/4 x 5-1/2”. I stamped a sentiment from the Hallows Night Magic Stampset with Tuxedo Black Memento Ink and added another flower.

Dimensions
- Card Base = 5-1/2 x 8-1/2″ and scored at 4-1/4″ Basic Black 8-1/2″ X 11″ Cardstock
- Top Panel = 4 x 5-1/4 Magic in the Night 12 x 12 Designer Series
- Bottom Panel = 3-3/4 x 5 Magic in the Night 12 x 12 Designer Series
- Inside Panel = 4 x 5-1/4″ Whisper White 8-1/2″ X 11″ Cardstock; 1 x 5-1/2” and 1-1/4 x 5-1/2” Magic in the Night 12 x 12 Designer Series
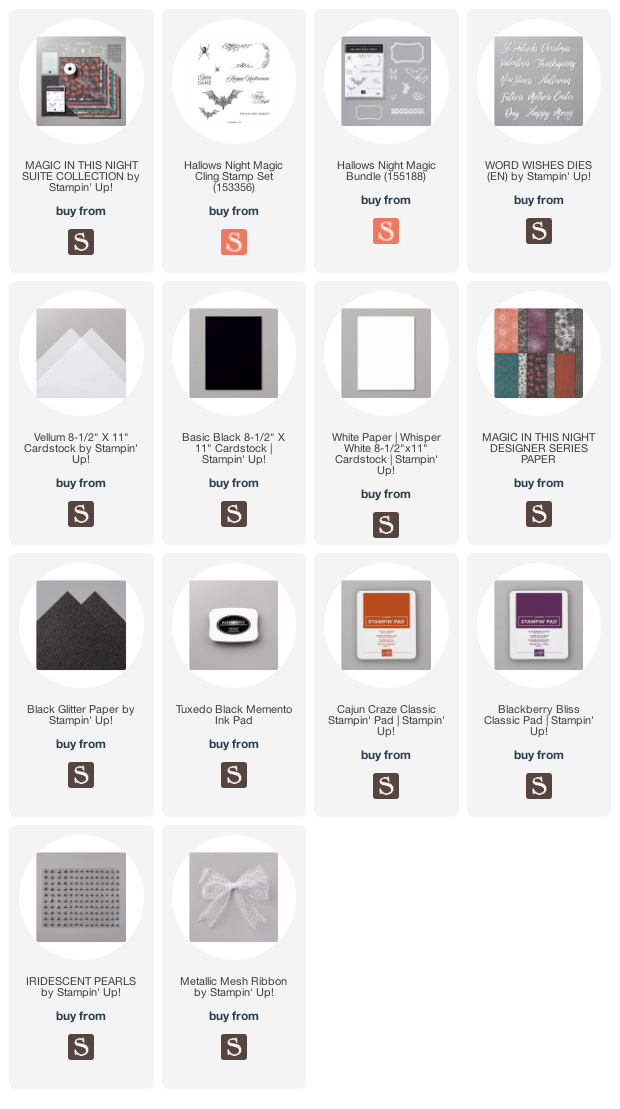
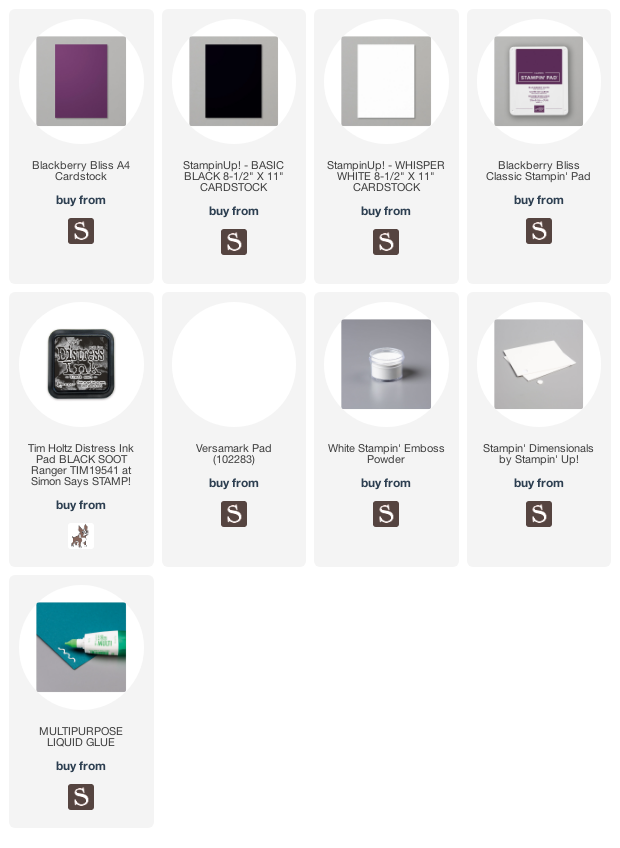
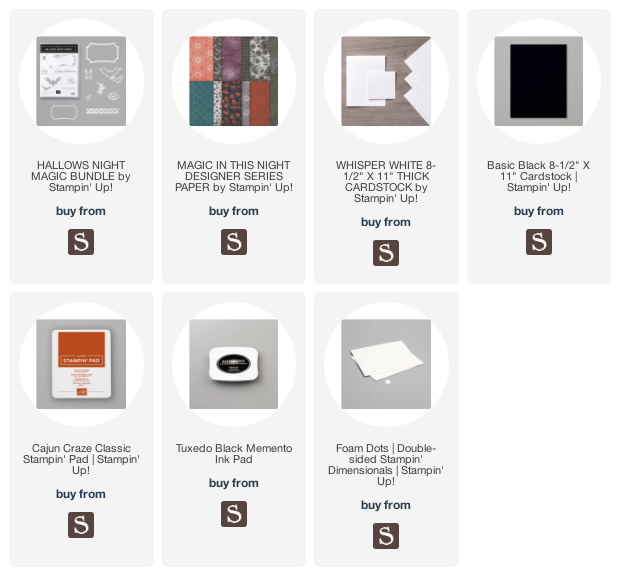
Supplies
 https://linkdeli.com/widget.js?id=f5e8378456858c916708
Thanks for reading this post. I hope you enjoyed and I’ve inspired you to try this Halloween card for yourself! Leave comments or questions below or feel free to email me. If you want to share you creations with me tag me on instagram @kittieslovecrafting. If you would like a Stampin’ Up! catalog, please email me as well. All current catalogs can be found on the right side of this post and the Stampin’ Up! page. All news and fun stuff happening at Stampin’ Up! are listed there!