
Are you like me… You’ve been buying 12 x 12 paper pads for years and years and years and now have so many you don’t know what to do with it? Well here are just a few ways I like to use my paper pads up.
1. Use them in your junk journal.
My new obsession is creating junk journals. I started watching videos on them and quickly became hooked. What is a junk journal, you ask??? It’s a journal you create using old papers, cardboards, receipts, tickets, magazine pages, junk mail. Then you can decorate it with embellishments, tags, anything you want really. Then you write in, use it as a planner or for memory keeping. If you want to learn more about it, check out this link. There are tons of videos on junk journaling.


I like to coffee dye pattern papers to age them before using them in my junk journal. Then I use them for the main pages, tags, pockets, fold outs and many, many more. It’s super easy to coffee dye paper. Mix instant coffee with hot water and either spray it onto the paper or use a metal or plastic tub/pan and dip it into coffee. Check out this video for more info.


2. Organization. Another great use for pattern paper is for organization. I used pattern papers to make dividers for my 6 x 6 paper pads. I keep mine in clear fridge bins; this one measures 8W x 14.5L x 4”H and I got this it from Amazon. I created these using old white 3 ring binder dividers I had purchased ions ago and then adding the pattern paper to the front of it. I cut the white dividers to 6-1/2”w x 7”h and the paper to 6”w x 7”h. Glue them together, add a label and you have cute dividers.


3. Make sticker books. Since I am a planner girl, I have a descent amount of stickers. And before the Happy Planner came out with their sticker books, I created my own after watching several videos on how to do this. It’s easy. You need card stock, some discs, a Happy Planner Punch or any Arc Disc Punch and extra planner pages or other paper to adhere the sticker sheets to. You can laminate your covers or leave them as is and add a sheet of clear acetate over it as I did with these since at the time I didn’t have a laminator.
For this sticker book, I cut 2 pieces of paper to 6-1/4 x 9”. You can also make dividers to organize your sticker book.
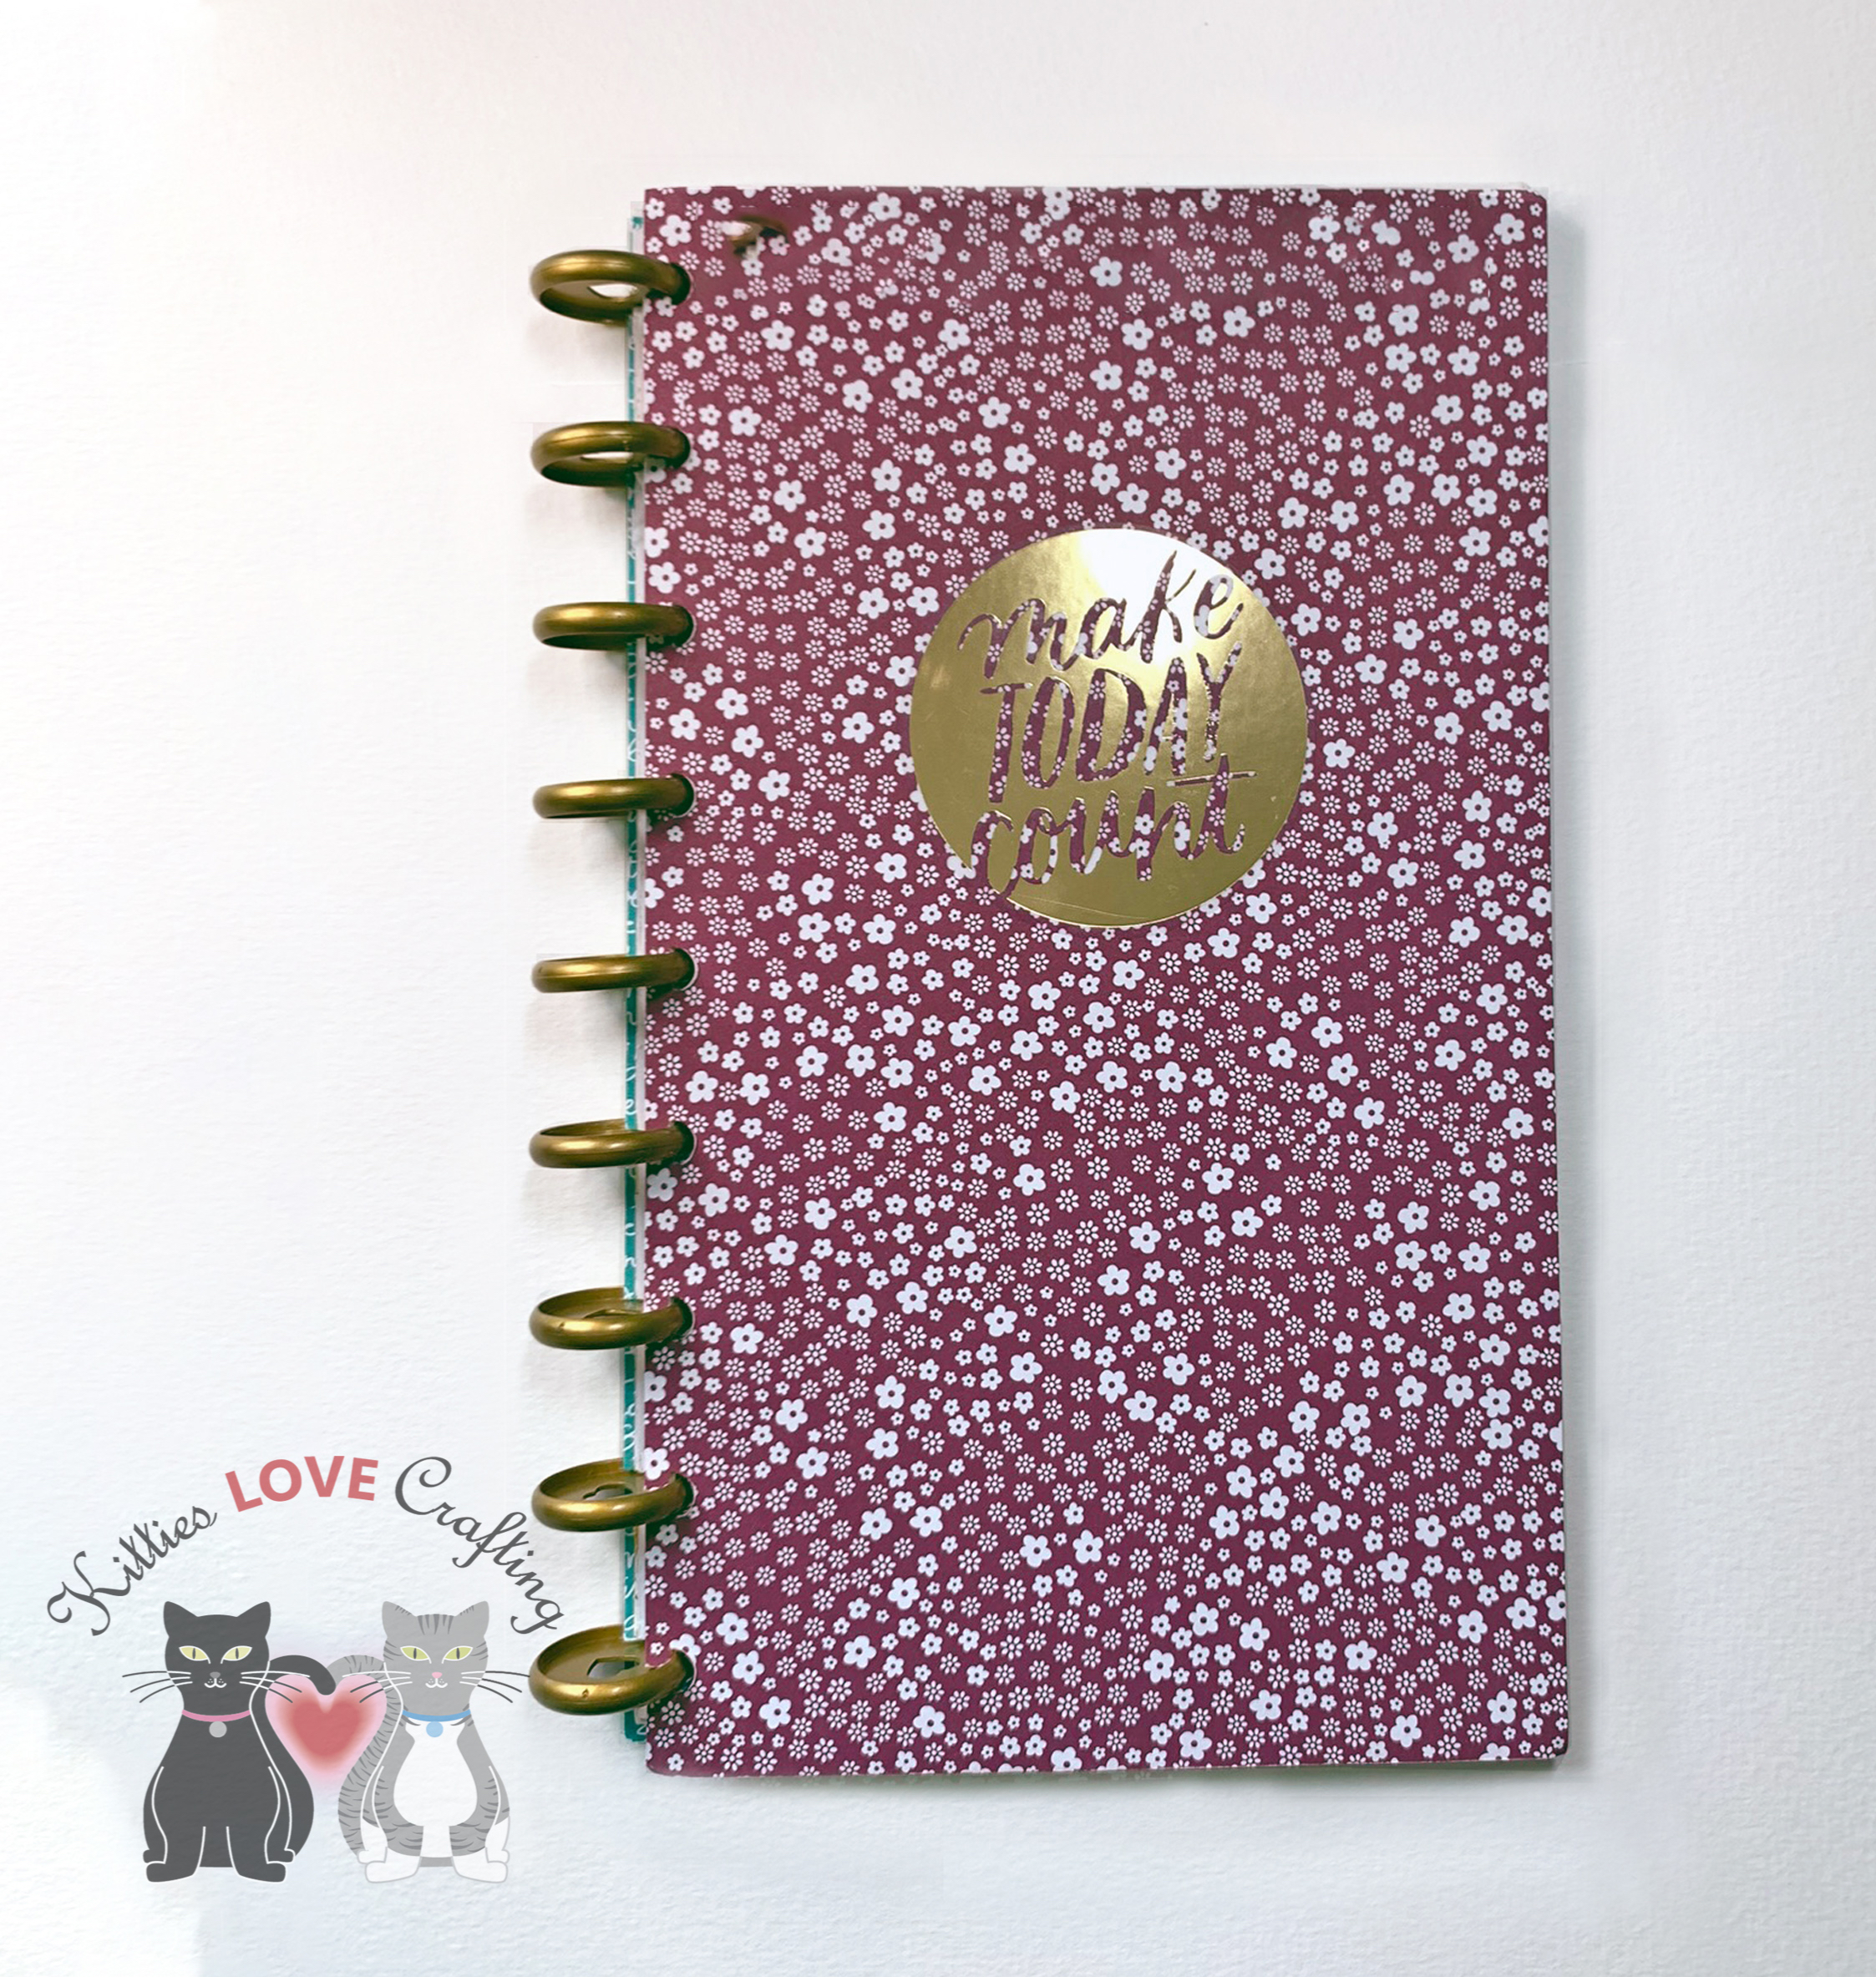

4. Make custom cover, dividers, dashboards for your planners and notebooks. Another thing I love is my planner and customizing it for the holidays. I’m a planner girl who loves to make it pretty and I found that it was easier to make my own once I bought a laminator machine. The easiest way to customize your planner is to use a paper pad that has cut aparts, stickers or other things you can use to add to your planner but no worries if you don’t. You can easily use colors from different paper pads that coordinate.

I used a paper pad from Authentique called Liberty to make my Fourth of July theme. I made mine for a Classic Happy Planner so my measurements will fit that planner. For my cover I cut the paper to 7-1/2 x 9-1/2, rounded the corners (important so you don’t stab yourself later), then I laminated it and trimmed it, leaving a 1/8″ border around it so the sides do not open so the final measures 7-3/4 x 9-3/4. Once cut, I punched the mushroom holes with my Arc Disc Punch.

For the dividers, I used dividers from my original Classic Happy Planner as a template. I find this is the easiest way to do this because they already have tabs. This will work with any size planner. But you can also just cut the paper down to the same size of your cover and then add a shape (like a star-for July 4th) as your tab. Adhere it in place before you laminate your dividers. Again, I rounded the corners before laminating then again once I trimmed them down. These measure 7-1/2 x 9-1/4″ before lamination and 7-5/8 x 9-1/4″ once laminated and trimmed.

I also cut out some of the cut aparts and laminating them to add into the pockets of my planner cover. These make great diecuts. You can also cut out images that appear on these cut aparts for a more customized diecut (i.e, cut around the liberty bell in the diecut shown below),

Another thing you can make is a bookmark or dashboard. Choose a width (I usually do half the width of my page and then use the dividers to trace a tab at the top of your bookmark. Laminate and cut it and you have a cute bookmark to mark your week or month or whatever you need.
Thanks for reading this post. I hope you enjoyed and I’ve inspired you to give these find some uses for all that paper you have in your stash. Leave comments or questions below or feel free to email.
