
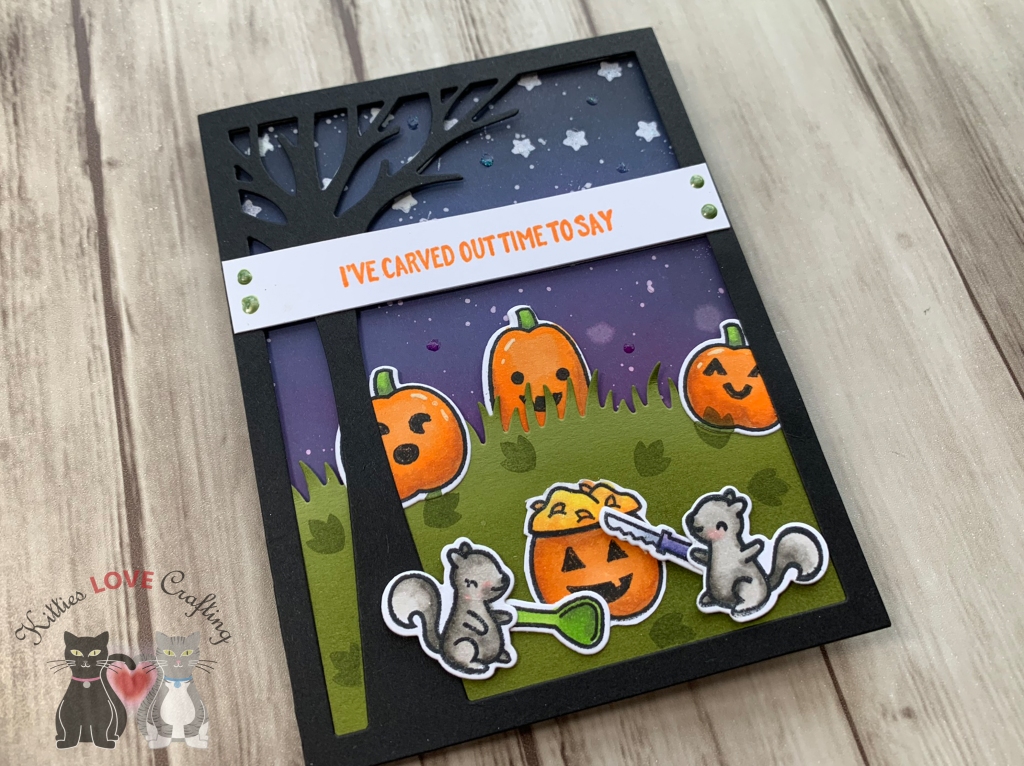
Hello friends. Today’s card features some adorable crafty little squirrels from Lawn Fawn’s Pick of the Patch Stampset. This stamp set can be for both Fall and Halloween but it can also be used in combination with other cute Lawn Fawn stamps to create other occasion cards. It also pairs well with the Lawn Fawn Reveal Wheel Die and Pick of the Patch Reveal Wheel Add-ons.

While this card looks very time consuming, it really isn’t. The most time consuming part was the coloring. I started by diecutting the tree using the Lawn Fawn Landscape Leafy Tree Backdrop from some Simon Says Stamp Black Cardstock. Then starting with a piece of Old Olive Cardstock measuring approximately 3 x 4-1/4″, I diecut the grass using the Lawn Fawn Simple Grassy Hillsides Dies. Next I cut out a piece of Neenah 110lb Classic Crest Cardstock 8.5″X11″ to 4-1/4 x 5-1/2″. I used Seedless Preserves, Chipped Sapphire and Faded Jeans Distress Oxide Inks to create a night sky. I started with Seedless Preserves, then blended Chipped Sapphire above that and Faded Jeans above that. Once all was blended, i added some Black Soot Distress Ink at the very top portion, over the blues to darken it up a bit.
While the inks dried, I stamped the all the pumpkins, the squirrels and the carving tools and added faces to the pumpkins from the Lawn Fawn Pick of the Patch stampset using Memento Tuxedo Black Ink. I will be coloring these with Copics later. I set those aside to dry and added some Peeled Paint Distress Ink to the bottom 2/3 of the grassy hillside.
The back panel was dry by this point so I added some stars from the Lawn Fawn Pick of the Patch stampset using Versamark Clear Emboss Ink and Wow White Embossing Powder. I made sure to prep the surface with an Anti-Static Powder before embossing the area. Lastly I added some splashes with white acrylic paint (any white acrylic paint will do).
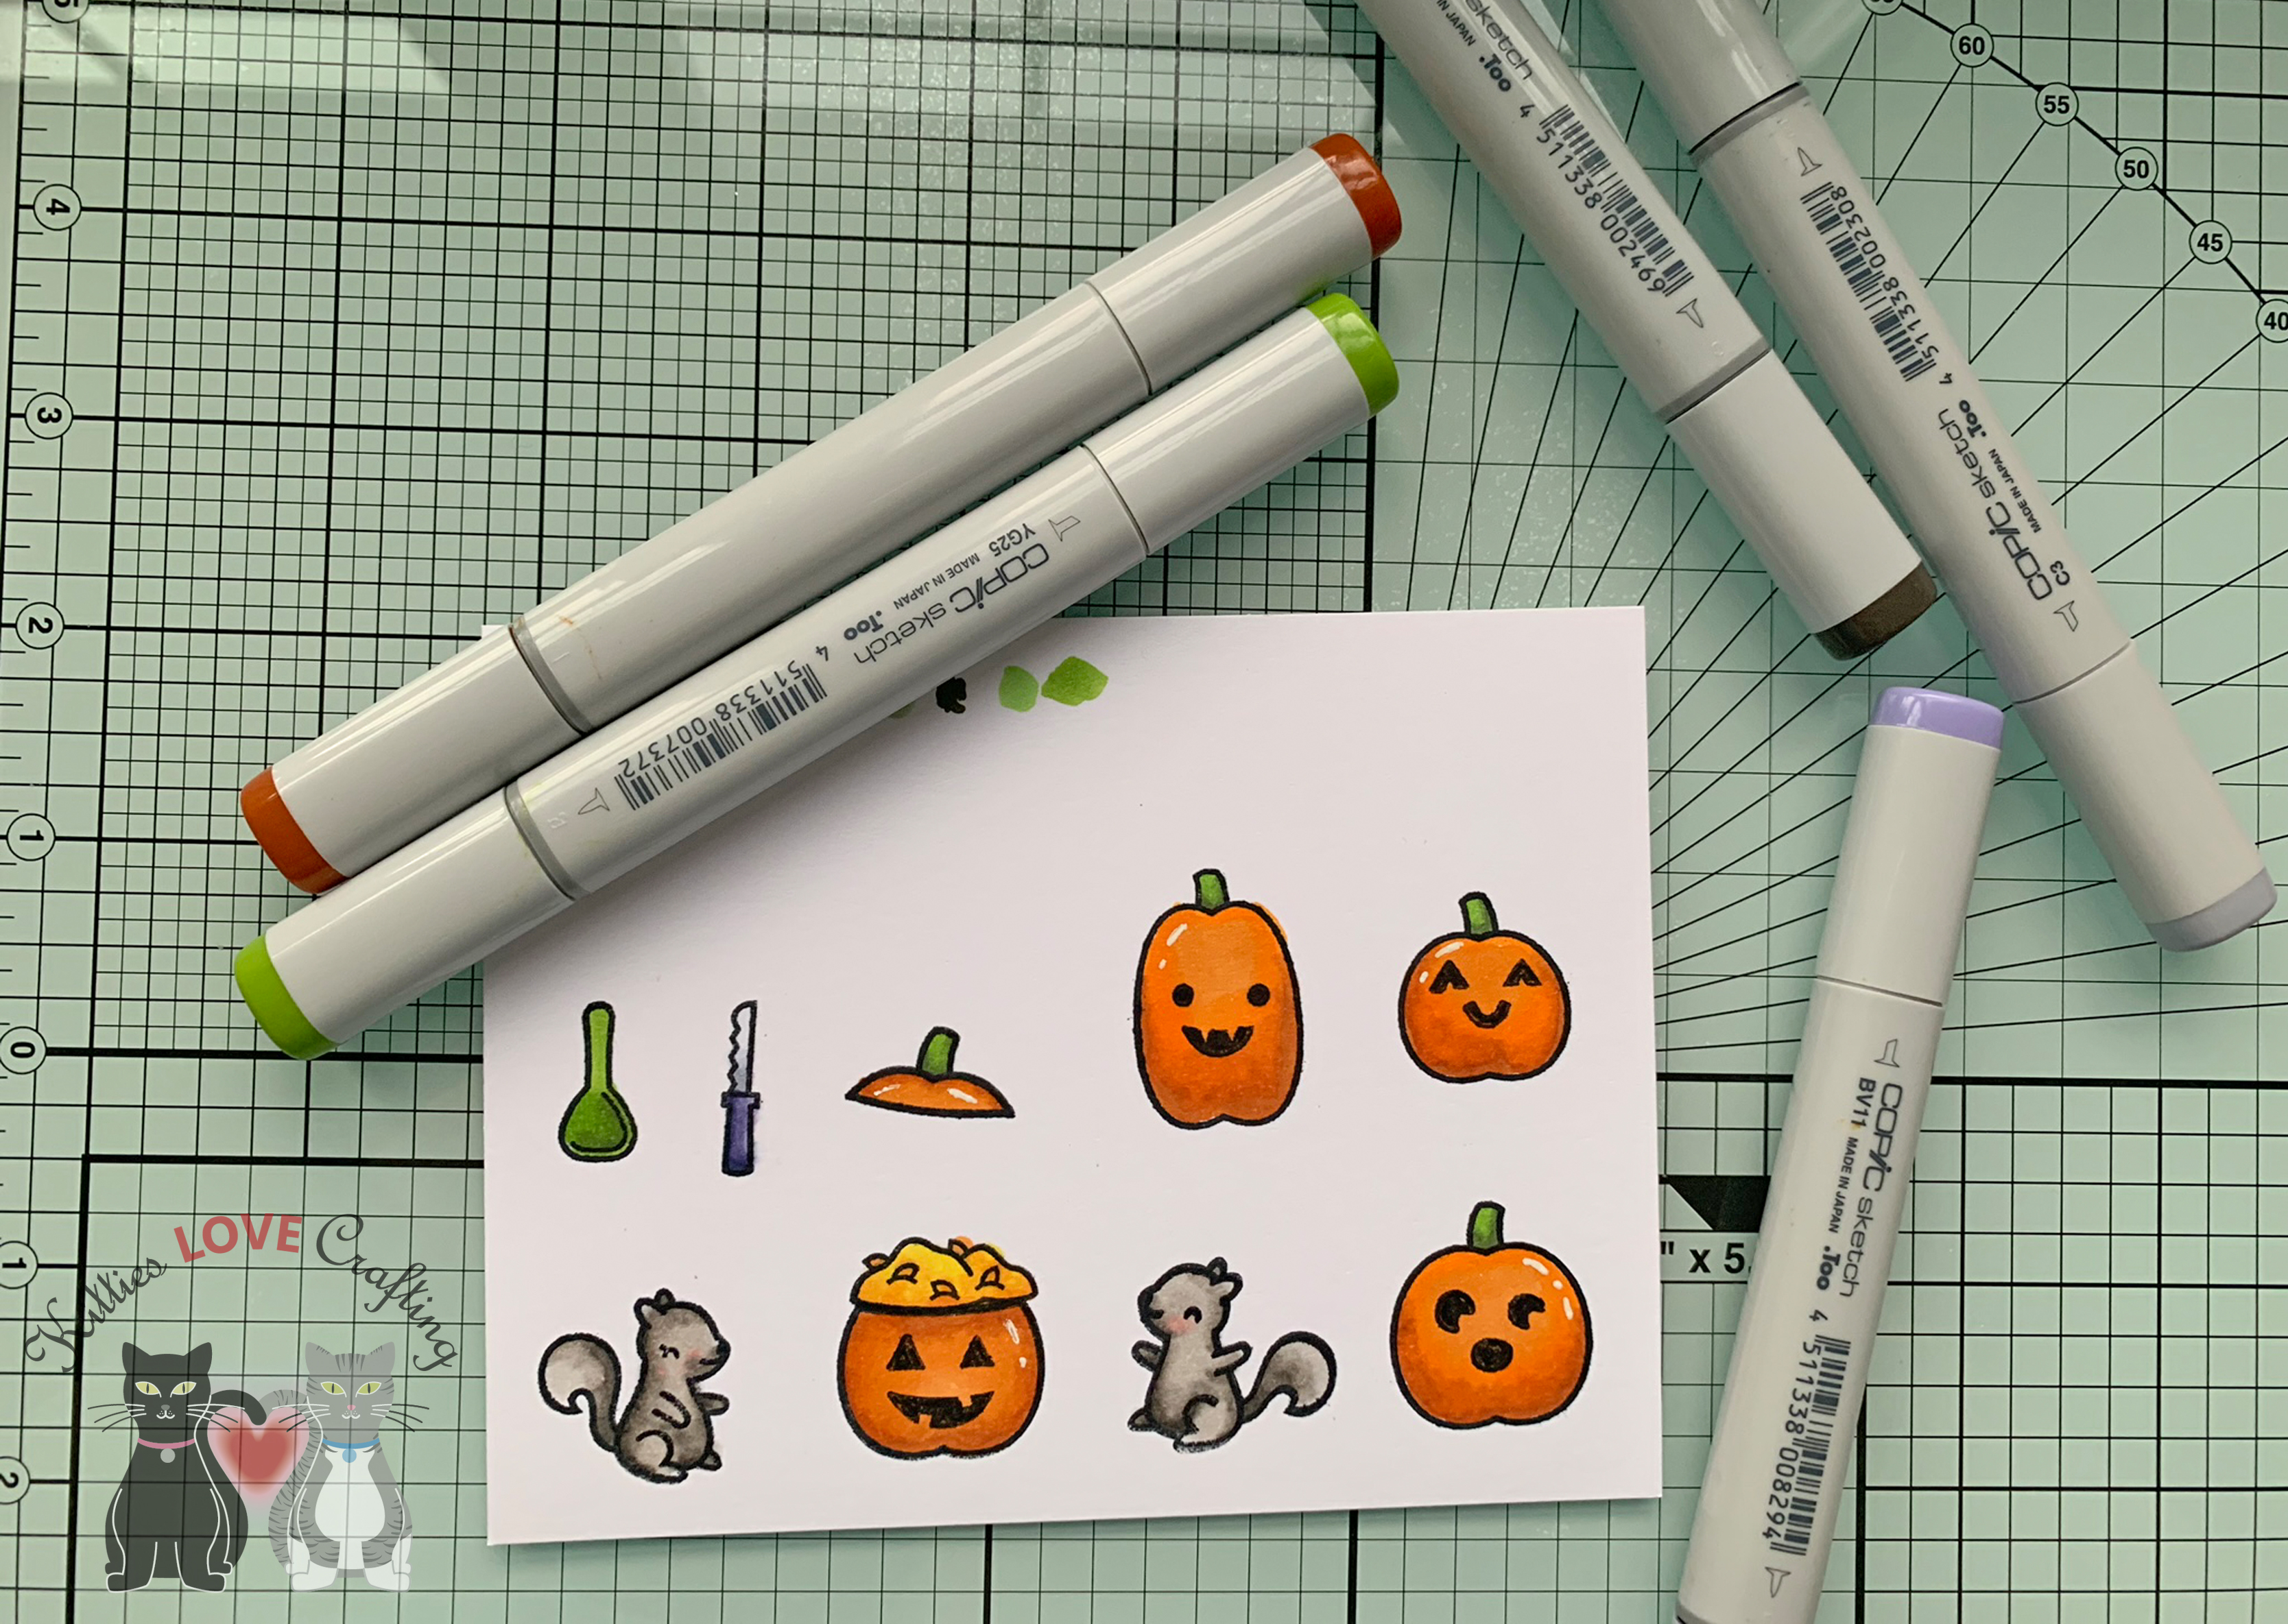
It was time to color. I like to do this usually while watching some videos on my Ipad. Just relax and color. Sometimes when I don’t feel inspired to create, I will stamp out images from stampsets I may have sitting on my desk waiting to be used and just sit and color them while watching TV.
I used Copic Markers to color everything (all the colors are listed at the end of this post. I diecut those images out with the coordinating dies. I also added some highlights with my Uni-Ball Signo White Gel Pen.

I stamped the sentiment from the Lawn Fawn Pick of the Patch stampset using Orange Twist Ink by Catherine Pooler Designs onto a scrap of cut a piece of Neenah 110lb Classic Crest Cardstock 8.5″X11″. I made sure it was at least 5-1/2″ wide. Then cut it down to 5/8 x 5-1/2″. I find it easier to start with a larger piece of paper than needed because even using my MISTI I can’t seem to center it correctly all the time. LOL. Anyone else have this problem???

Ok, it’s time to assemble this card. I adhered the grassy hillside to the tree backdrop panel first. Trimmed off any excess cardstock and added some Foam Tape behind all of the grass and tree backdrop. I left the top of the grass without Foam Tape so I can tuck some pumpkins behind it. I aligned the sky panel behind the tree backdrop and stuck those together. I laid out my images where I wanted and adhered them onto the panel, tucking two pumpkins behind the grass, one in front of it but all adhered flat. I then adhered the carved pumpkin towards the bottom and popped up the squirrels and carving tools with some Stampin Up! Dimensionals.
At this point I was looking at my card and decided I needed to add some leaves because the grass had too much dead space so I used Eucalyptus Ink by Catherine Pooler Designs and stamped the leaf from the Lawn Fawn Pick of the Patch stampset all over the grass.
I adhered the sentiment strip to the top 1/3 of the card over the tree. I added this completed panel to a card base created from Simon Says Stamp Black Cardstock and measuring 5-1/2 x 8-1/2″and scored at 4-1/4″. Last but not least, I added some Nuvo Glitter Drops in White Blizzard to the sky to add some sparkle and Nuvo Crystal Drops in Bottle Green on each side of the sentiment strip.

I generally don’t like to leave the inside of my cards (especially holiday cards) empty inside so I stamped the HAPPY HALLOWEEN sentiment from the stampset in Memento Tuxedo Black Ink and the pumpkins in Orange Twist Ink by Catherine Pooler Designs and Memento Tuxedo Black Ink onto a piece of Neenah 110lb Classic Crest Cardstock 8.5″X11″, cut to 4 x 5-1/4″.
Dimensions
- Card Base = 5-1/2 x 8-1/2″and scored at 4 1/4″ Simon Says Stamp Black Cardstock
- Sky Panel = 4-1/4 x 5-1/2″ Neenah 110lb Classic Crest Cardstock 8.5″X11″
- Grassy Panel = 3 x 4-1/4″ Old Olive Cardstock
- Inside Panel = 4 x 5-1/4″ Neenah 110lb Classic Crest Cardstock 8.5″X11″
- Sentiment Strip = 5/8 x 5-1/2″ Neenah 110lb Classic Crest Cardstock 8.5″X11″
Copic Colors Used
- Pumpkins: YR04, YR12 and YR27 ; Stems: YG13 and YG25; Guts: Y13 and YR04
- Squirrels: W1, W5 and W7; Cheeks: R20
- Pumpkin scooper: YG13 and G94
- Knife handle: BV11 and BV17; Knife blade: C00 and C3
Supplies
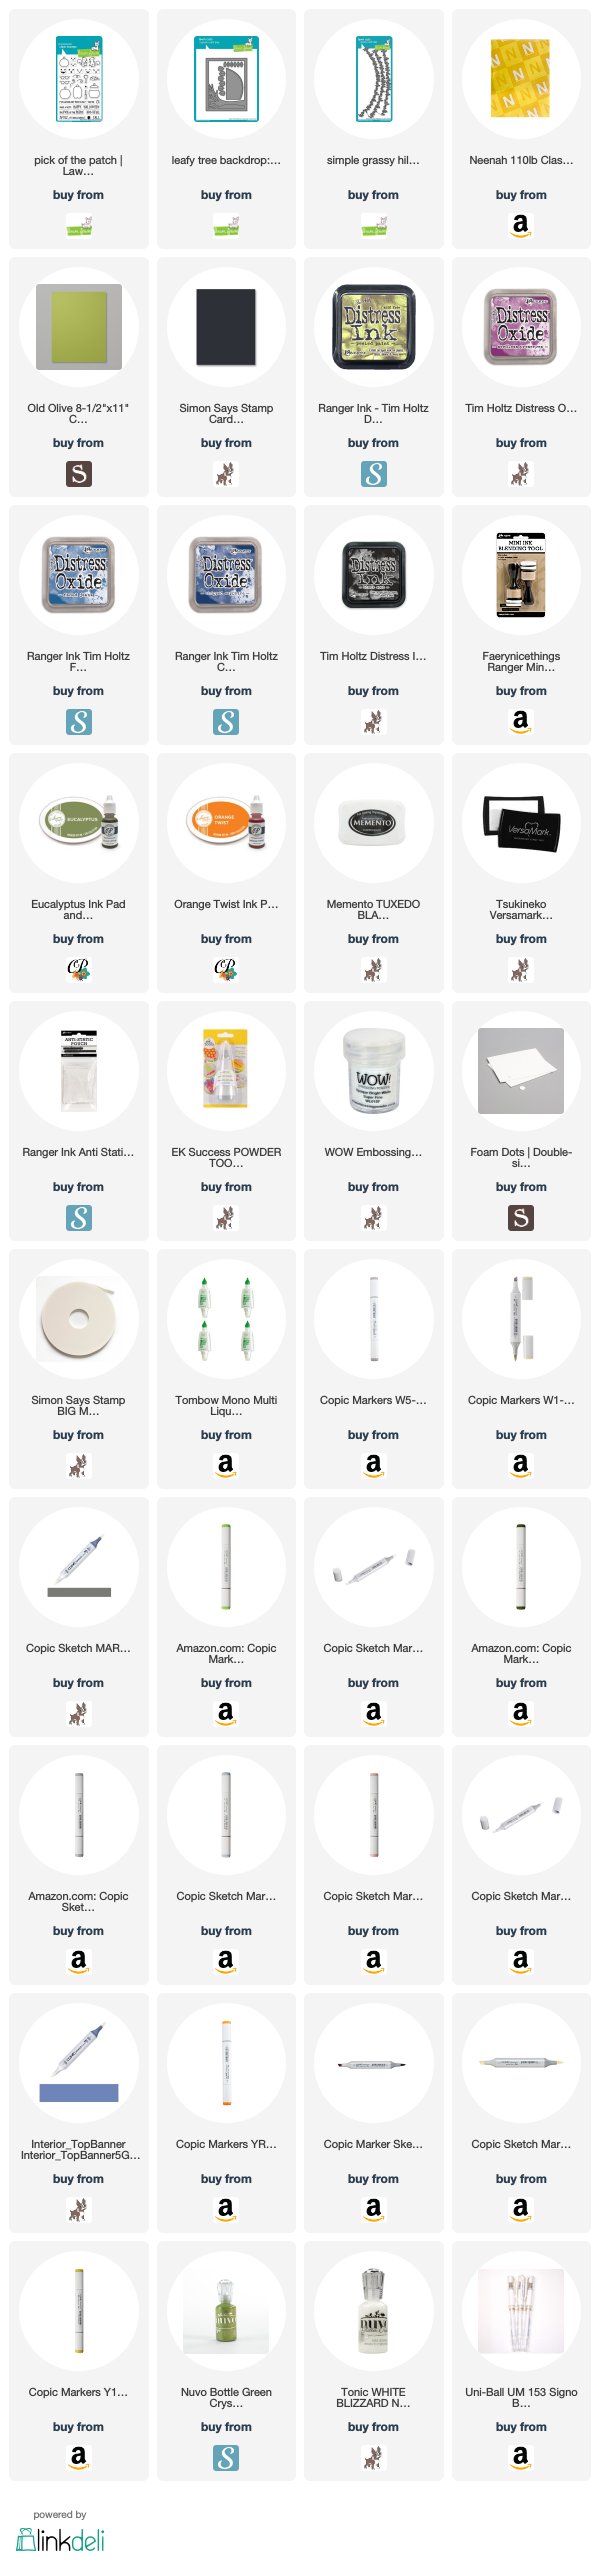 https://linkdeli.com/widget.js?1559654439292
Thanks for reading this very long post and I hope I’ve inspired you to make some Halloween cards of your own. Leave comments or questions below or feel free to email me.
