
Hi everyone! I made some fruity birthday cards using the positive and negative created using the Happy Birthday To You Die from My Favorite Things (discontinued). This is a great way to make multiple cards with minimal supplies and not waste anything. This paper I uses can be found on page 14 of the new Sale-A-Bration Catalog.

For the first card, I started by cutting a piece of Whisper White 8-1/2″ X 11″ Thick Cardstock to 5-1/2 x 10″ and scored at 5-1/2″ to make a card base and a piece of Berry Delightful 12 x 12 DSP to 4-1/4″ x 4-3/4″. I also cut the front of the card to 4-3/4″ long.
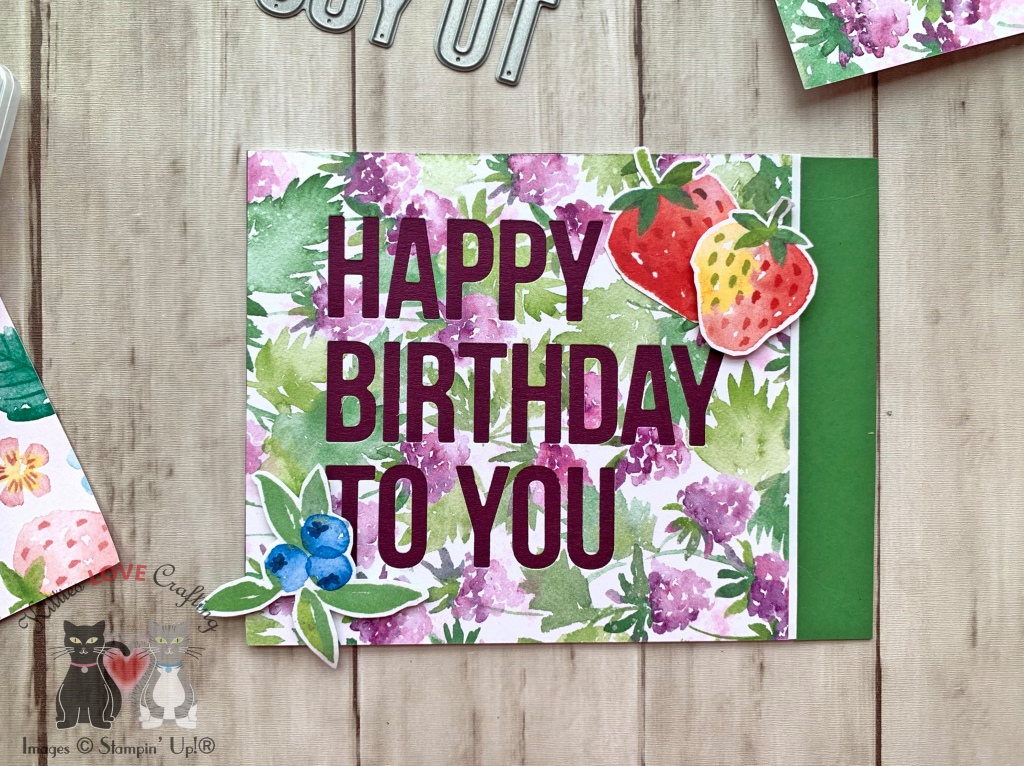
I diecut the sentiment from the Berry Delightful 12 x 12 DSP using Happy Birthday To You Die from My Favorite Things (discontinued) and adhered a piece of Blackberry Bliss 8-1/2 x 11″ Cardstock to the back of it and adhered both to card base with Tombow Mono Multipurpose Glue. I saved the positive letters that were diecut with the die to use on my next card.
To add a pop of color behind the front panel and to the inside, I cut a piece of Garden Green 8-1/2 x 11″ Cardstock and adhered it on the right side of the card inside. Next, I fussycut images from the Berry Delightful 12 x 12 DSP and adhere them to the front of the card, popping up two of them with Stampin’ Dimensionals. I finished it by adding some Love From Lizi White Pin Stripe Peel-offs.
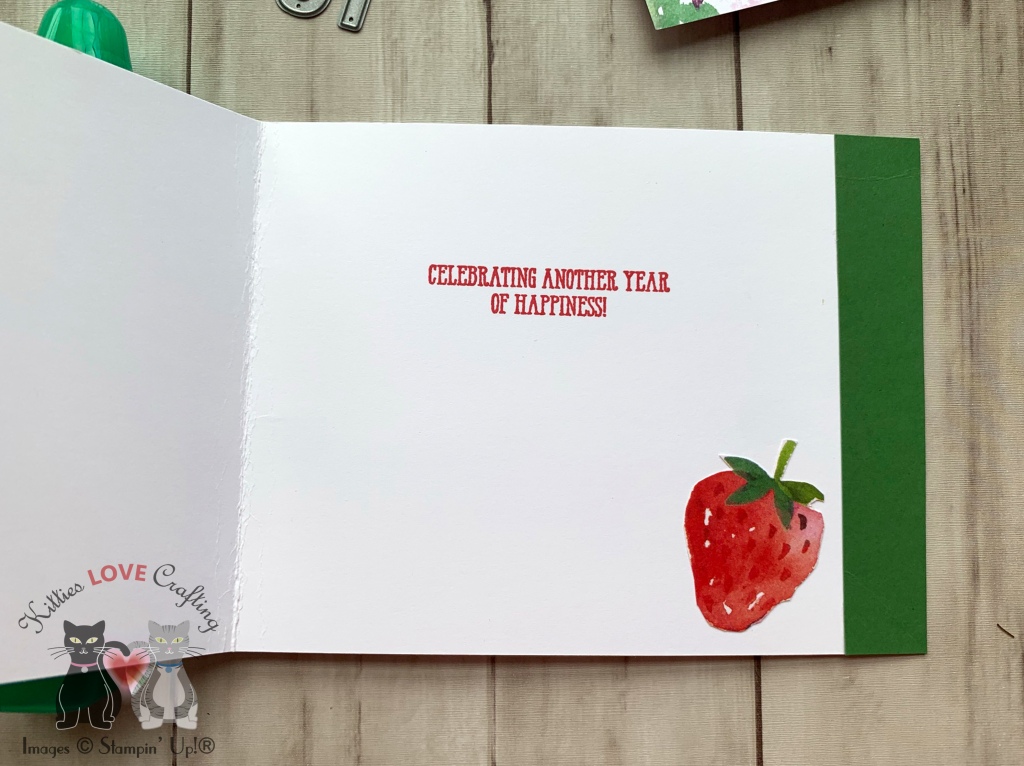
On the inside, I stamped a sentiment from Stampin’ Up! Well Said Stamp Set with Poppy Parade Ink and a fussycut a strawberry from the Berry Delightful 12 x 12 DSP.
Dimensions
- Card Base = 5-1/2 x 10″ and scored at 5-1/2″ Whisper White 8-1/2″ X 11″ Thick Cardstock
- Top Panel = 4-1/4″ x 4-3/4″ Berry Delightful 12 x 12 DSP

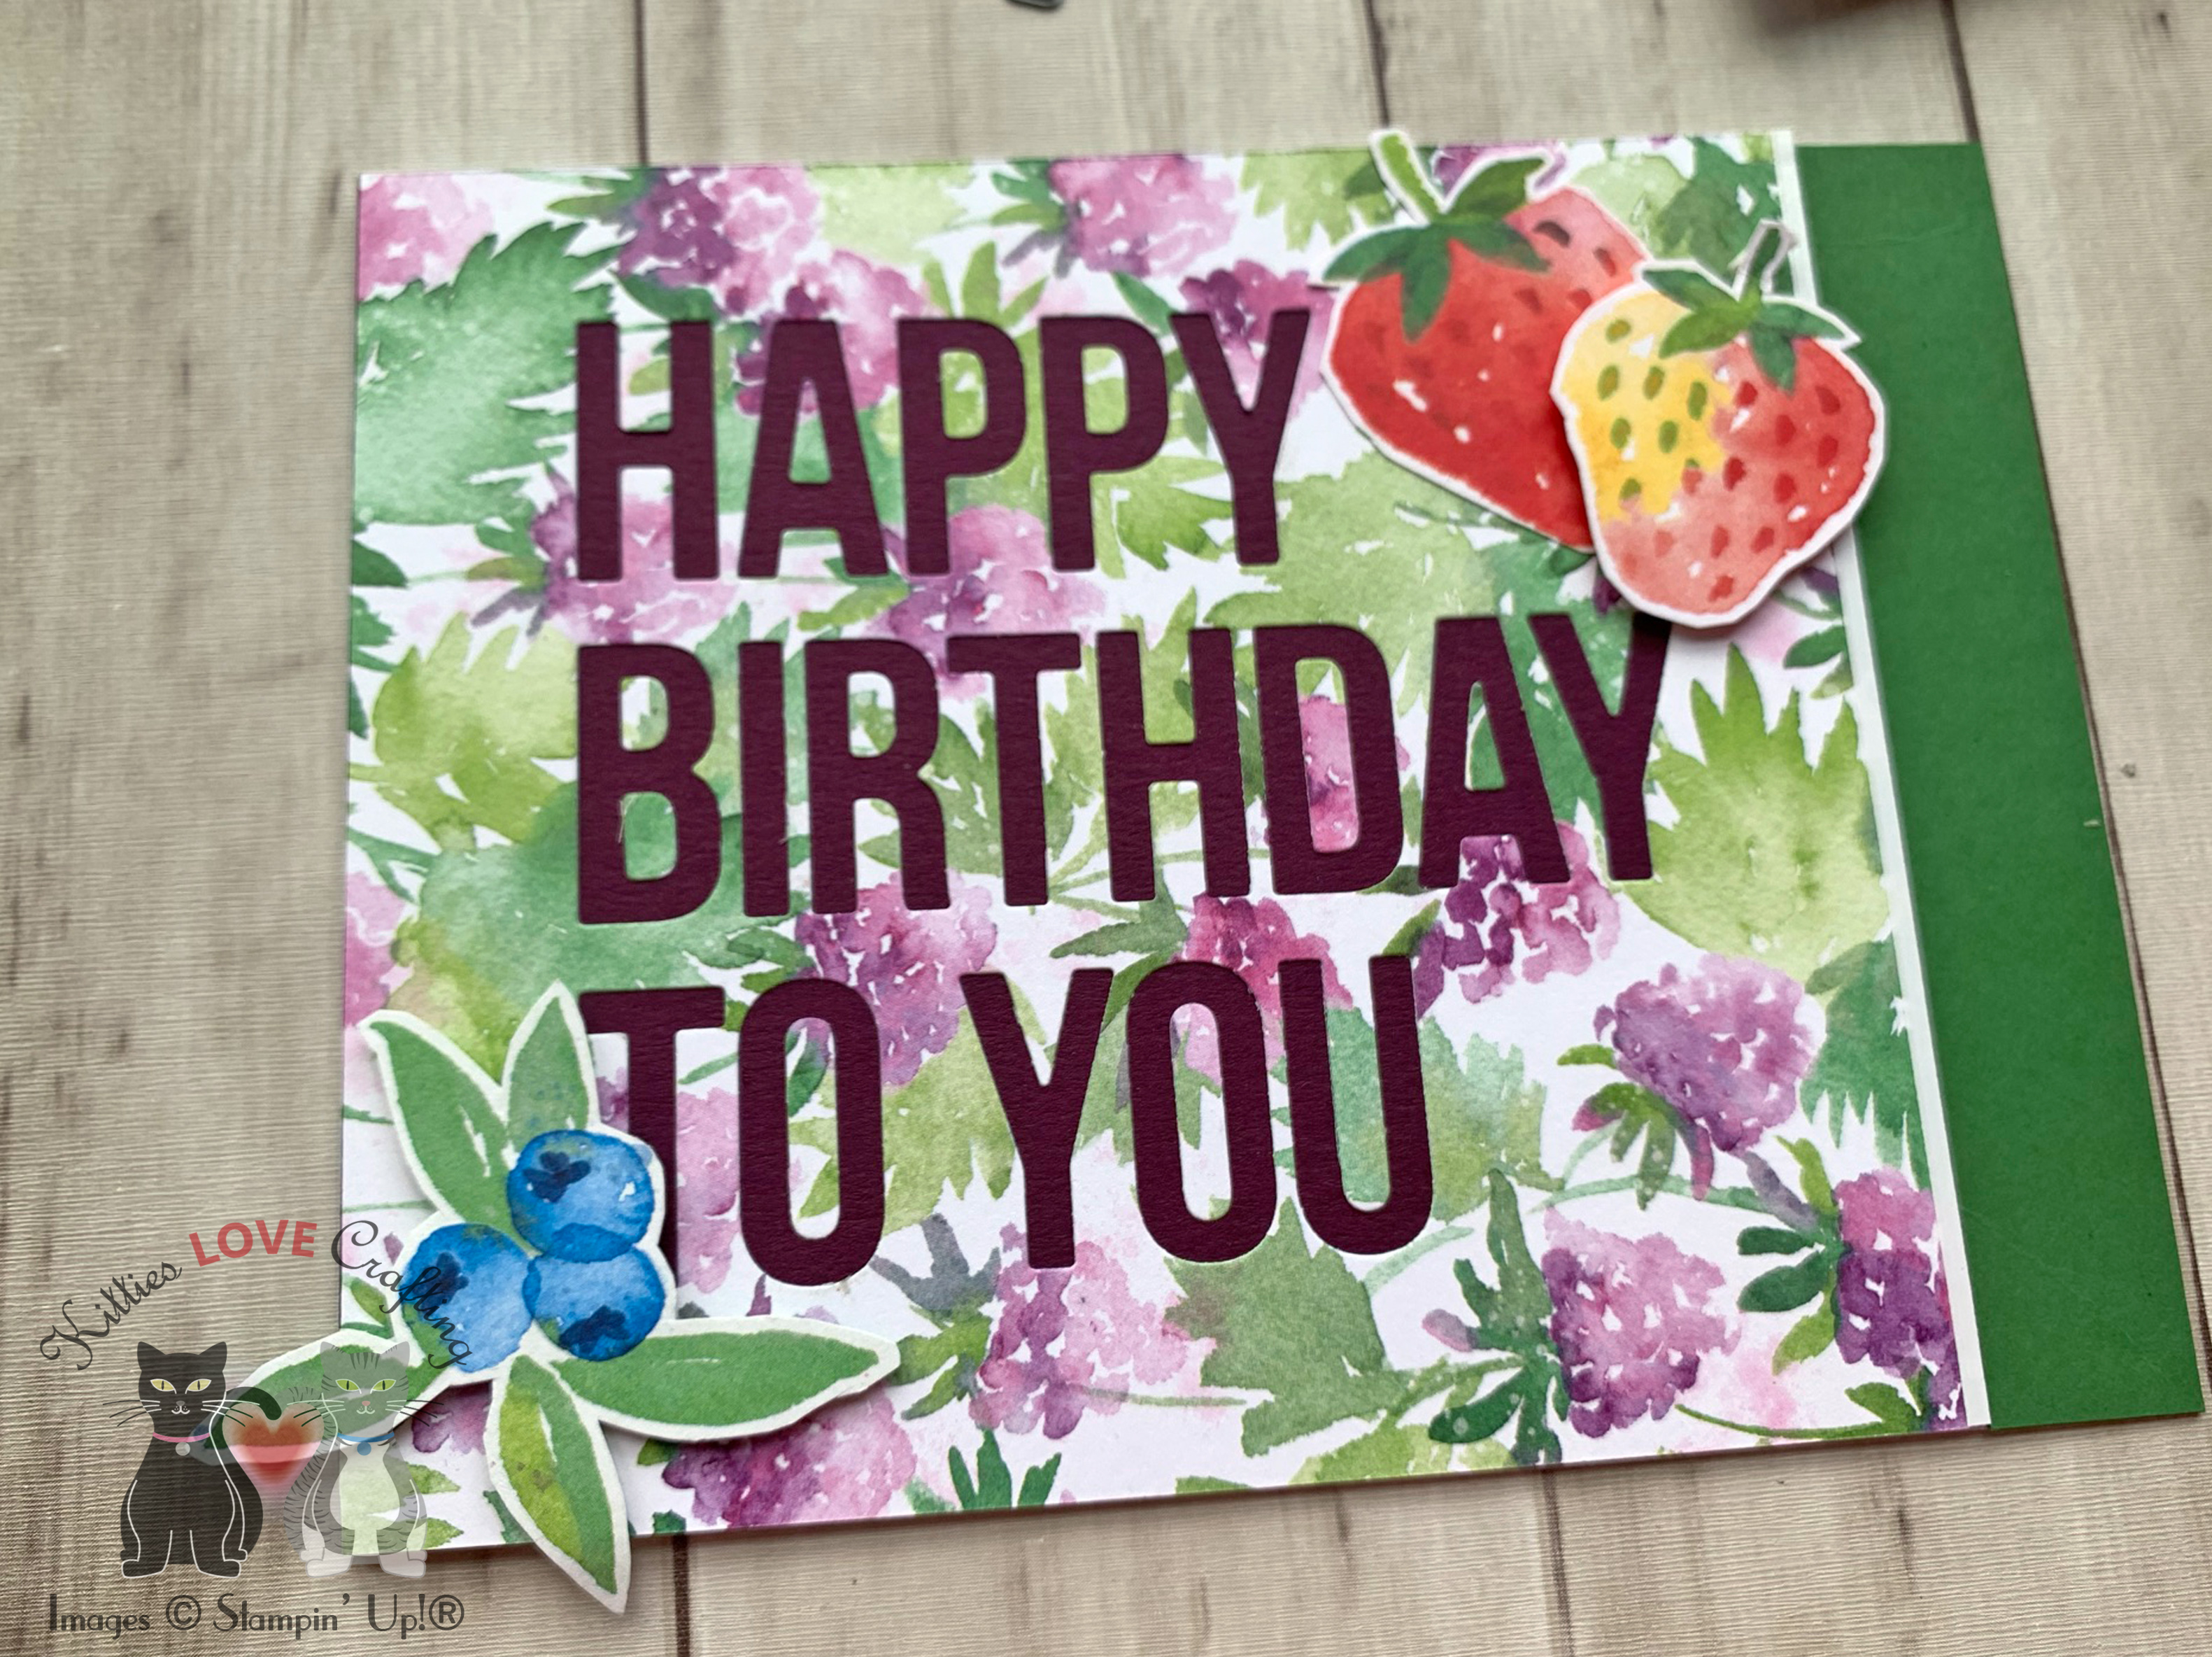
For the first card, I started by cutting a piece of Whisper White 8-1/2″ X 11″ Thick Cardstock to 5-1/2 x 8-1/2″ and scored at 4-1/4″ to make a card base. I adhered the letters for the sentiment to the card with Tombow Mono Multipurpose Glue. Tip: To easily aand perfectly dhere the sentiment, cut a scrap piece of the sentiment and tape it down to the card suing low-tack tape. Then adhere your letters in the negative space. You won’t need to try to space out or align the letters.
Next, I fussycut some fruit and leaf images from the Berry Delightful 12 x 12 DSP and adhered them to the card. I finished it off by adding some Pearl Basic Jewels.

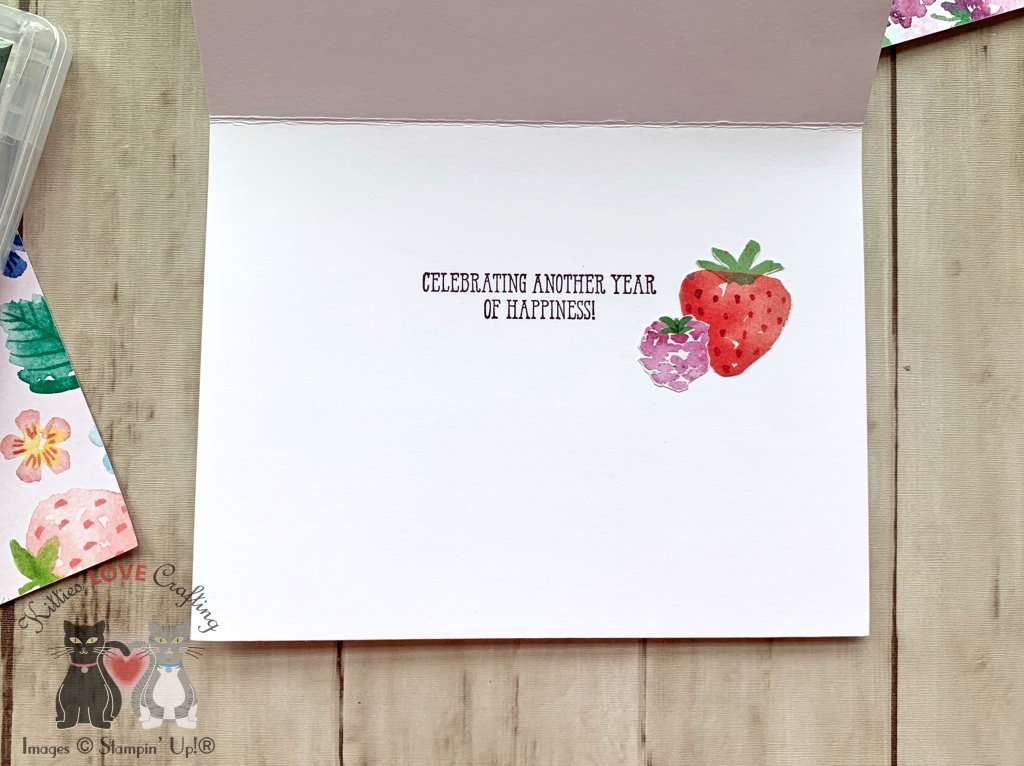
On the inside, I stamped a sentiment from Stampin’ Up! Well Said Stamp Set with Blackberry Bliss Ink and a fussycut a strawberry from the Berry Delightful 12 x 12 DSP.
Dimensions
- Card Base = 5-1/2 x 8-1/2″ and scored at 4-1/4″ Whisper White 8-1/2″ X 11″ Thick Cardstock
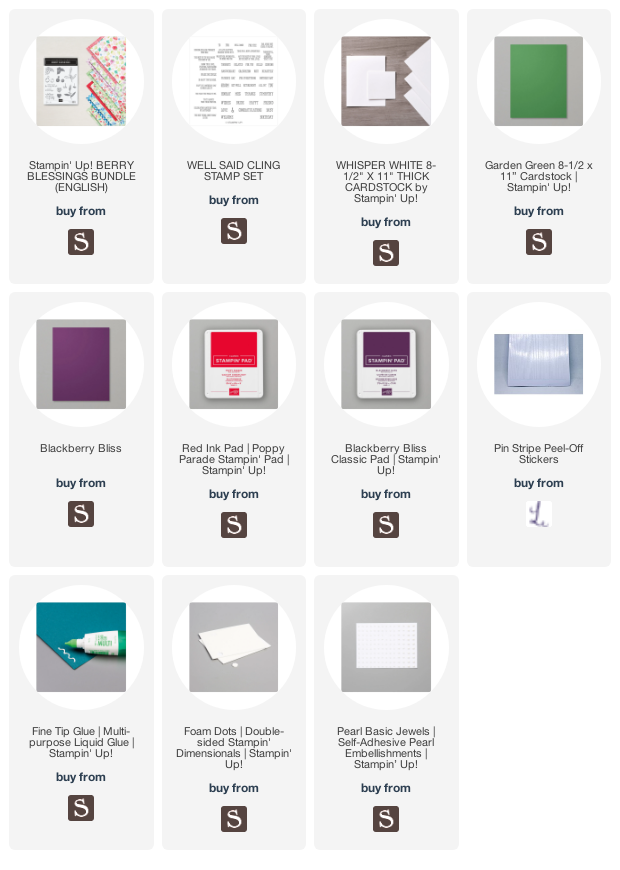
Supplies
 https://linkdeli.com/widget.js?id=f5e8378456858c916708
Thanks for reading this post. I hope you enjoyed and I’ve inspired you to try these easy birthday cards using this stampset and paper for yourself! Leave comments or questions below or feel free to email me. If you want to share you creations with me tag me on instagram @kittieslovecrafting.
